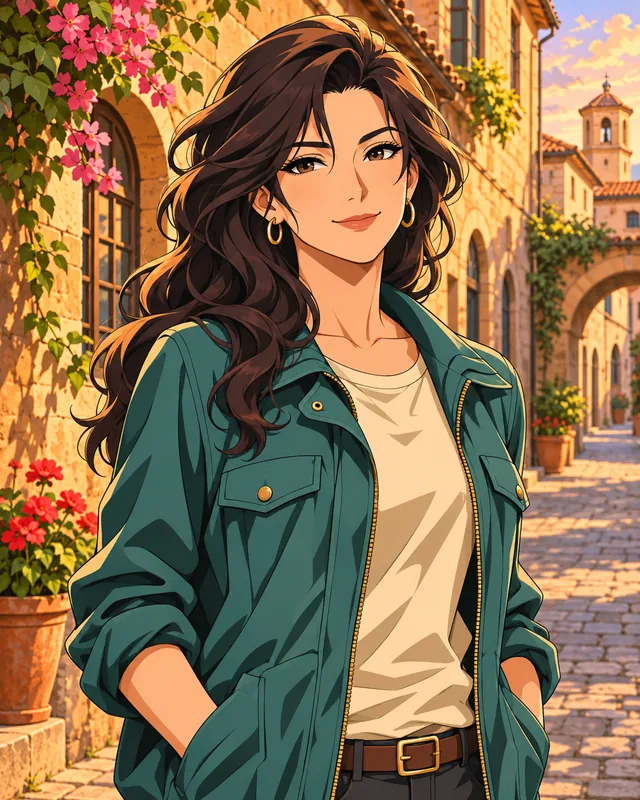
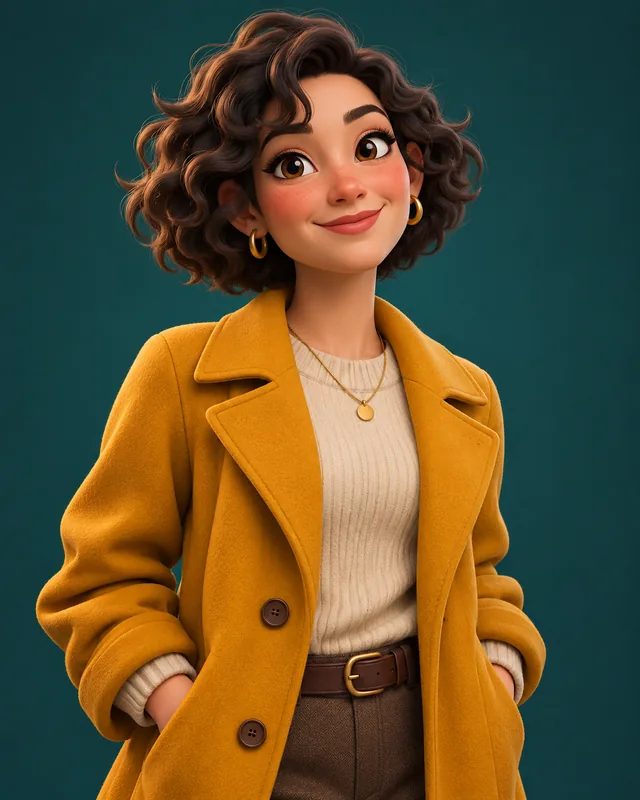
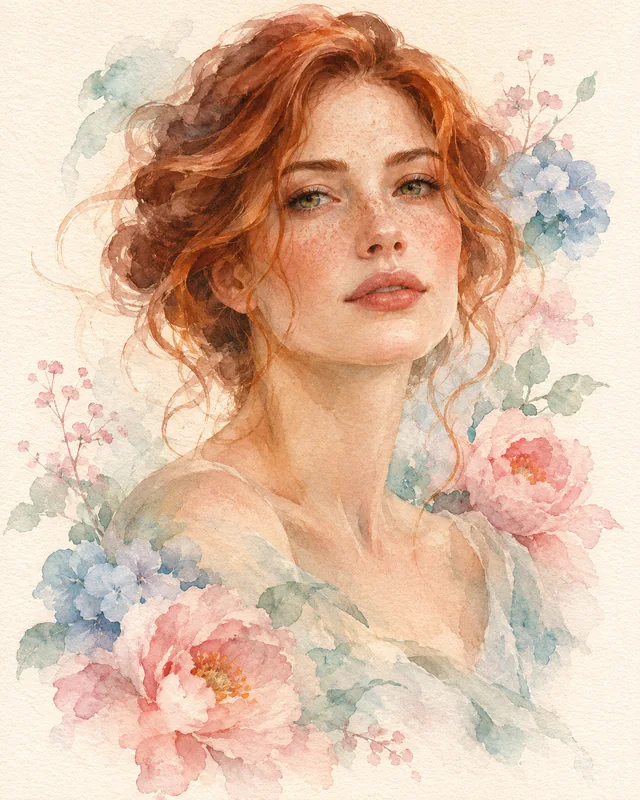
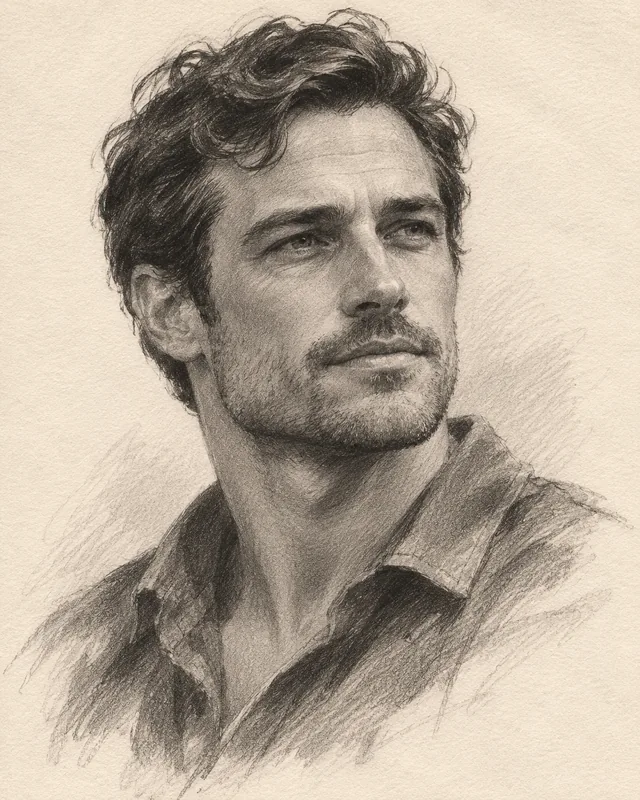
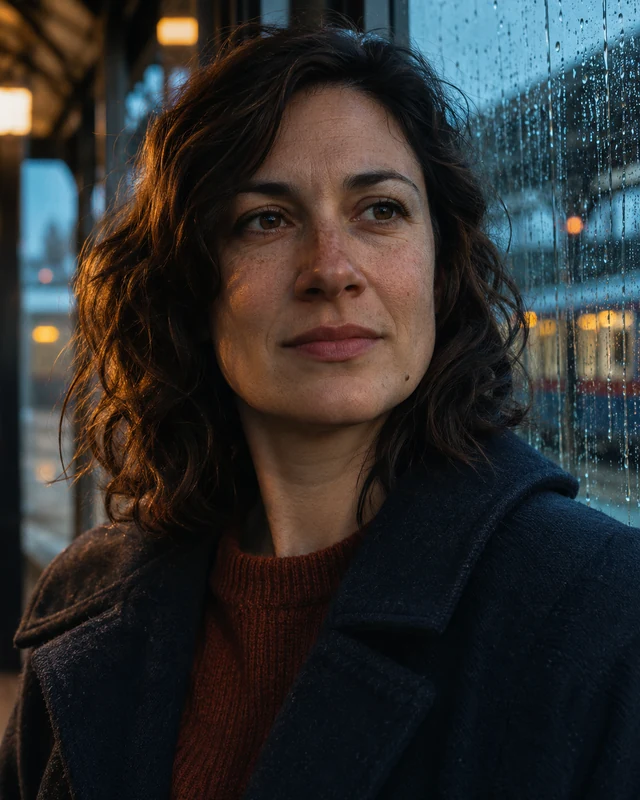
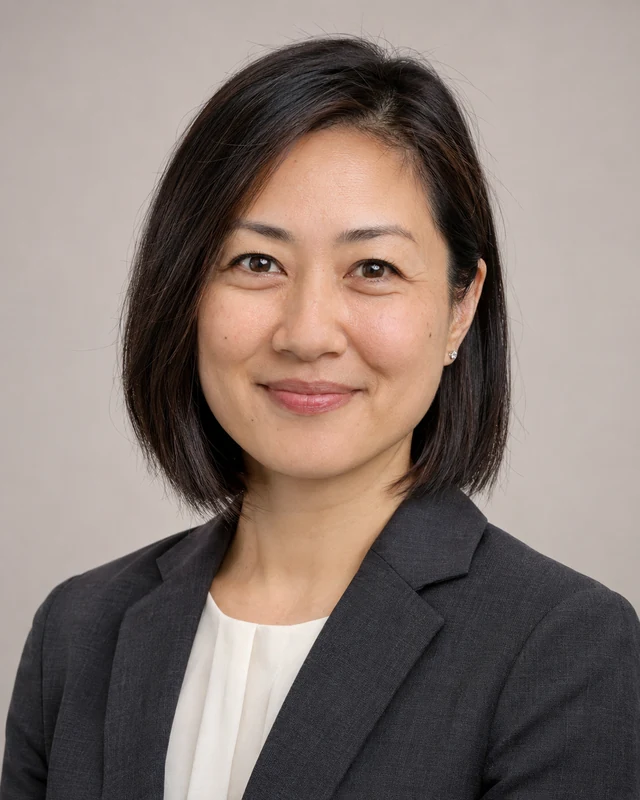
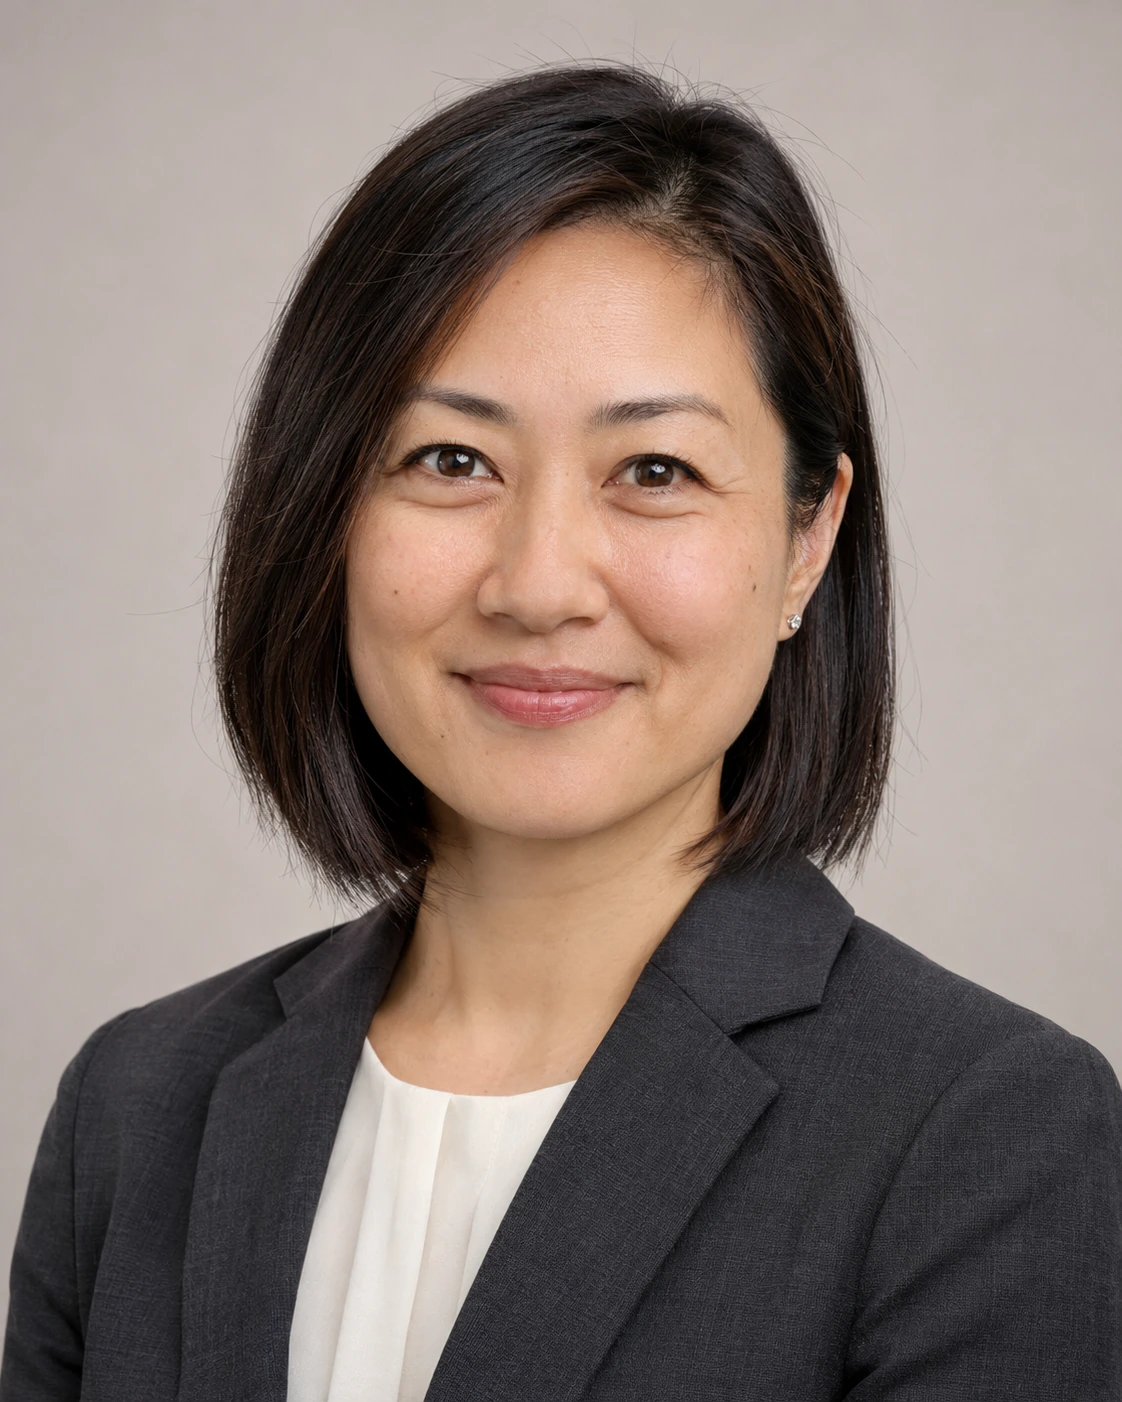
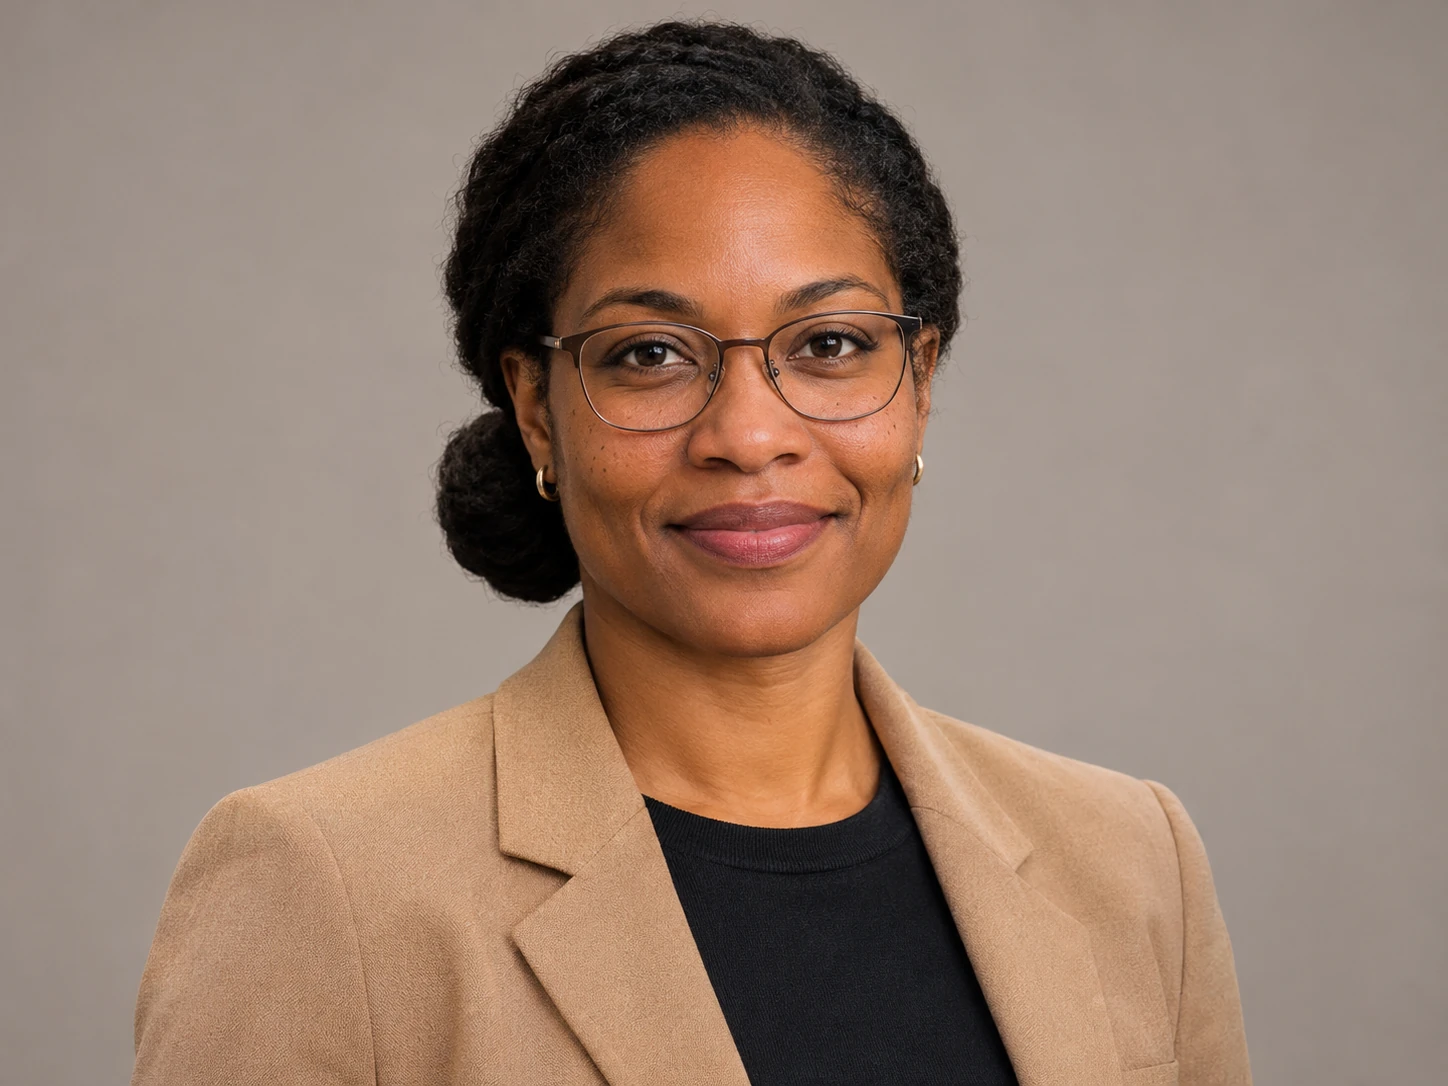
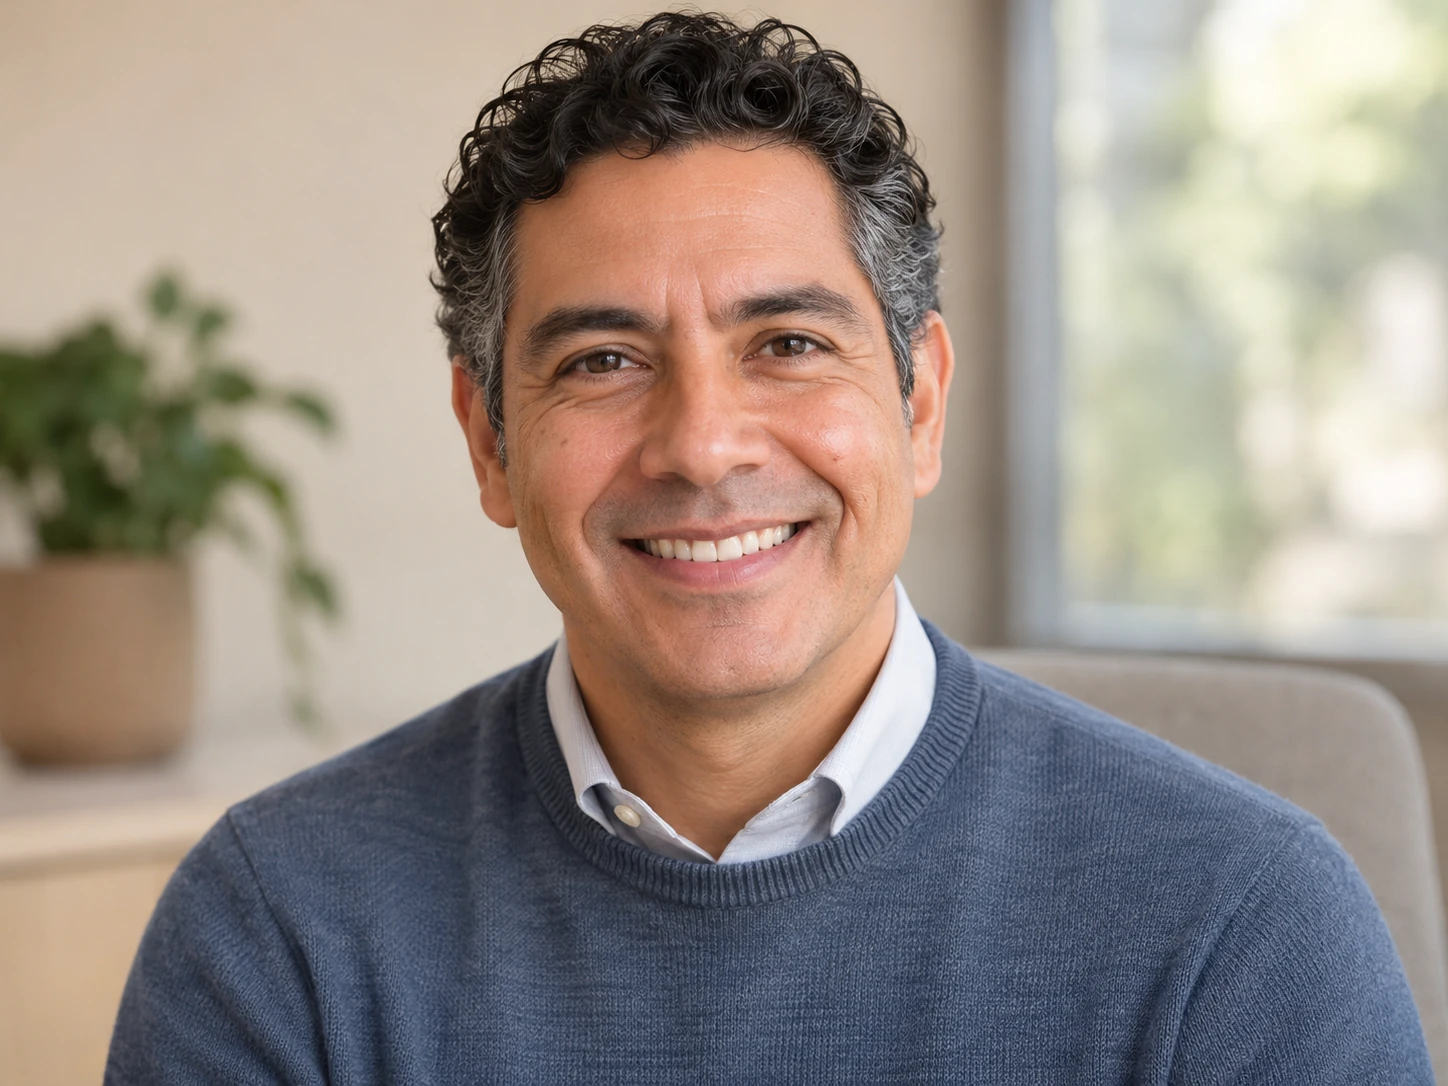
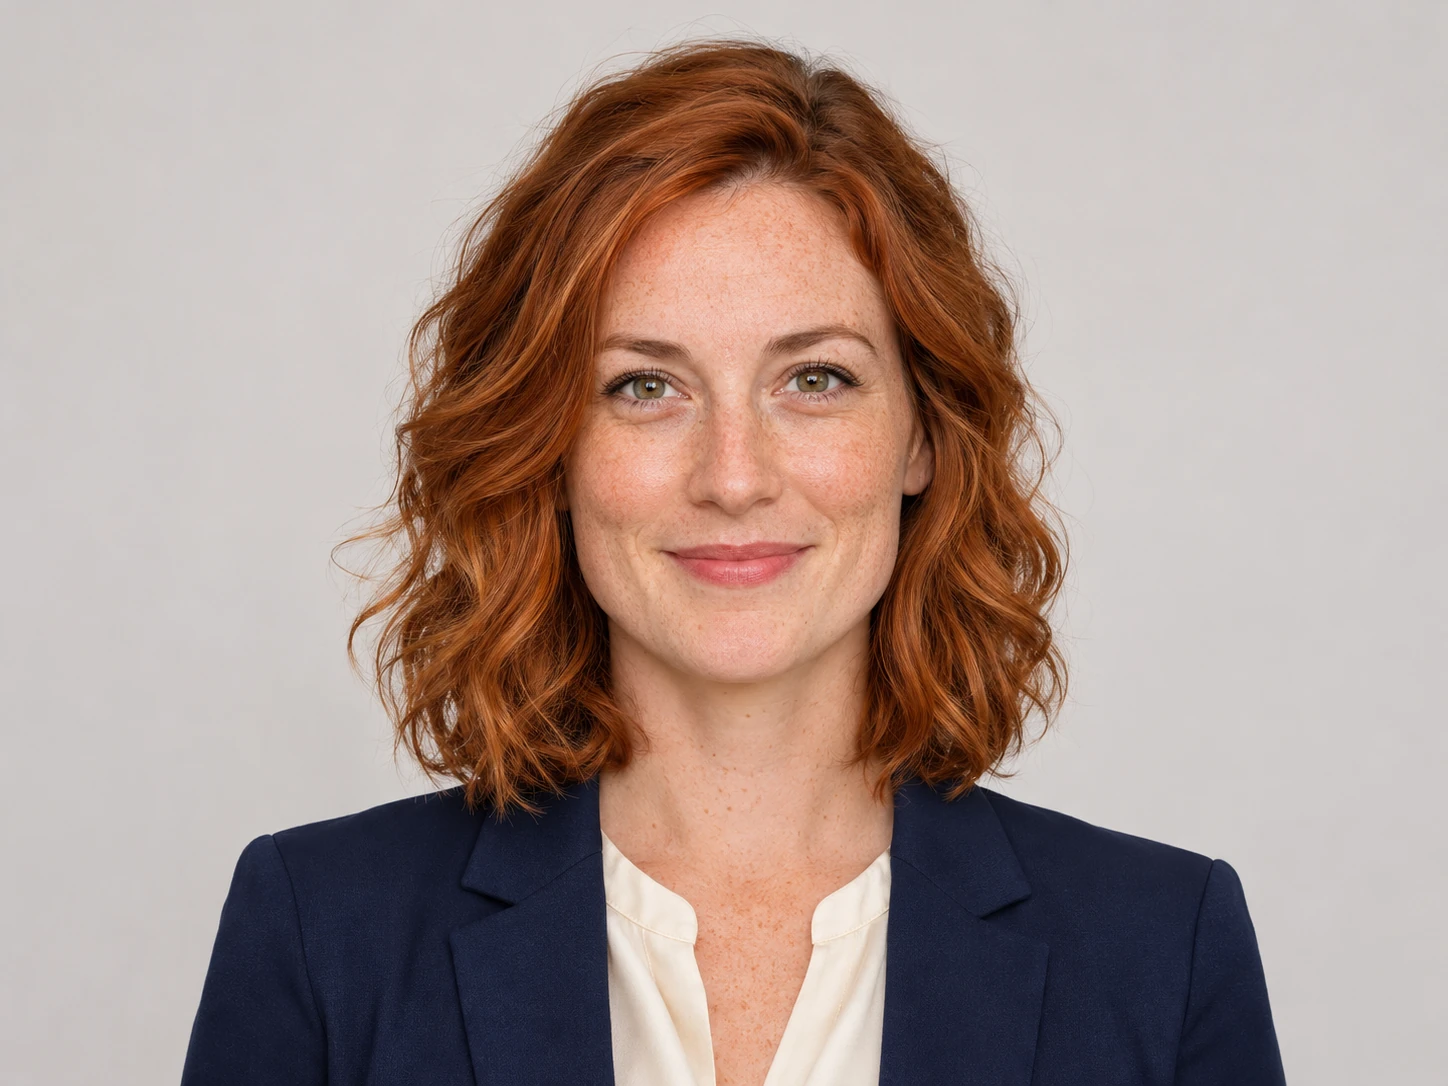
Create a clean head-and-shoulders portrait for a profile, biography or personal introduction. Begin with a clear reference and specify the clothing, background and expression that fit your role. The preset favors readable faces, natural detail and unobtrusive surroundings. It produces an AI interpretation, so review likeness, wardrobe and small details before using the image as a representation of yourself.
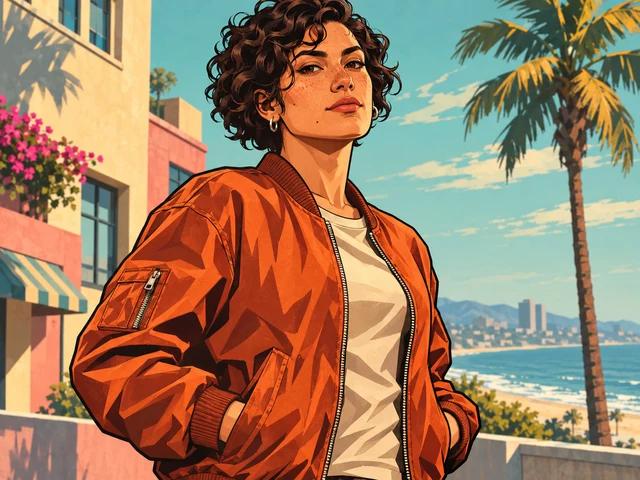
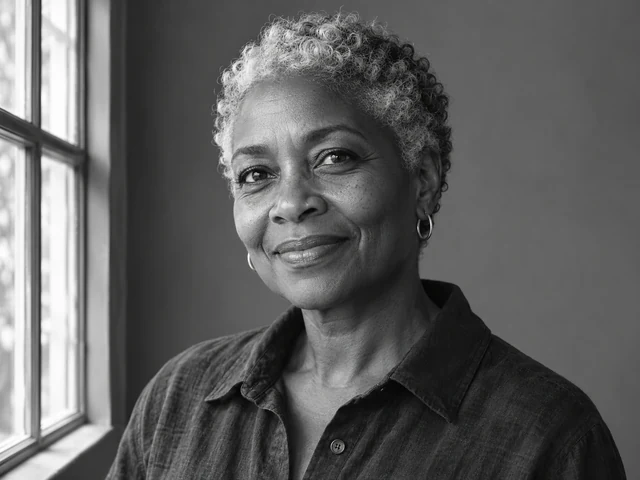
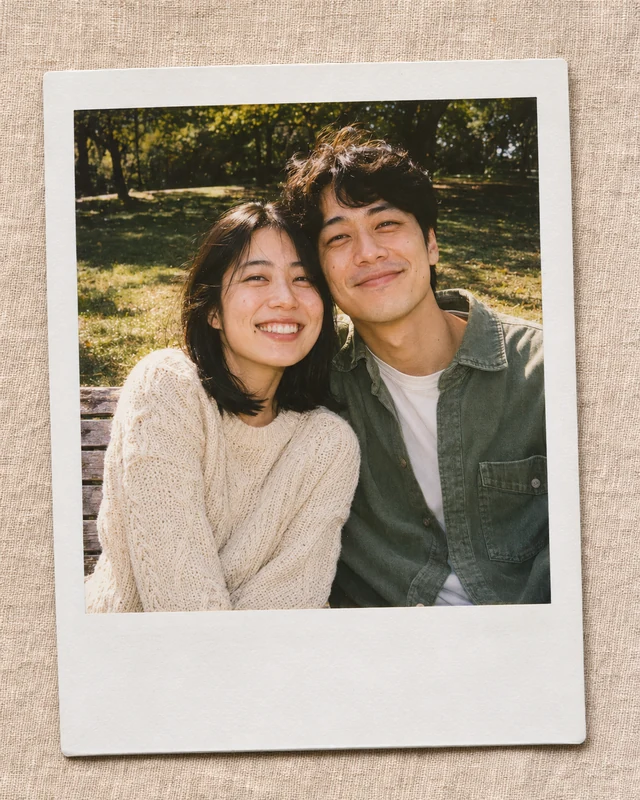
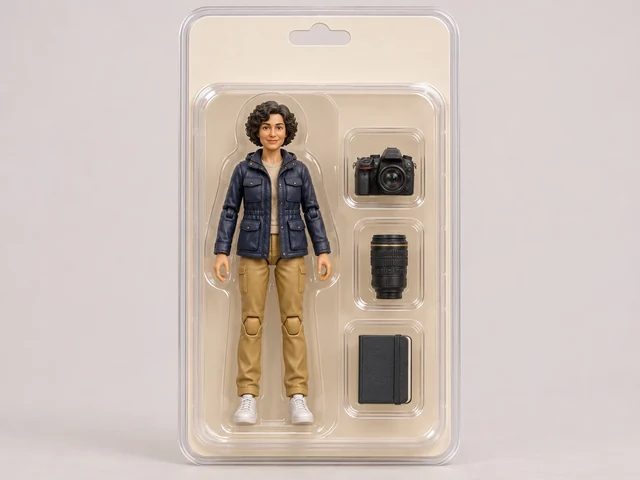
Illustrative style preview. Generated results vary with your prompt and reference photos.
What you can create with the AI Professional Headshot Generator
Choose the subject, purpose and visual priorities before adding detail. These decisions give you a clearer brief to refine.
Keep the face natural
Ask for realistic skin texture and an expression that feels comfortable. Overly smooth skin, exaggerated teeth or changed facial proportions can make a headshot less convincing. A clear reference helps communicate your appearance, but you should still compare the final eyes, smile and hairline with the source image.
A simple shirt, knit top or jacket often works better than complicated patterns and layered accessories. Describe the clothing you would realistically wear in that setting. If the reference includes glasses or jewelry you want retained, say so, and review whether the result keeps their shape and placement believable.
A neutral studio background is useful when the image appears beside biography text. A softly blurred office or a window-lit room can add context without distracting from the person. Keep bright objects, busy shelves and strong lines away from the face, especially when the image will be displayed small.
Headshots are often reused in circles, rectangles and biography cards. Leave modest room above the head and around the shoulders so the image can adapt. A vertical crop gives more flexibility than cutting tightly at the hairline. Check the actual placement before deciding whether the framing is finished.
Start from text or reference photos, then check the format and cost before generating.
Step 1
Choose your starting point
Sign in when you are ready to upload or generate. Describe a new subject, or add clear reference images. The editor accepts up to eight PNG, JPEG or WebP references. Upload references one at a time. If a file exceeds the upload limit, resize it and try again.
Headshot
1:116:92K
Step 2
Add details and select the format
Keep the headshot preset selected and describe the scene, pose, lighting and important details in your own words. Choose an aspect ratio for the intended use and select 1K, 2K or 4K. The displayed credit estimate updates with the chosen resolution.
Step 3
Review, refine and download
Submit the request and follow the image status in the preview area. Download a successful result and inspect important details at full size. Reuse the prompt for another version, changing one important detail at a time. Generation time varies; follow any error instructions before submitting again.
Both use the same model. Presets supply a starting direction; custom prompts let you describe the complete treatment.
Decision
This style preset
Custom prompt
Visual direction
Begins with headshot instructions.
You describe the medium, light and finish.
Creative control
Add your subject, setting and specific details.
Define the full image direction from scratch.
Reference photos
Optional references guide appearance and composition.
The same reference-upload options are available.
Output settings
Choose the displayed ratio and resolution options.
Choose from the same output settings.
Review before use
Check the subject and the style interpretation.
Check the subject and every requested treatment.
Choose a use for your next image
Plan for the destination: avatars, illustrations and presentation images need different crops and background detail.
01
Professional profiles
Create a simple portrait that remains recognizable at avatar size. Choose a natural expression and consistent crop instead of a dramatic scene that competes with your profile information.
Prepare a portrait with space around the shoulders for event page layouts. Keep the background uncomplicated so the image sits comfortably beside a name, title and short biography.
Explore a warmer environmental headshot for an about page. Use a setting connected to your work while keeping the face and expression as the main point of attention.
Pair a straightforward portrait with a portfolio introduction. If you use several versions, compare their lighting and color so the overall presentation feels intentional.
Adapt these prompts to your subject. Illustrations show a direction; they do not promise an identical generated result.
PROMPT EXAMPLE 1
Neutral studio headshot
A natural professional headshot of the person in the reference, preserving their facial structure, hair and skin texture. Navy jacket over a simple light shirt, relaxed closed-mouth smile, soft even studio lighting and a pale gray background. Head and shoulders, comfortable headroom, no retouching that changes age.
Choose clothing you actually use for the intended professional setting.
PROMPT EXAMPLE 2
Window-light introduction
A friendly head-and-shoulders portrait based on the reference photo, wearing a plain charcoal knit top in a bright workspace. Soft window light, gently blurred neutral shelves, natural skin detail and a warm but subtle smile. Keep glasses if present in the reference and leave room around the shoulders.
Ask for less background detail if the workspace competes with the face.
PROMPT EXAMPLE 3
Creative portfolio portrait
A professional environmental portrait of an original creative consultant, seated naturally near a warm beige wall, wearing a simple dark green shirt. Soft side window light with gentle fill, approachable expression, realistic hair and skin, waist-up framing and uncluttered surroundings. No badges, company logos or text.
For a more formal result, change the clothing and background separately.
Small decisions that improve the brief
Explain what must stay, what may change and where the image will appear. Review against those priorities.
Use a recent clear reference
Choose a photo that reflects how you currently look, with the face unobstructed and reasonably even lighting. Avoid sunglasses and heavy filters if they hide important features. Several contradictory references can give less clear guidance than one carefully chosen portrait.
Review representation carefully
Check whether the result still looks like you rather than a more generic polished face. Inspect teeth, pupils, glasses, earrings and clothing seams. If exact identity matters for the use, treat the generated image as a creative option and use a real photograph when required.
Keep styling consistent
If you create variants for several placements, reuse the same clothing, background and light description. Change the crop only after a direction is established. This reduces unnecessary variation, although each new generation can still differ and needs its own review.
Questions before you create
What does the AI Professional Headshot Generator do?
It applies a headshot creative direction to Nano Banana Pro, combined with your description and any reference images. The preset is a starting brief, not a fixed filter. You can still specify the subject, background, colors and framing to fit a particular idea.
Can I start without a reference photo?
Yes. Describe the subject and the scene in text to create a new image. Add a reference when you want to guide a particular appearance, shape or composition. Uploading a photo does not guarantee an exact copy of a face, object or arrangement.
How should I choose reference images?
Choose clear, relevant photos and explain which details each should guide. Avoid contradictory appearances or product versions. Use images you are entitled to upload, within the file formats and limits described in the upload step.
How much detail can I put in the prompt?
The combined style instructions and your text must fit the image model’s 5,000-character limit. The available space shown in the editor accounts for the preset. Prioritize the subject, pose, setting, light and must-keep details; conflicting requests are less useful than a focused description.
What does a generation cost?
Generating uses credits from your signed-in account. The estimate beside Generate changes with the chosen resolution. Available image sizes are 1K, 2K and 4K. Each new image or video request has its own credit cost; choosing a larger size does not guarantee a better creative interpretation.
Can I revise the image or turn it into a video?
You can reuse the prompt, change the brief and submit another image request. Download a successful result or send it to the video generator as a starting image. A video is a separate generation with its own settings and credit cost; it is not included in the image request.
Start with one clear idea
Add a reference or describe your subject. Choose the format, check the credit estimate and create a first version to refine.