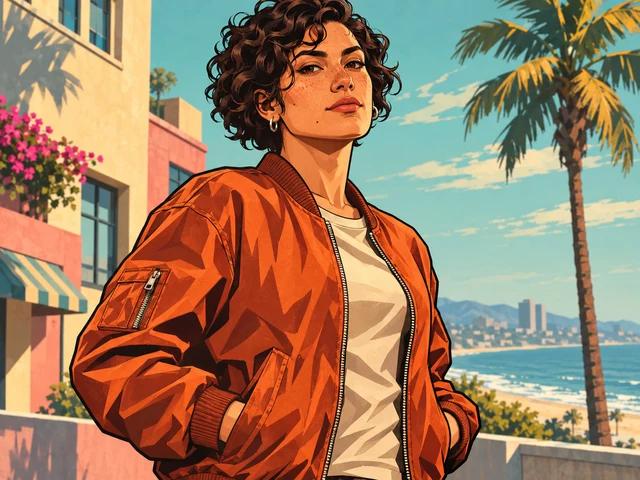
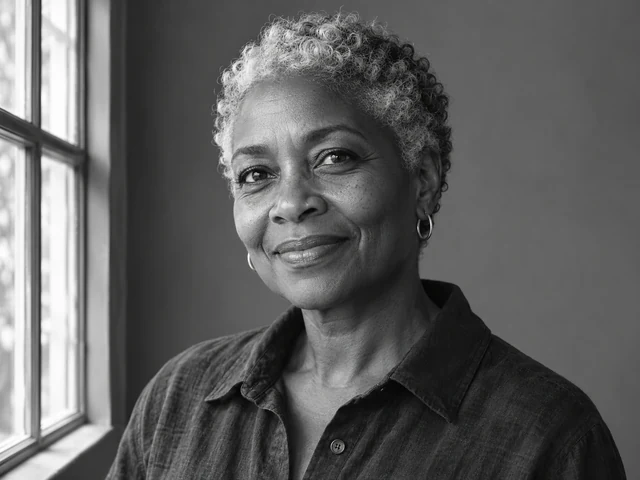
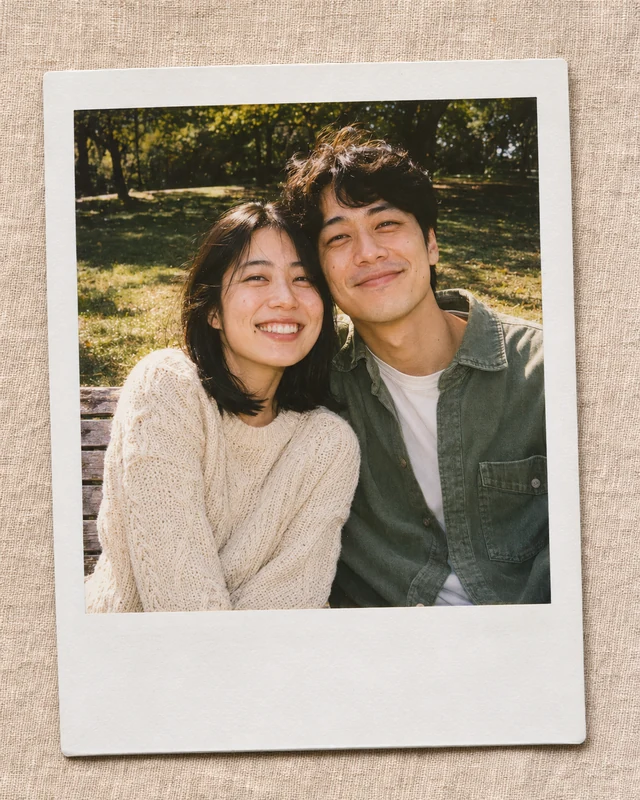
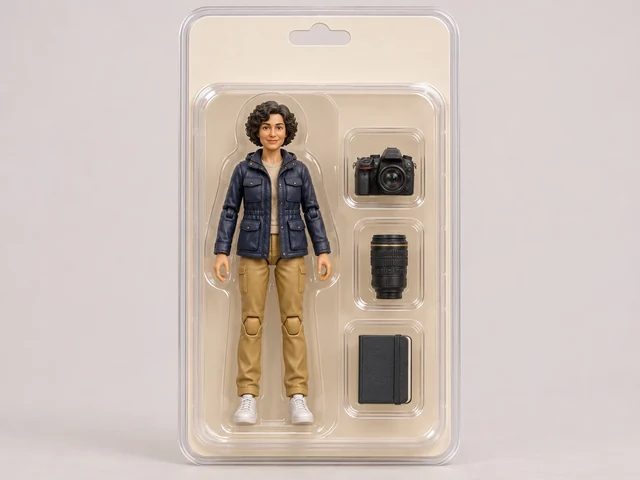
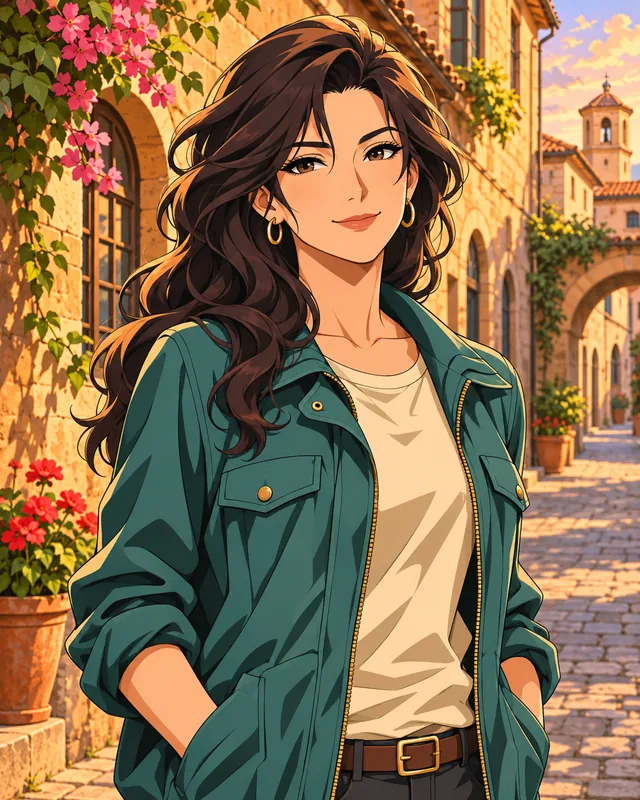
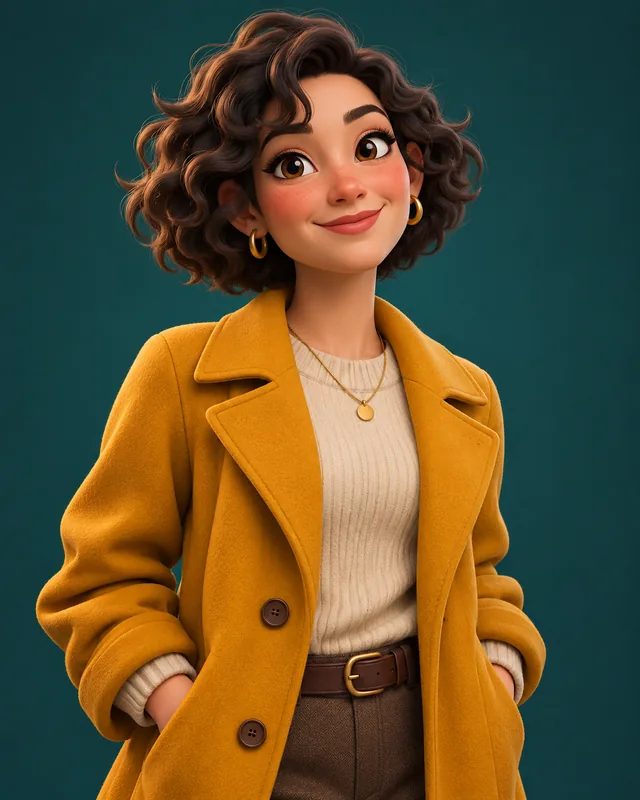
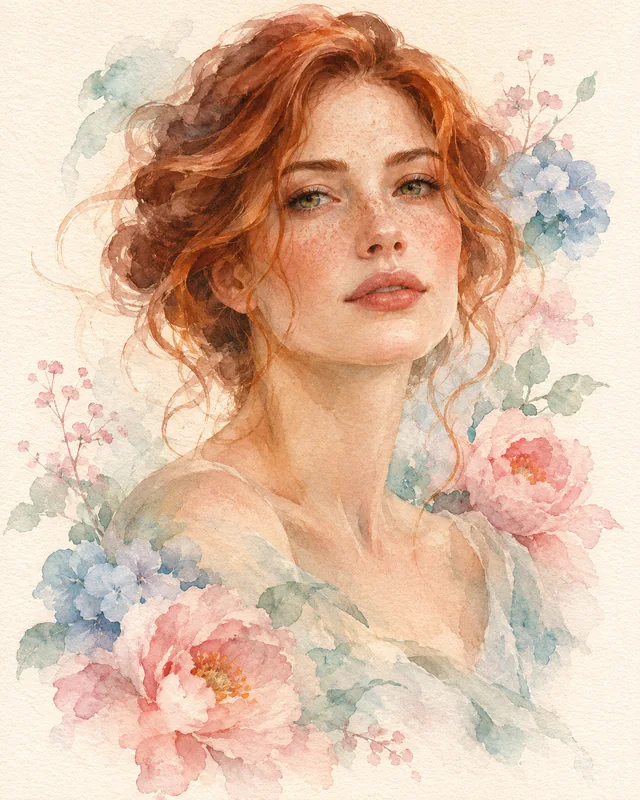
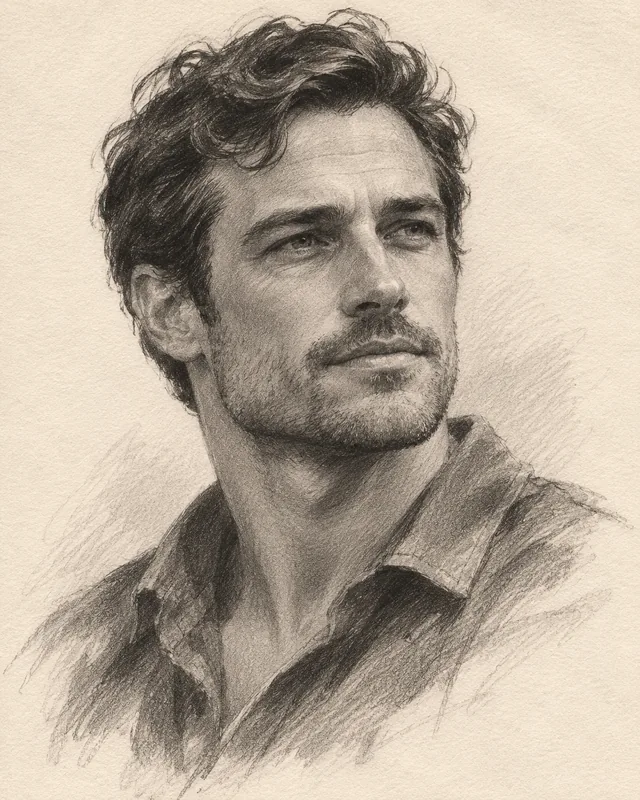
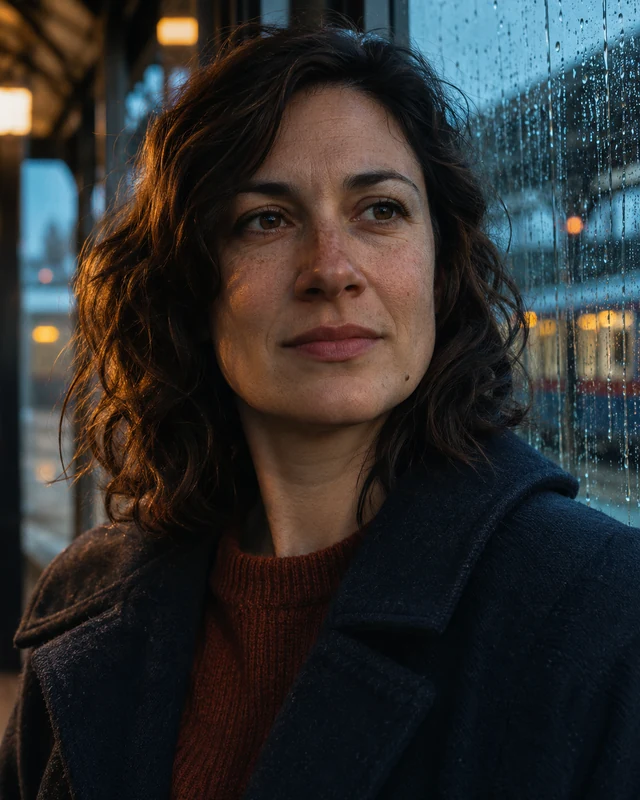
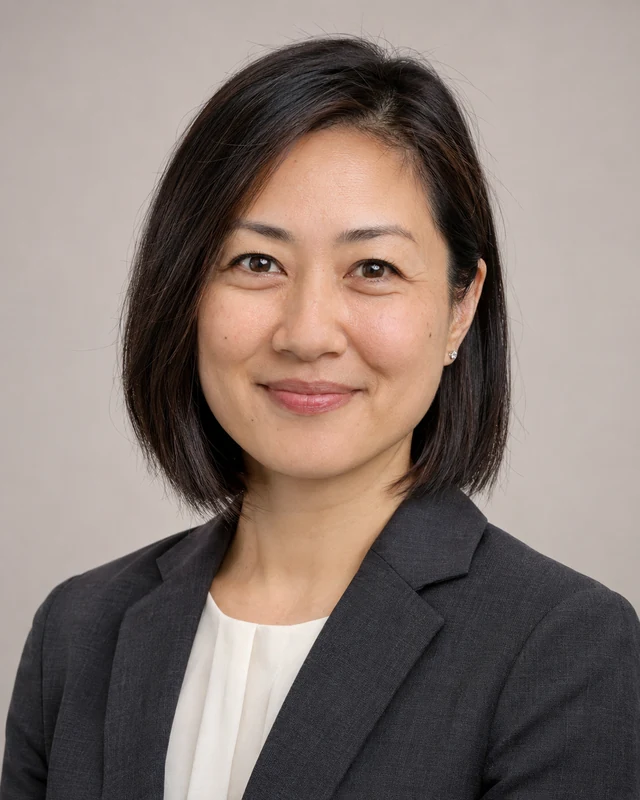
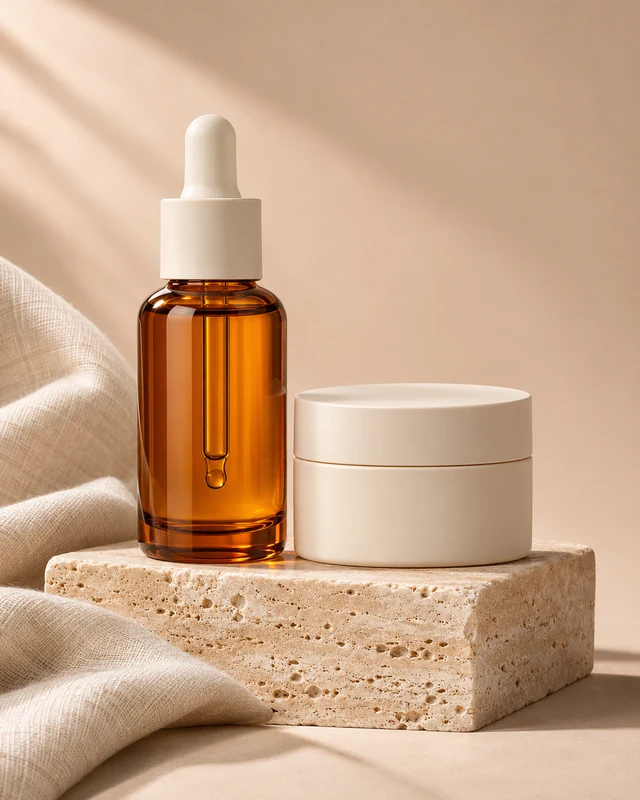
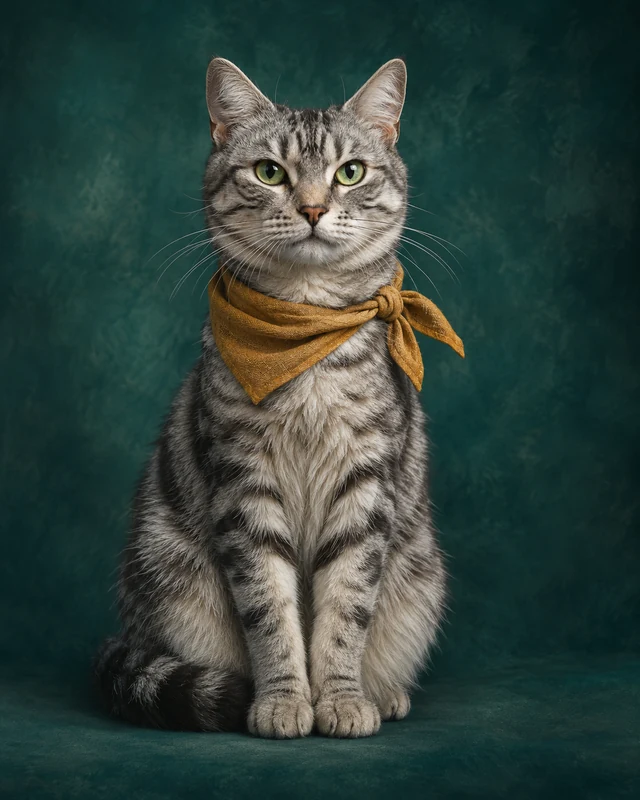
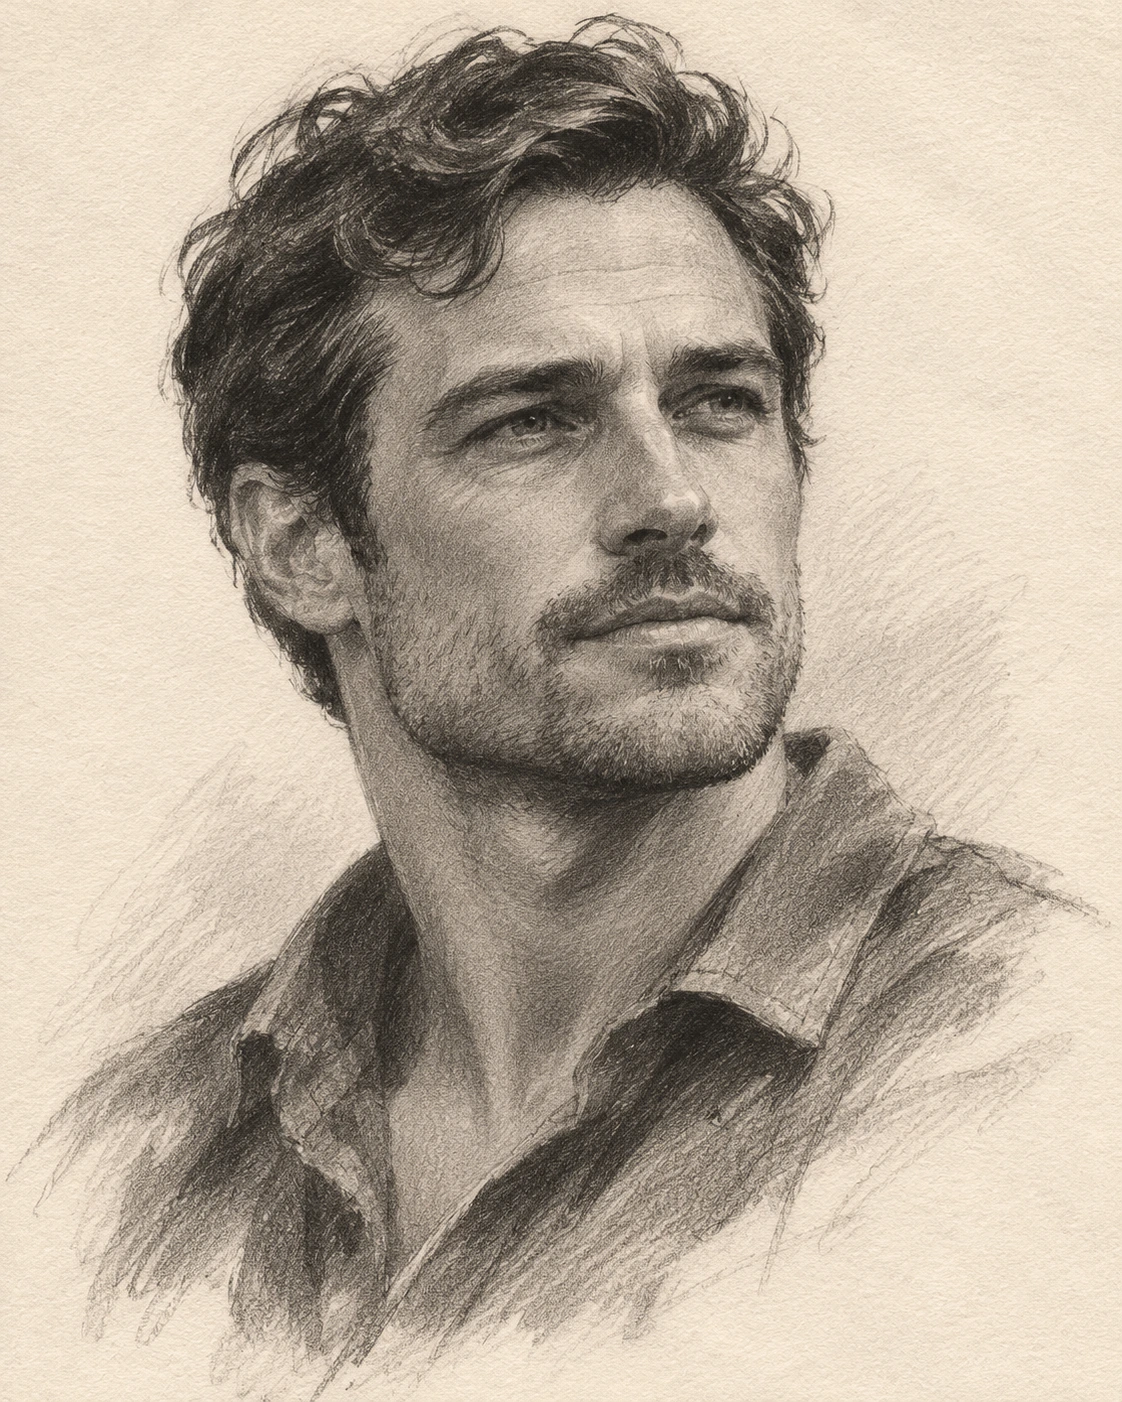
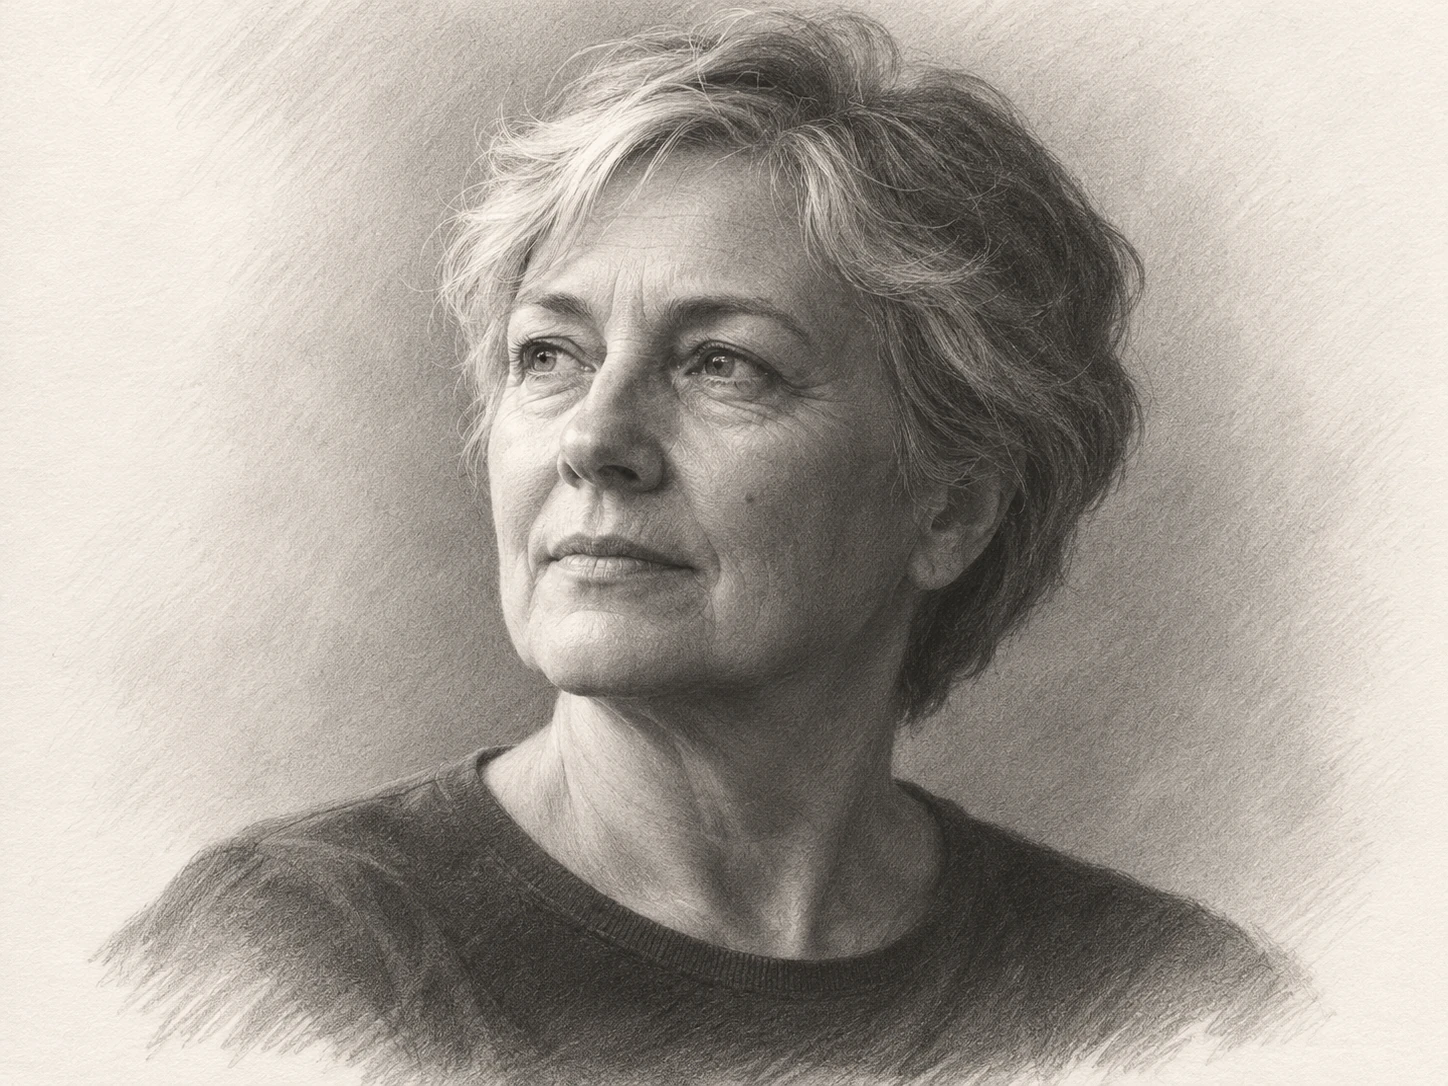
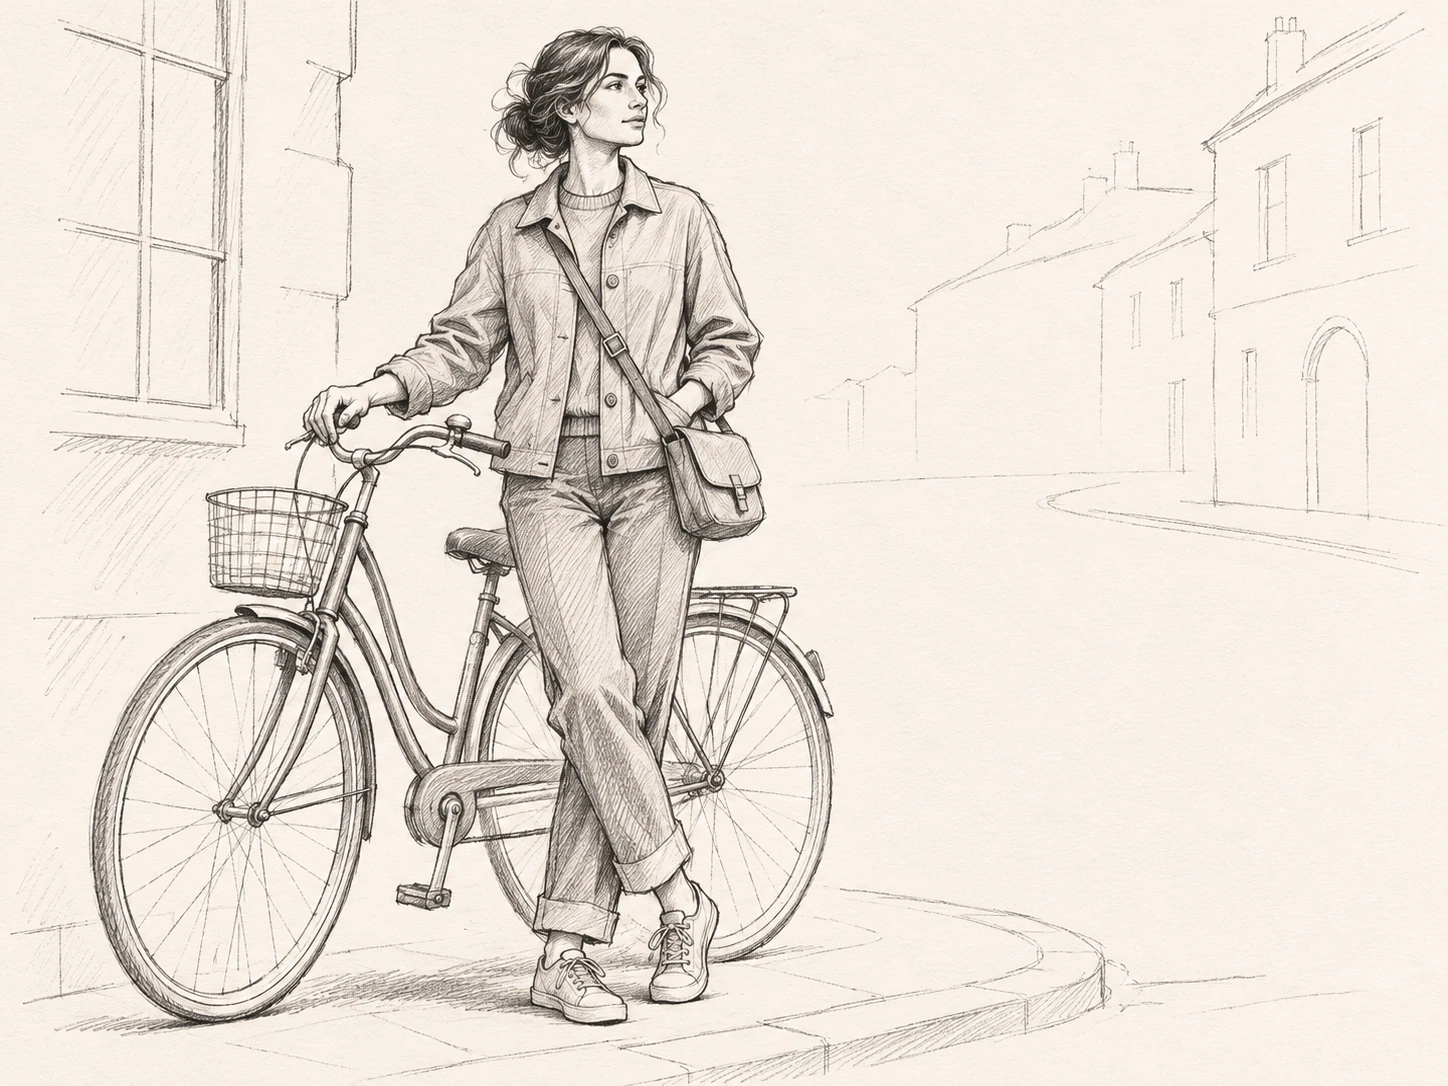
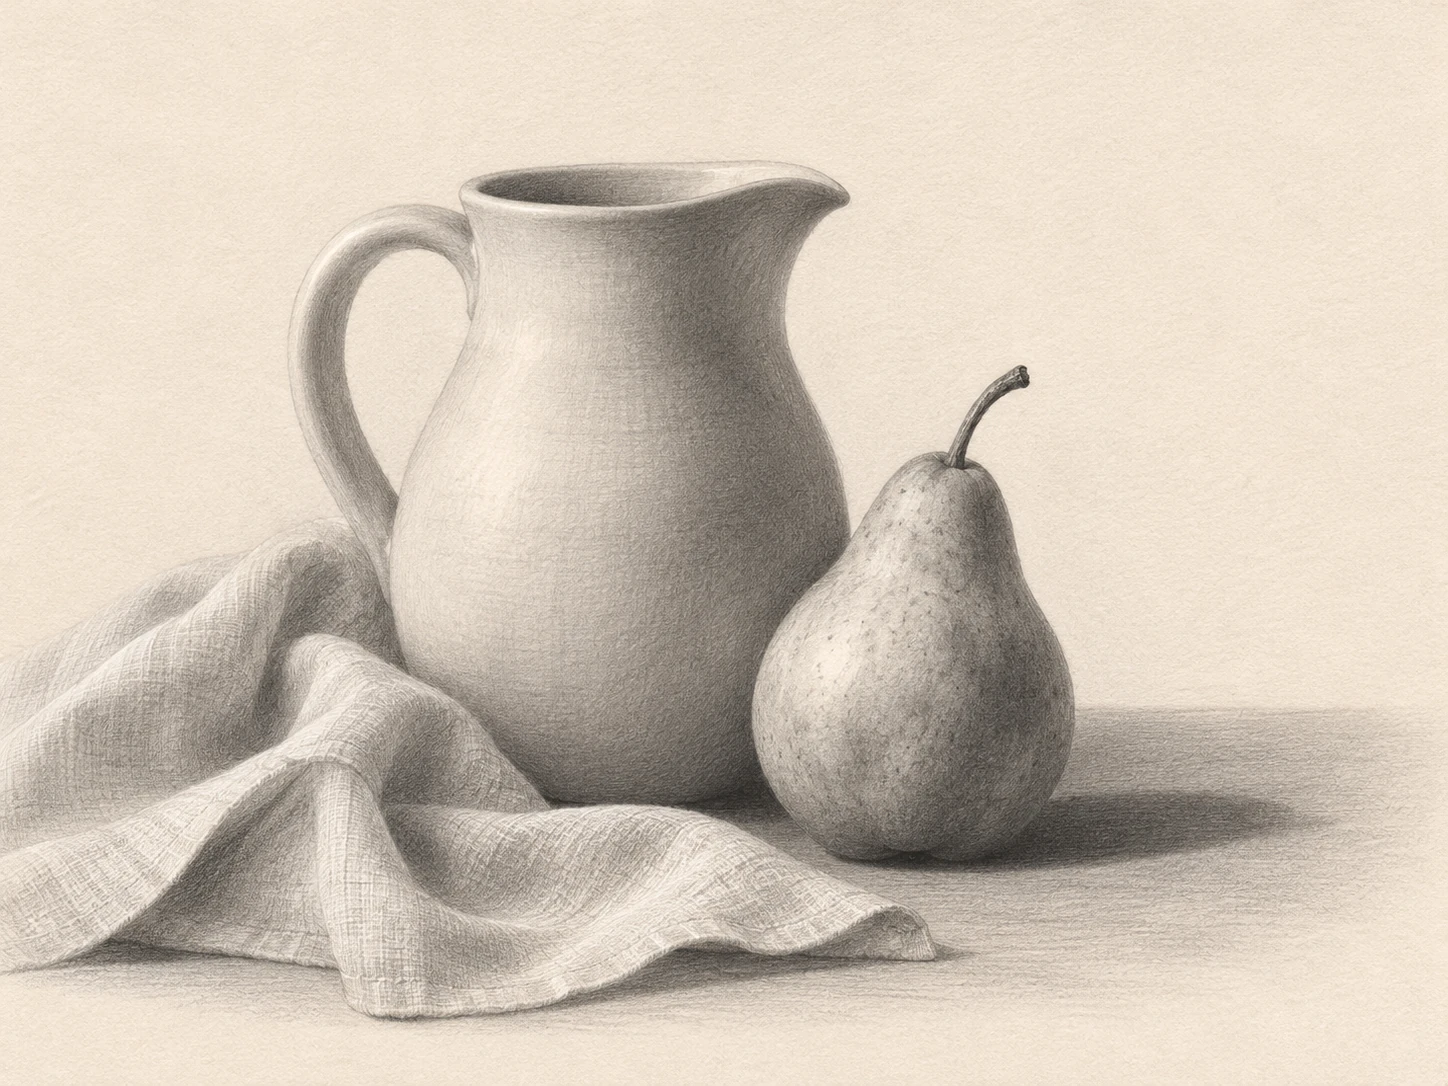
Explore a hand-drawn graphite look from a reference photo or a written description. The preset emphasizes contour, hatching and tonal shading rather than color. Choose the details that should stay sharp, such as the eyes in a portrait or the edge of a cup, then let quieter areas use lighter marks. The result is a digital interpretation of pencil drawing, ready to review and download.
Illustrative style preview. Generated results vary with your prompt and reference photos.
What you can create with the AI Pencil Sketch Generator
Choose the subject, purpose and visual priorities before adding detail. These decisions give you a clearer brief to refine.
Control line weight and emphasis
Ask for darker contours where the subject needs definition and lighter marks around less important areas. A uniform outline can make a portrait feel flat. Varied pressure, broken edges and selective hatching help distinguish facial features, fabric folds and background shapes without filling the whole image with equal detail.
Describe the direction of the light and the darkest area of the drawing. A single window light makes it easier to judge the nose, cheek and jaw. Preserve a few highlights as clean paper and avoid asking for dramatic shadows in every corner, which can bury the subject in gray.
A photograph may contain more detail than a sketch needs. Tell the model to preserve the main person or object while reducing background clutter to faint suggestions. This is useful for a street portrait or a desk scene where the subject could otherwise disappear among furniture, signs and small objects.
A loose study can use visible construction marks and unfinished edges, while a polished portrait may need smoother tonal transitions. Describe the intended finish rather than simply asking for more detail. For a sketchbook look, leave space around the subject and keep the paper surface understated.
Start from text or reference photos, then check the format and cost before generating.
Step 1
Choose your starting point
Sign in when you are ready to upload or generate. Describe a new subject, or add clear reference images. The editor accepts up to eight PNG, JPEG or WebP references. Upload references one at a time. If a file exceeds the upload limit, resize it and try again.
Pencil Sketch
1:116:92K
Step 2
Add details and select the format
Keep the pencil sketch preset selected and describe the scene, pose, lighting and important details in your own words. Choose an aspect ratio for the intended use and select 1K, 2K or 4K. The displayed credit estimate updates with the chosen resolution.
Step 3
Review, refine and download
Submit the request and follow the image status in the preview area. Download a successful result and inspect important details at full size. Reuse the prompt for another version, changing one important detail at a time. Generation time varies; follow any error instructions before submitting again.
Both use the same model. Presets supply a starting direction; custom prompts let you describe the complete treatment.
Decision
This style preset
Custom prompt
Visual direction
Begins with pencil sketch instructions.
You describe the medium, light and finish.
Creative control
Add your subject, setting and specific details.
Define the full image direction from scratch.
Reference photos
Optional references guide appearance and composition.
The same reference-upload options are available.
Output settings
Choose the displayed ratio and resolution options.
Choose from the same output settings.
Review before use
Check the subject and the style interpretation.
Check the subject and every requested treatment.
Choose a use for your next image
Plan for the destination: avatars, illustrations and presentation images need different crops and background detail.
01
Personal portrait studies
Create a monochrome study from a clear face photo. A three-quarter view and one-sided light can provide more readable shape than an evenly lit front-facing snapshot.
Try a cup, shoe, instrument or household object with simple surroundings. Name the material and the shadow beneath it so the drawing has a convincing sense of weight.
Reinterpret a meaningful photo as a quiet drawing. Keep the important gesture or relationship visible, and simplify distant scenery that does not contribute to the memory.
Use a sketch treatment to explore composition before choosing a color direction. Compare the placement of large shapes rather than treating the generated drawing as an exact construction plan.
Adapt these prompts to your subject. Illustrations show a direction; they do not promise an identical generated result.
PROMPT EXAMPLE 1
Window-lit portrait study
A graphite pencil portrait of the person in the reference, three-quarter view, preserving the short hair and subtle smile. Light from a window on the right, varied contour weight, gentle cross-hatching under the jaw and visible paper highlights. Keep the background mostly blank with lightly suggested shoulders.
Ask for a lighter background if the face does not stand out.
PROMPT EXAMPLE 2
Everyday object sketch
A hand-drawn pencil study of a worn leather hiking boot resting on a plain tabletop. Emphasize stitching, folded leather and the weight of the sole. Directional light from the upper left, measured cross-hatching, a soft cast shadow and lightly textured off-white paper. No labels or added text.
A plain surface helps small texture details remain readable.
PROMPT EXAMPLE 3
Quiet street drawing
A loose graphite sketch of a small corner cafe with an open doorway, two outdoor chairs and a bicycle leaning nearby. Keep the doorway as the focal point, use lighter lines for the distant street and leave the sky as white paper. Human-scale architecture, soft afternoon shadows, no readable signage.
Reduce the number of objects if the doorway becomes visually crowded.
Small decisions that improve the brief
Explain what must stay, what may change and where the image will appear. Review against those priorities.
Separate line and tone requests
Linework defines boundaries while shading describes volume. If a drawing feels too flat, ask for a clearer light direction and tonal modeling rather than heavier outlines everywhere. If it feels muddy, reduce background shading and protect a few clean white highlights.
Inspect proportions carefully
A sketch treatment can hide small distortions behind attractive texture. Check eye spacing, hands, the tilt of objects and the perspective of buildings. Use the reference as a guide when judging the result, and request a simpler composition if several structural details need correction.
Avoid competing drawing styles
Graphite, charcoal and ink produce different marks. Pick graphite when you want fine lines and controlled gray values. Asking for heavy charcoal smears and precise technical ink contours in the same request can obscure the clean pencil character of this preset.
Questions before you create
What does the AI Pencil Sketch Generator do?
It applies a pencil sketch creative direction to Nano Banana Pro, combined with your description and any reference images. The preset is a starting brief, not a fixed filter. You can still specify the subject, background, colors and framing to fit a particular idea.
Can I start without a reference photo?
Yes. Describe the subject and the scene in text to create a new image. Add a reference when you want to guide a particular appearance, shape or composition. Uploading a photo does not guarantee an exact copy of a face, object or arrangement.
How should I choose reference images?
Choose clear, relevant photos and explain which details each should guide. Avoid contradictory appearances or product versions. Use images you are entitled to upload, within the file formats and limits described in the upload step.
How much detail can I put in the prompt?
The combined style instructions and your text must fit the image model’s 5,000-character limit. The available space shown in the editor accounts for the preset. Prioritize the subject, pose, setting, light and must-keep details; conflicting requests are less useful than a focused description.
What does a generation cost?
Generating uses credits from your signed-in account. The estimate beside Generate changes with the chosen resolution. Available image sizes are 1K, 2K and 4K. Each new image or video request has its own credit cost; choosing a larger size does not guarantee a better creative interpretation.
Can I revise the image or turn it into a video?
You can reuse the prompt, change the brief and submit another image request. Download a successful result or send it to the video generator as a starting image. A video is a separate generation with its own settings and credit cost; it is not included in the image request.
Start with one clear idea
Add a reference or describe your subject. Choose the format, check the credit estimate and create a first version to refine.