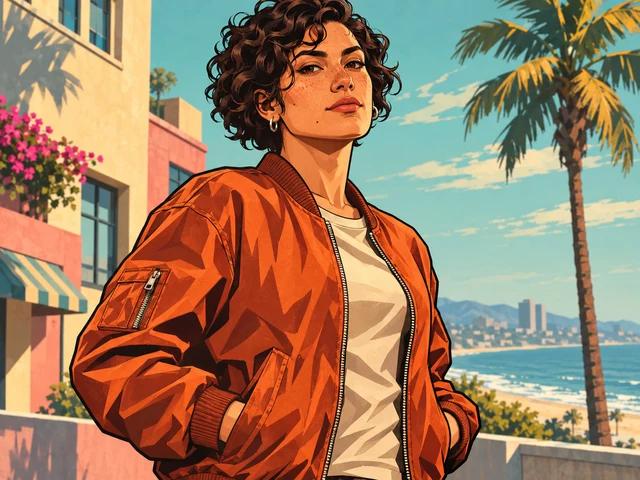
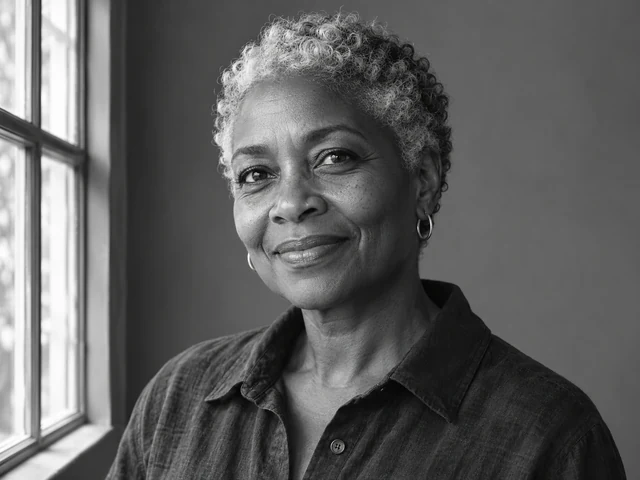
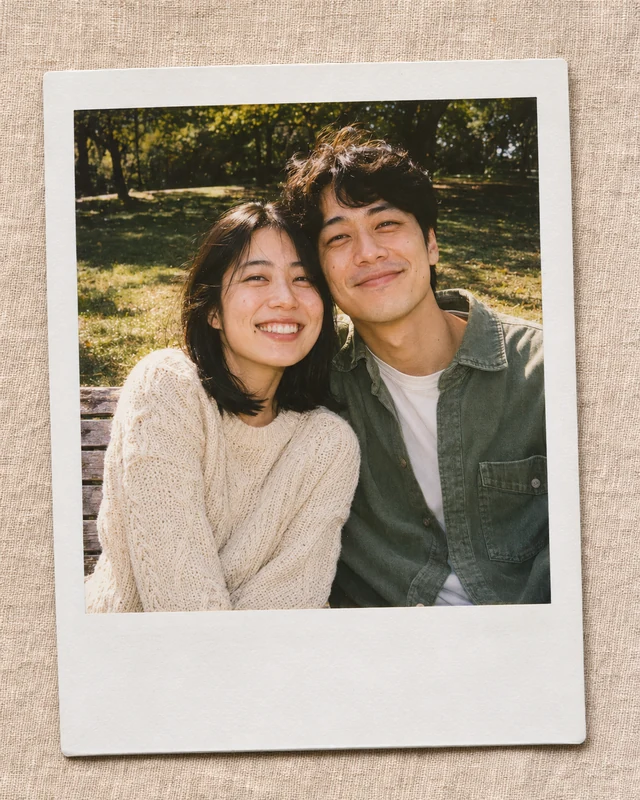
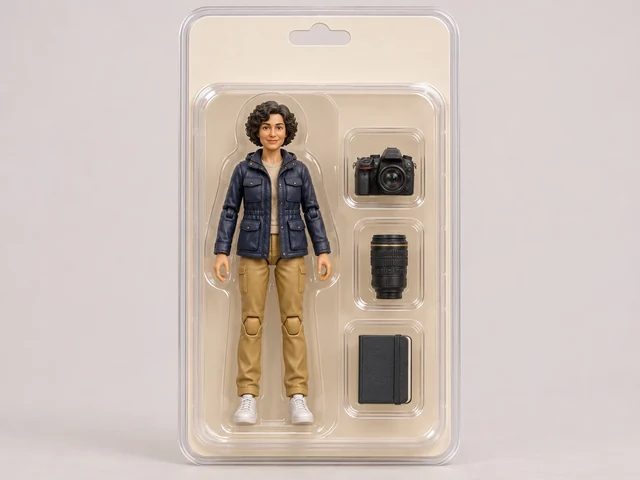
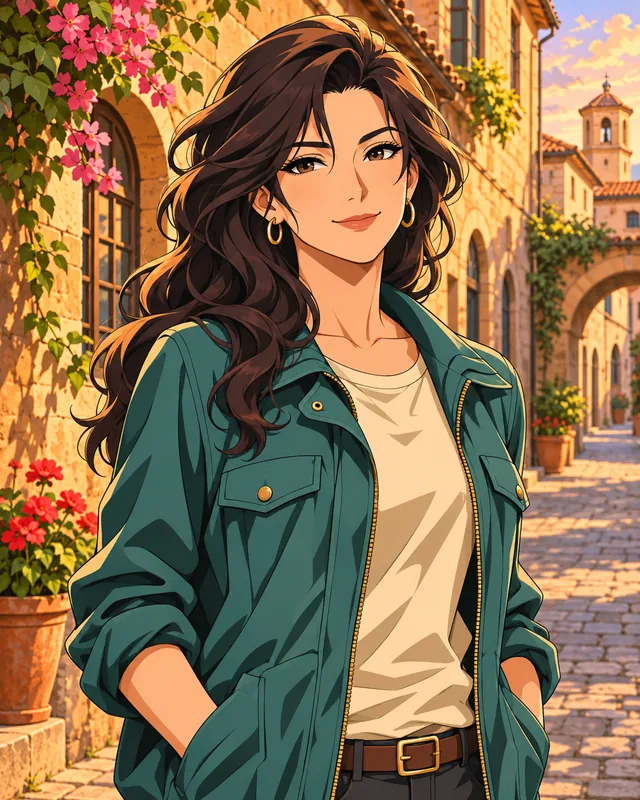
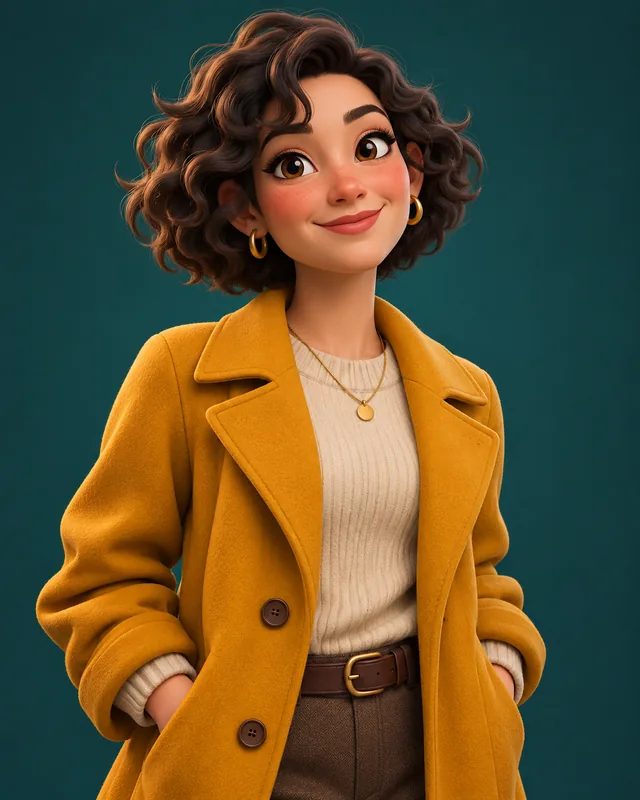
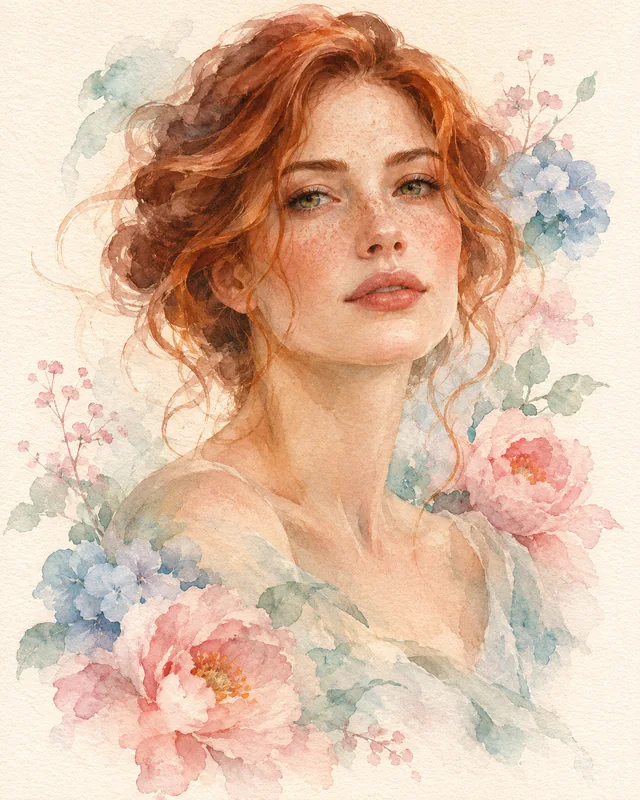
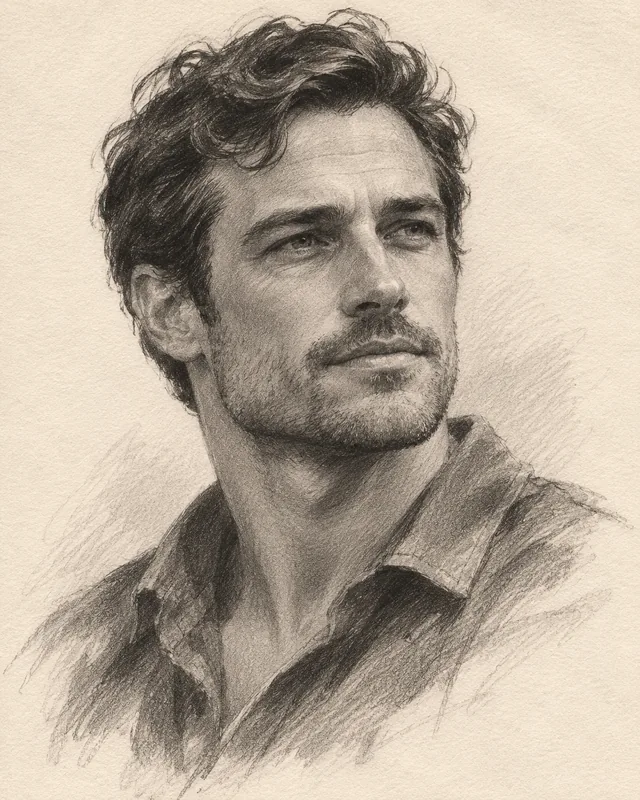
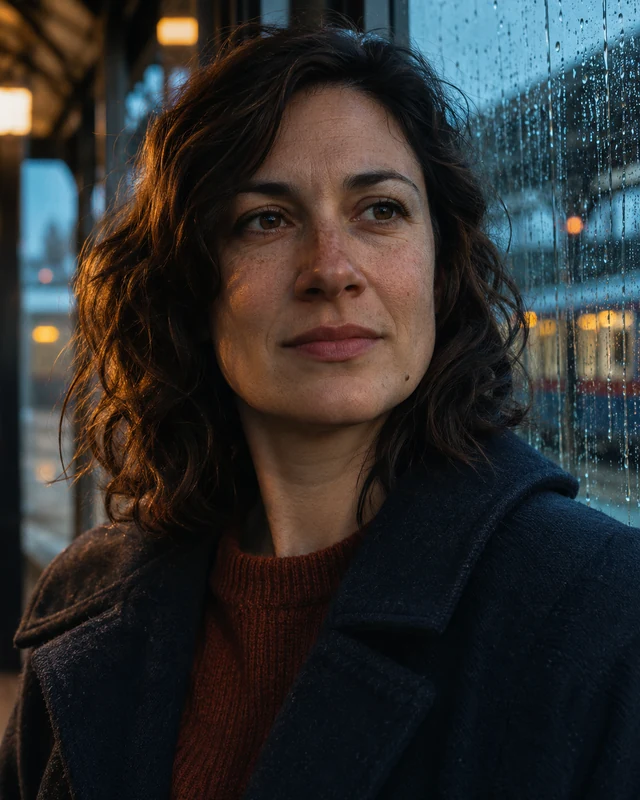
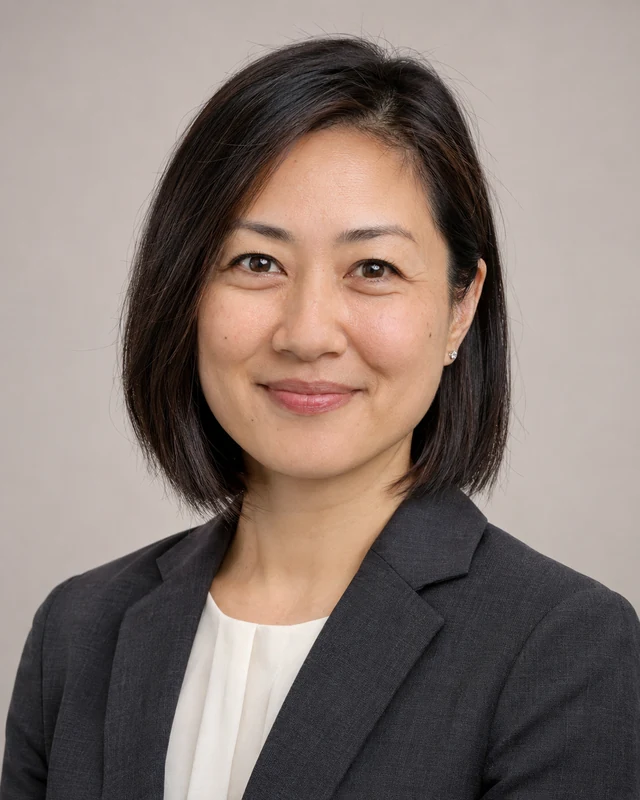
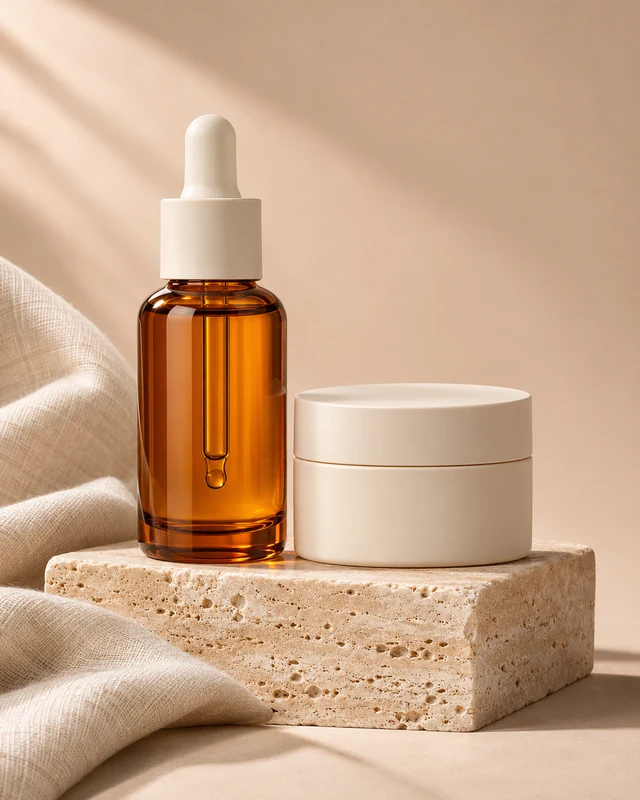
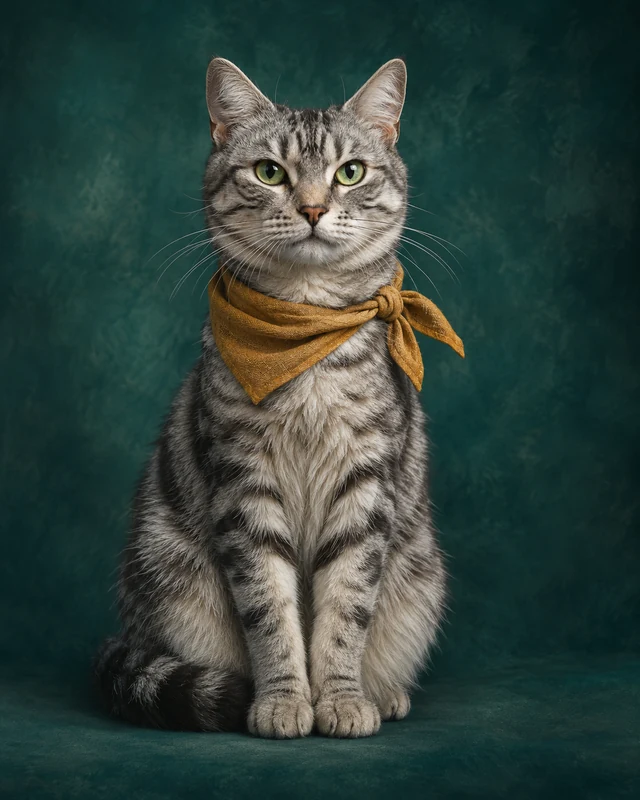
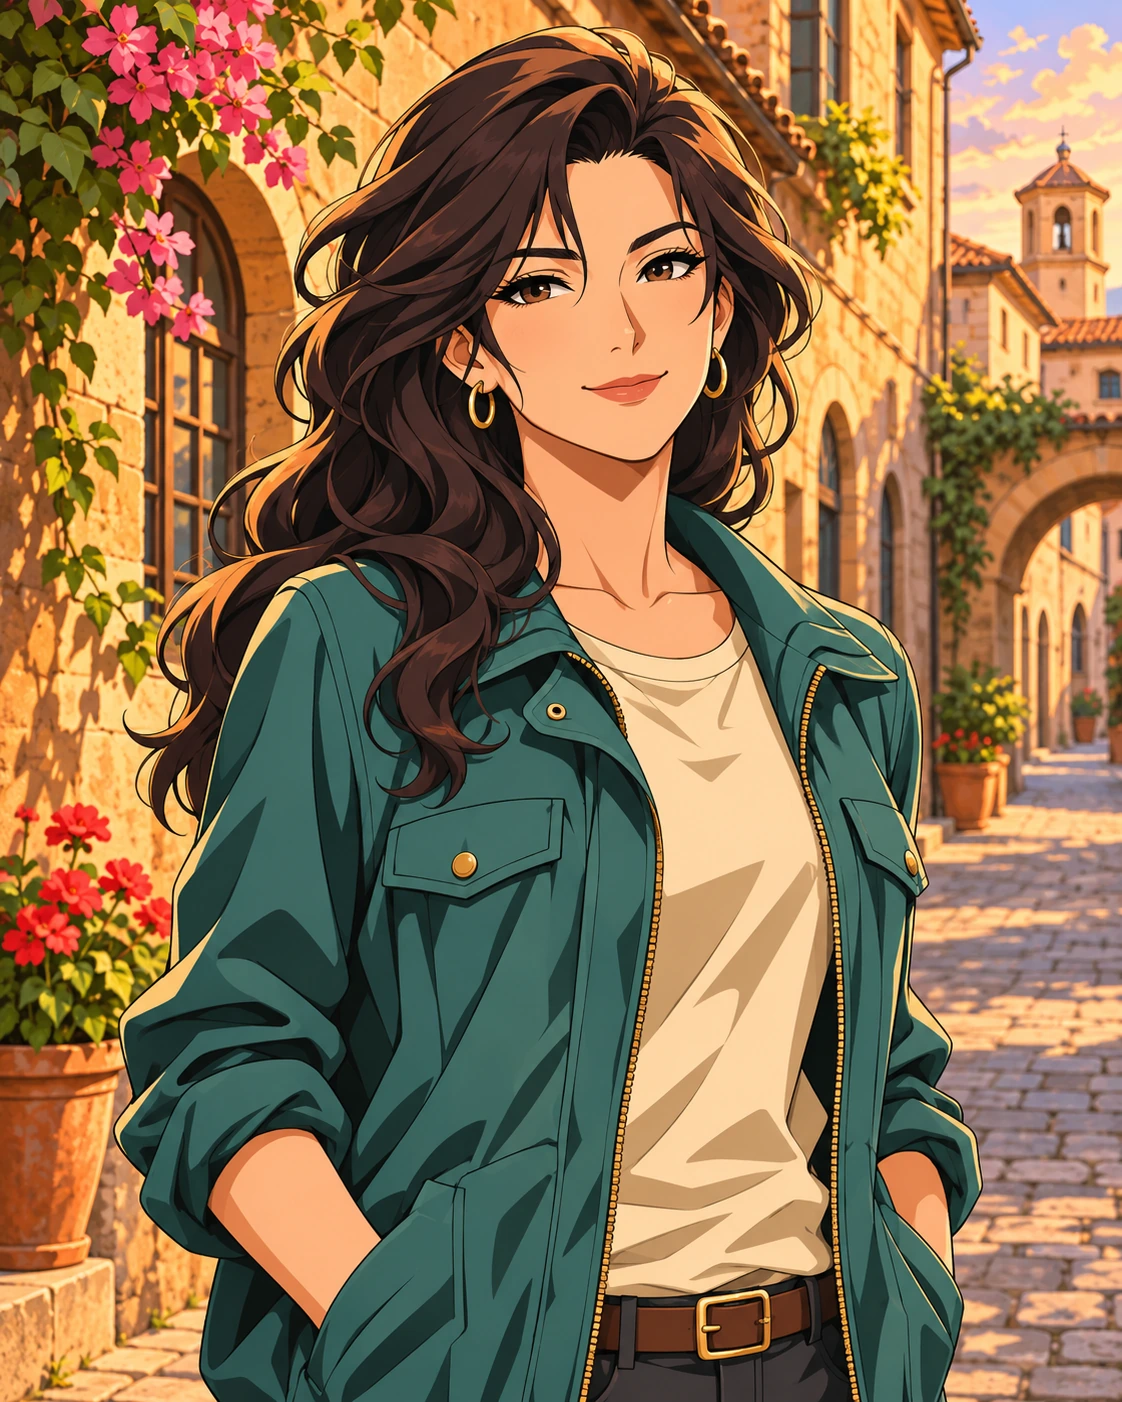
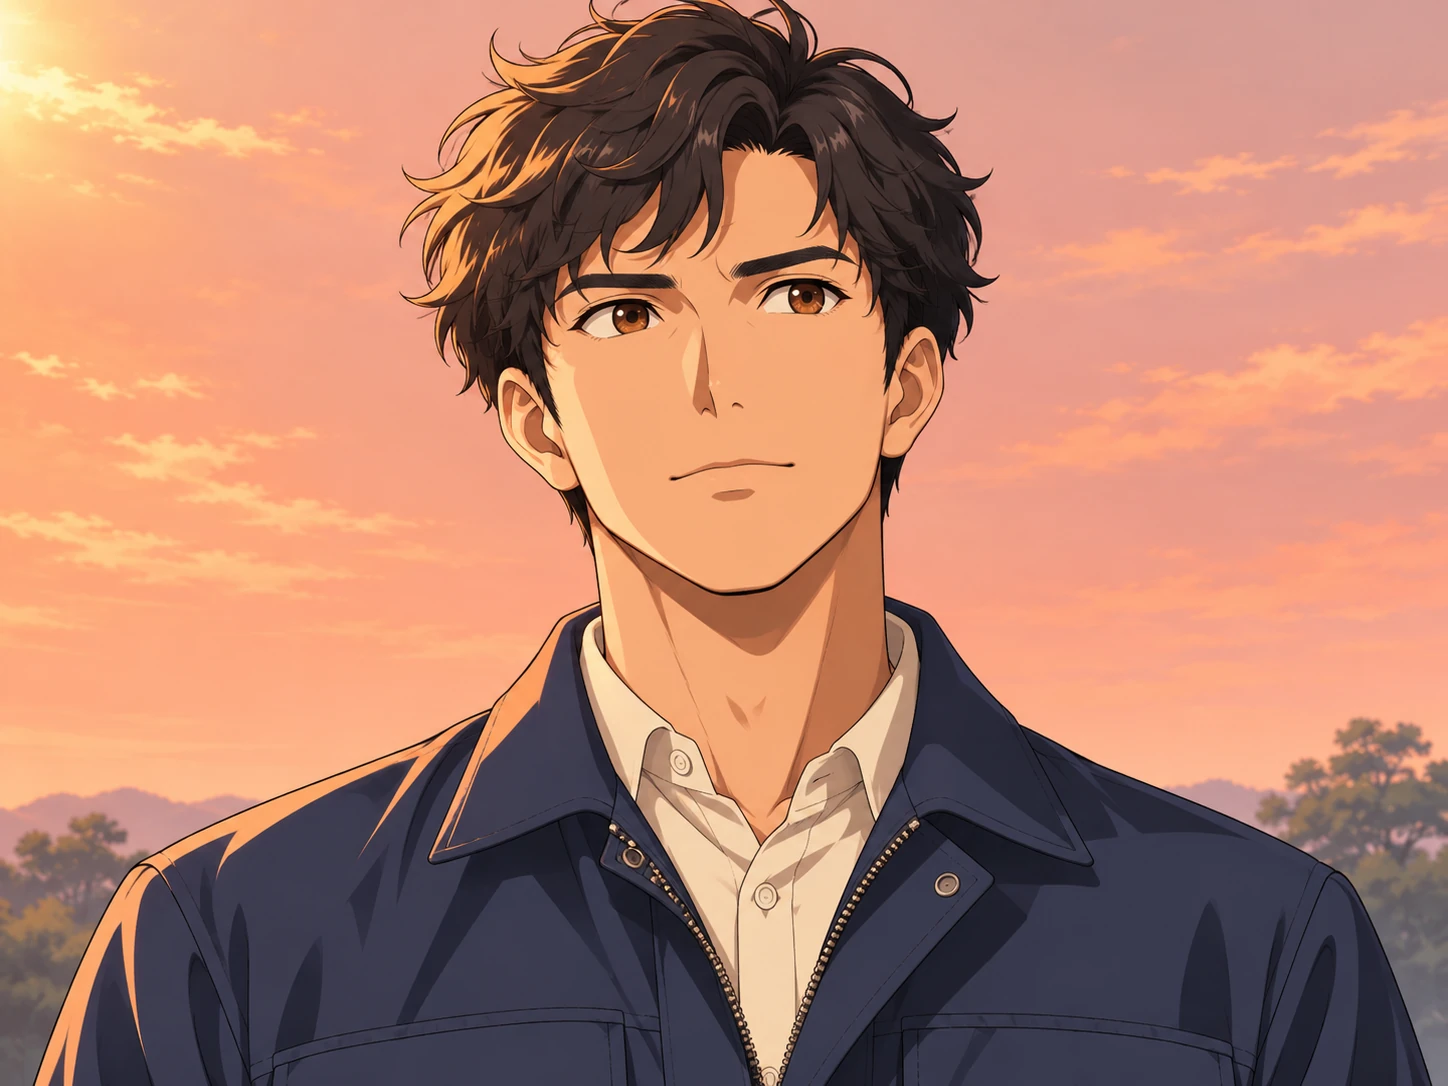
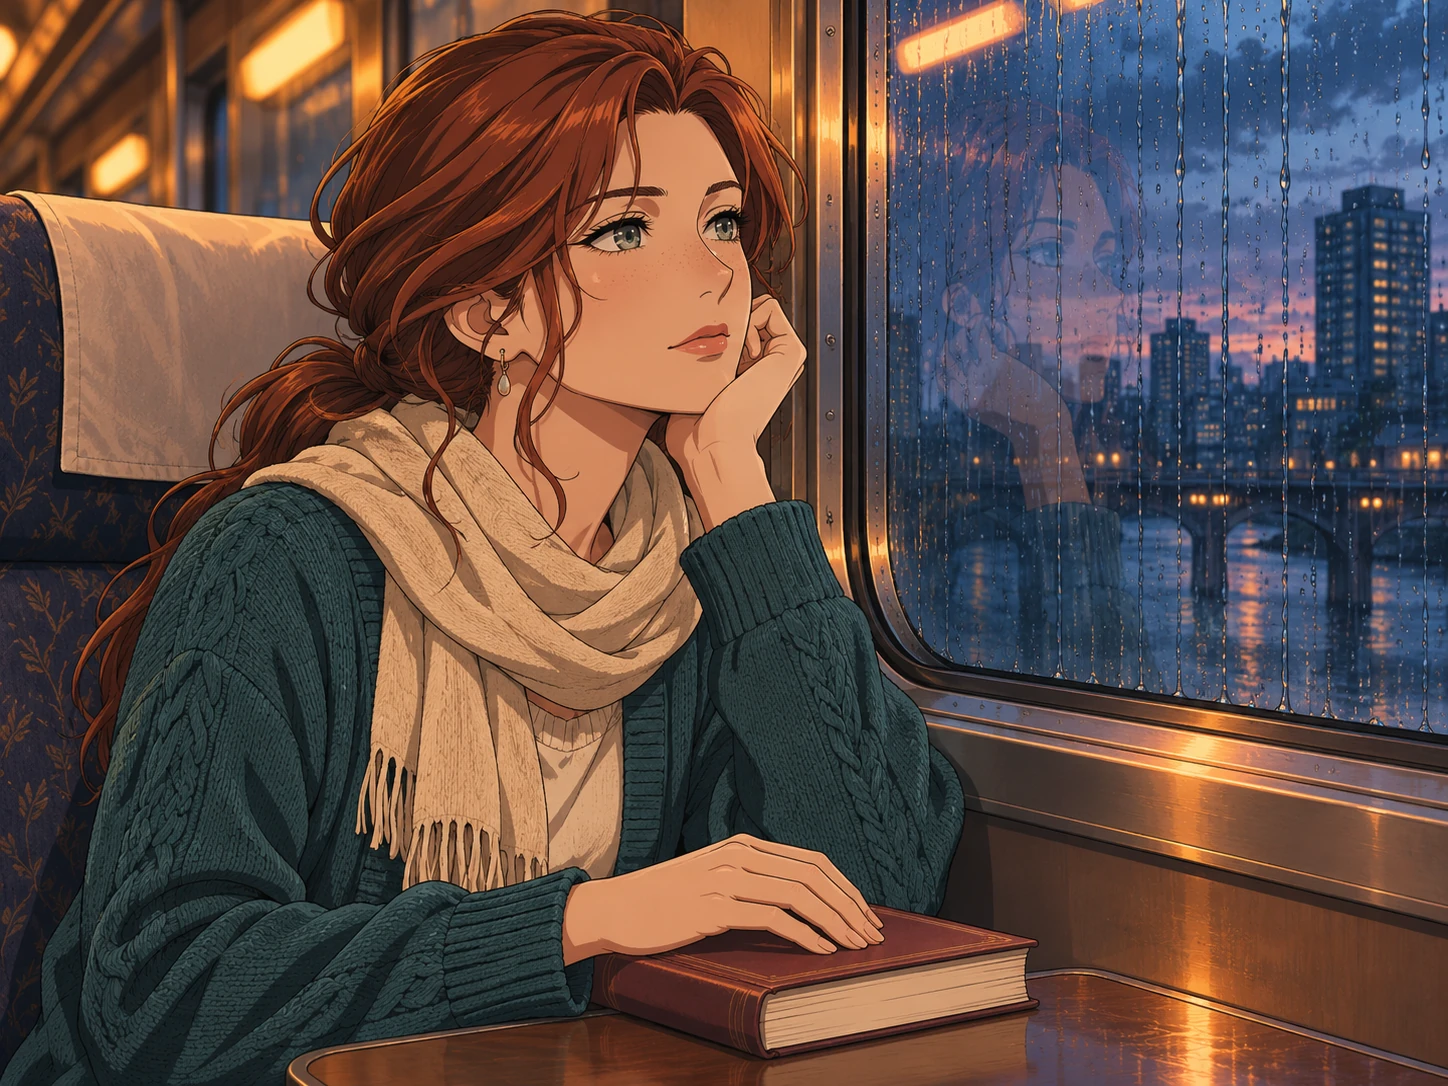
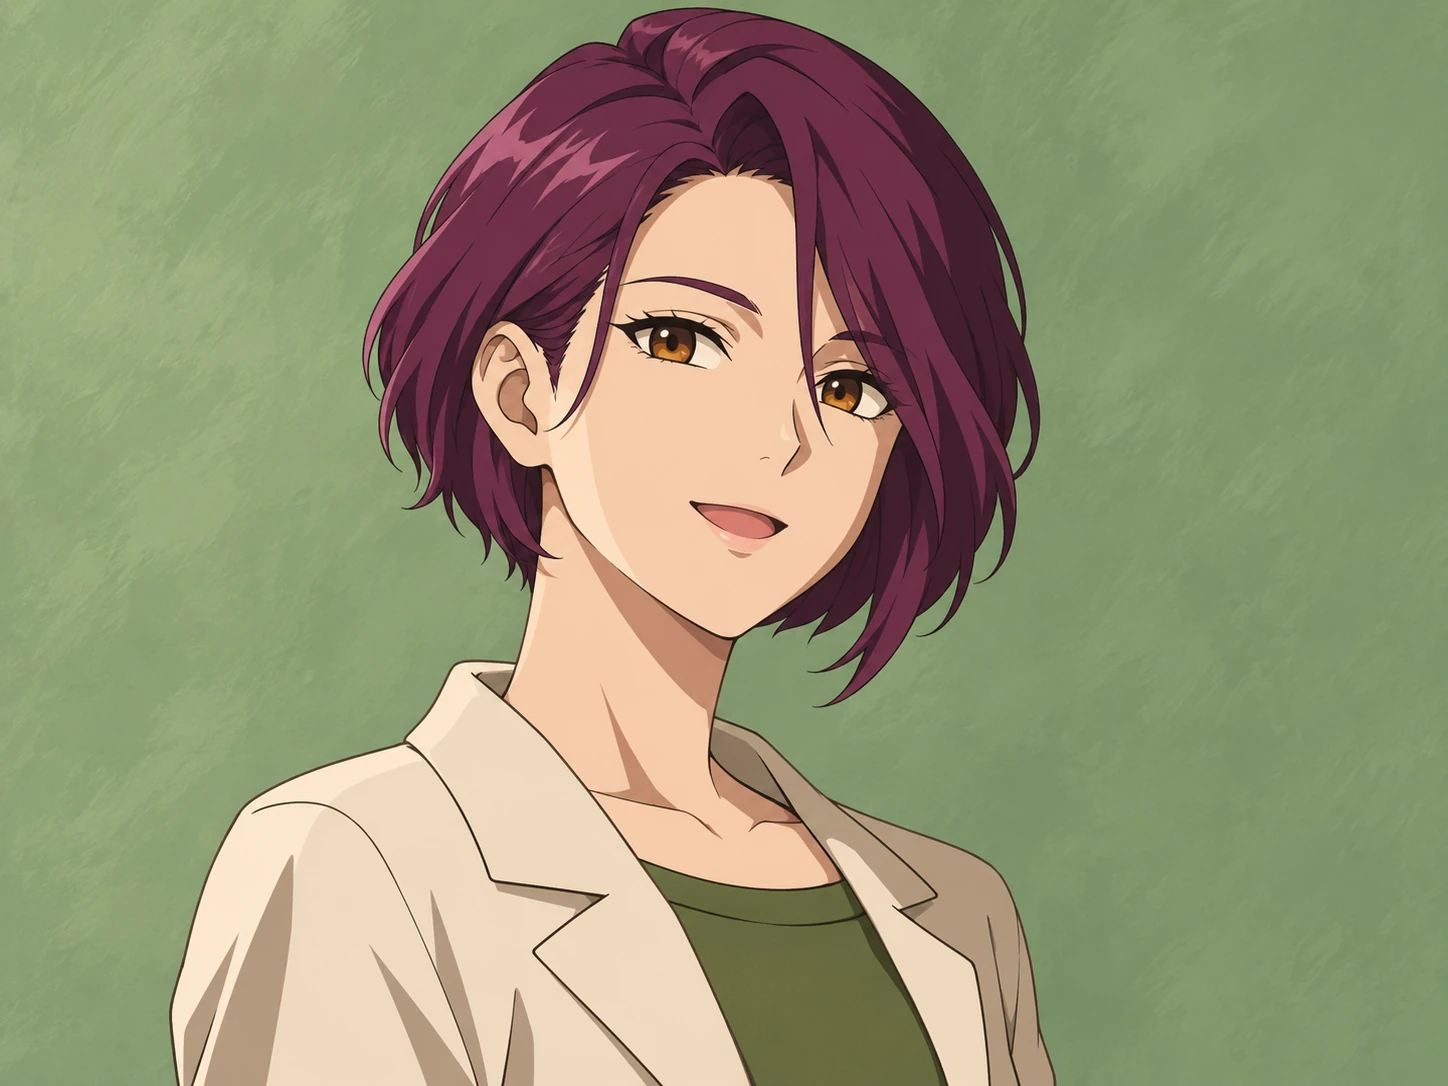
Turn a portrait or a character description into an original anime illustration. Start with the features that make the subject recognizable, then choose a mood, outfit and background. The preset supplies clean outlines and cel-shaded color; your prompt decides whether the result feels like a quiet character study, an energetic profile image or a scene from an imagined story.
Illustrative style preview. Generated results vary with your prompt and reference photos.
What you can create with the AI Anime Portrait Generator
Choose the subject, purpose and visual priorities before adding detail. These decisions give you a clearer brief to refine.
Keep the character recognizable
Choose a reference with a clear face and a hairstyle you want to keep. Ask for the same fringe, glasses or distinctive clothing, then explain the desired illustration treatment. Anime proportions can change facial features, so describe which details matter most instead of expecting an exact photographic copy.
A few coordinated colors usually give a portrait a clearer identity than many competing accents. Try navy clothing against a peach sky, or a cream jacket with a muted green background. Describe the main color, supporting color and light direction before adding tiny costume details.
For an avatar, keep the face large and leave a little space above the hair. For a story portrait, include the shoulders, hands or a small environmental clue. A rain-streaked window communicates a different mood from a bright school courtyard even when the character stays the same.
Describe visual qualities rather than naming a specific franchise character. Clothing shapes, line weight, lighting and facial expression give the model a useful direction while leaving room for an original result. If a design becomes too busy, remove secondary props and bring attention back to the face.
Start from text or reference photos, then check the format and cost before generating.
Step 1
Choose your starting point
Sign in when you are ready to upload or generate. Describe a new subject, or add clear reference images. The editor accepts up to eight PNG, JPEG or WebP references. Upload references one at a time. If a file exceeds the upload limit, resize it and try again.
Anime Portrait
1:116:92K
Step 2
Add details and select the format
Keep the anime portrait preset selected and describe the scene, pose, lighting and important details in your own words. Choose an aspect ratio for the intended use and select 1K, 2K or 4K. The displayed credit estimate updates with the chosen resolution.
Step 3
Review, refine and download
Submit the request and follow the image status in the preview area. Download a successful result and inspect important details at full size. Reuse the prompt for another version, changing one important detail at a time. Generation time varies; follow any error instructions before submitting again.
Both use the same model. Presets supply a starting direction; custom prompts let you describe the complete treatment.
Decision
This style preset
Custom prompt
Visual direction
Begins with anime portrait instructions.
You describe the medium, light and finish.
Creative control
Add your subject, setting and specific details.
Define the full image direction from scratch.
Reference photos
Optional references guide appearance and composition.
The same reference-upload options are available.
Output settings
Choose the displayed ratio and resolution options.
Choose from the same output settings.
Review before use
Check the subject and the style interpretation.
Check the subject and every requested treatment.
Choose a use for your next image
Plan for the destination: avatars, illustrations and presentation images need different crops and background detail.
01
Social avatars
Create a shoulder-up portrait with an uncluttered background. Check that the eyes and hairstyle remain readable when the image is reduced to a small circle.
Give a fictional character a distinct outfit, expression and color story. Leave open space around the subject if you will add a name or description later.
Use a consenting friend’s portrait as a reference and add a shared interest, such as a bicycle or a favorite flower. Keep the person as the main subject.
Explore how a character might look in different scenes before choosing a direction. Reuse the description as a starting point, then review each result for visual consistency.
Adapt these prompts to your subject. Illustrations show a direction; they do not promise an identical generated result.
PROMPT EXAMPLE 1
Soft window-light avatar
A shoulder-up anime portrait of the person in the reference, keeping their short curly hair and round glasses, wearing a cream sweater beside a window. Soft morning light from the left, muted sage background, clean linework and calm expression. Leave space above the hair; no lettering.
Use a square crop when the final destination is a profile picture.
PROMPT EXAMPLE 2
Rainy city character
An original anime character with a short auburn bob, navy raincoat and a small red umbrella, standing near a quiet city crossing at dusk. Three-quarter portrait, reflections on wet pavement, warm shop light behind the character, restrained cel shading and a thoughtful expression. No logos or signage text.
Keep the umbrella slightly away from the face to make the expression readable.
PROMPT EXAMPLE 3
Adventure character card
A waist-up anime illustration of a fictional traveler with dark braided hair, a mustard jacket and a canvas shoulder bag, overlooking a green valley. A relaxed confident smile, clear blue afternoon light, simple cloud shapes and crisp contour lines. Compose vertically with the whole hairstyle inside the frame.
If the bag distracts from the portrait, make it smaller in the next prompt.
Small decisions that improve the brief
Explain what must stay, what may change and where the image will appear. Review against those priorities.
Choose a useful source photo
Use an evenly lit face without a heavy beauty filter or another face overlapping it. If several people appear, explain which one should become the main character. A clear reference gives better guidance than several unrelated photos with different haircuts and expressions.
Change one decision at a time
When refining, keep the character description and change the background, expression or crop separately. Rewriting every detail makes it harder to tell what helped. Compare the face at the same size and check the hairline, glasses, ear placement and visible hands.
Plan for the final display
An avatar needs fewer background details than a full-size illustration. A banner needs space around the subject, while a character card benefits from a vertical composition. Select the format first so you do not have to remove important hair, clothing or props later.
Questions before you create
What does the AI Anime Portrait Generator do?
It applies a anime portrait creative direction to Nano Banana Pro, combined with your description and any reference images. The preset is a starting brief, not a fixed filter. You can still specify the subject, background, colors and framing to fit a particular idea.
Can I start without a reference photo?
Yes. Describe the subject and the scene in text to create a new image. Add a reference when you want to guide a particular appearance, shape or composition. Uploading a photo does not guarantee an exact copy of a face, object or arrangement.
How should I choose reference images?
Choose clear, relevant photos and explain which details each should guide. Avoid contradictory appearances or product versions. Use images you are entitled to upload, within the file formats and limits described in the upload step.
How much detail can I put in the prompt?
The combined style instructions and your text must fit the image model’s 5,000-character limit. The available space shown in the editor accounts for the preset. Prioritize the subject, pose, setting, light and must-keep details; conflicting requests are less useful than a focused description.
What does a generation cost?
Generating uses credits from your signed-in account. The estimate beside Generate changes with the chosen resolution. Available image sizes are 1K, 2K and 4K. Each new image or video request has its own credit cost; choosing a larger size does not guarantee a better creative interpretation.
Can I revise the image or turn it into a video?
You can reuse the prompt, change the brief and submit another image request. Download a successful result or send it to the video generator as a starting image. A video is a separate generation with its own settings and credit cost; it is not included in the image request.
Start with one clear idea
Add a reference or describe your subject. Choose the format, check the credit estimate and create a first version to refine.