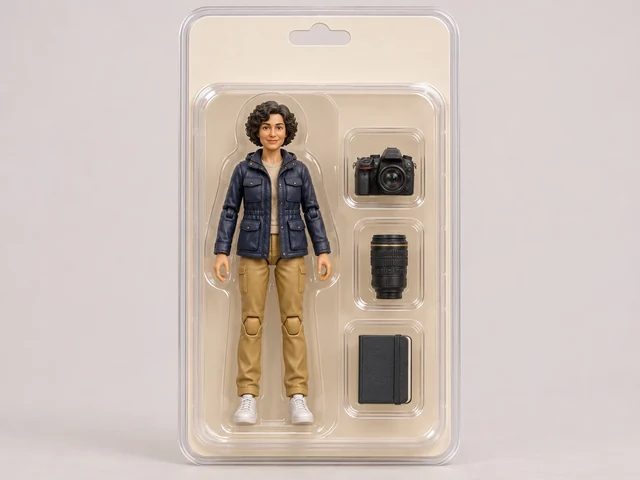
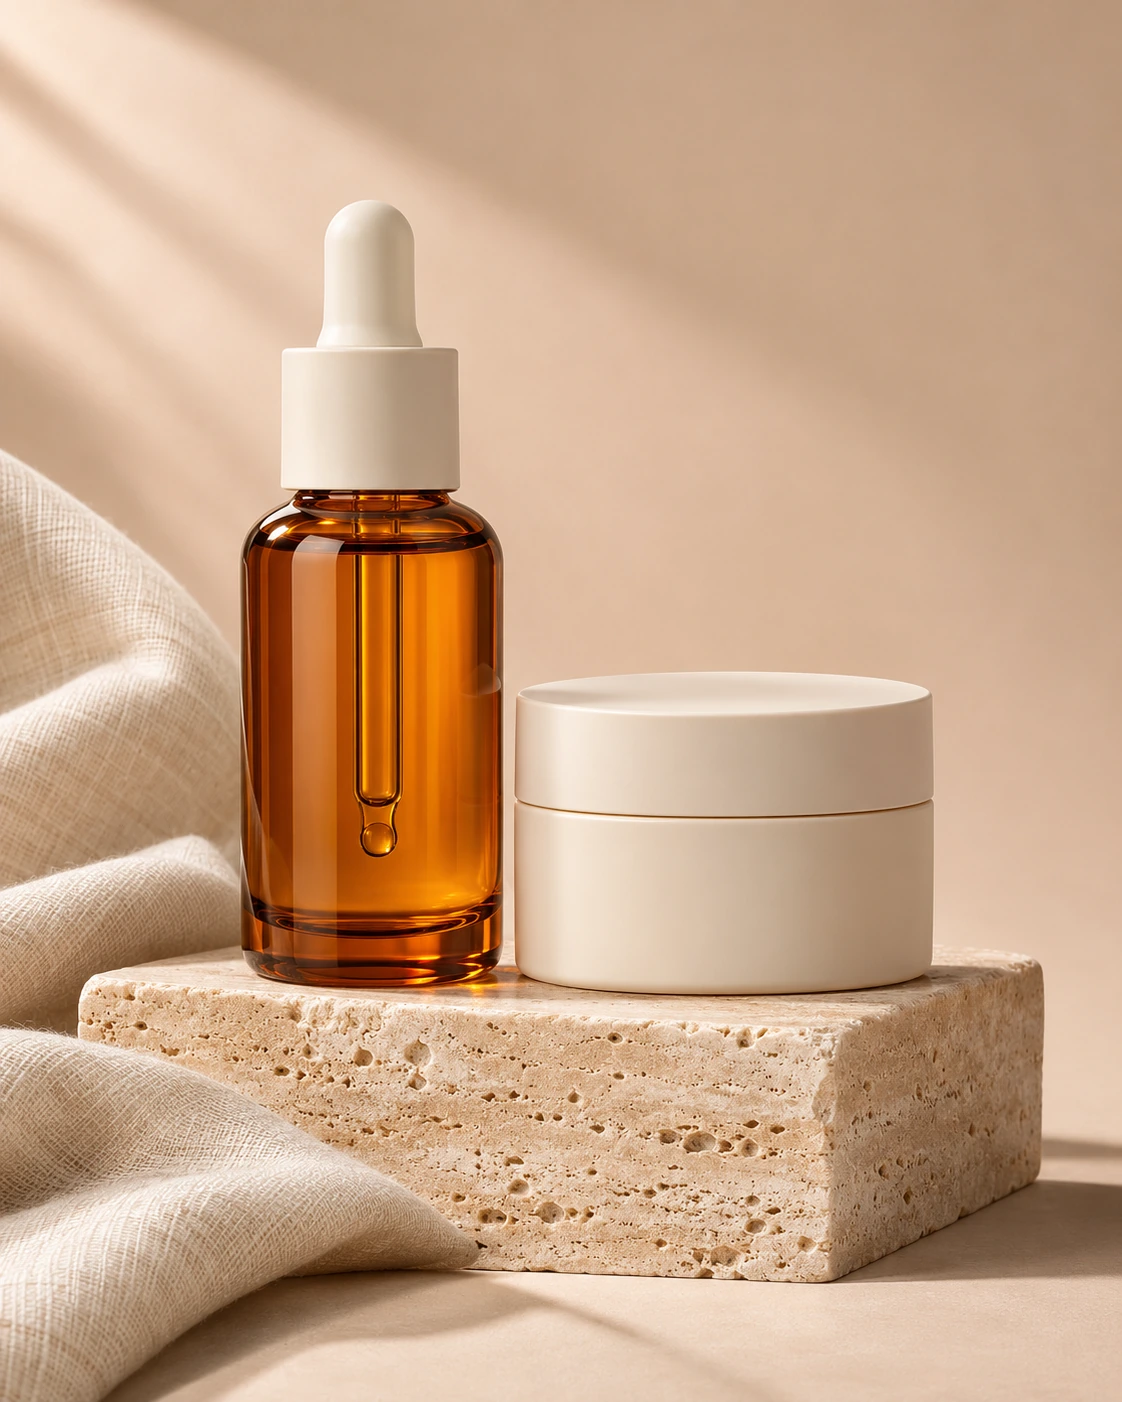
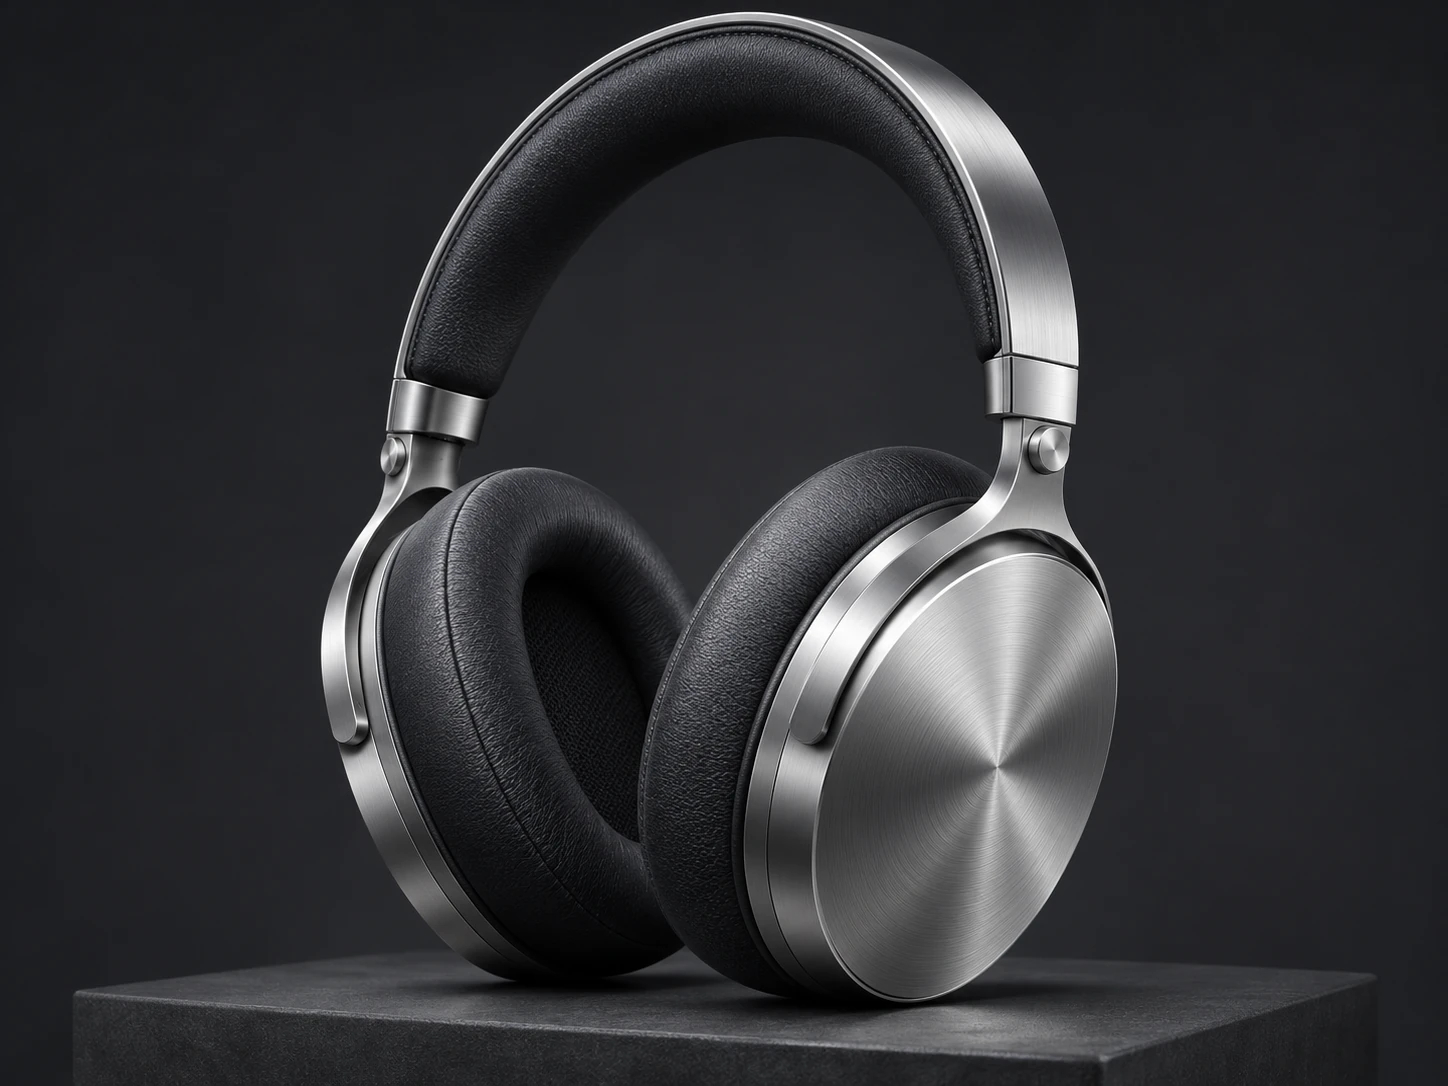
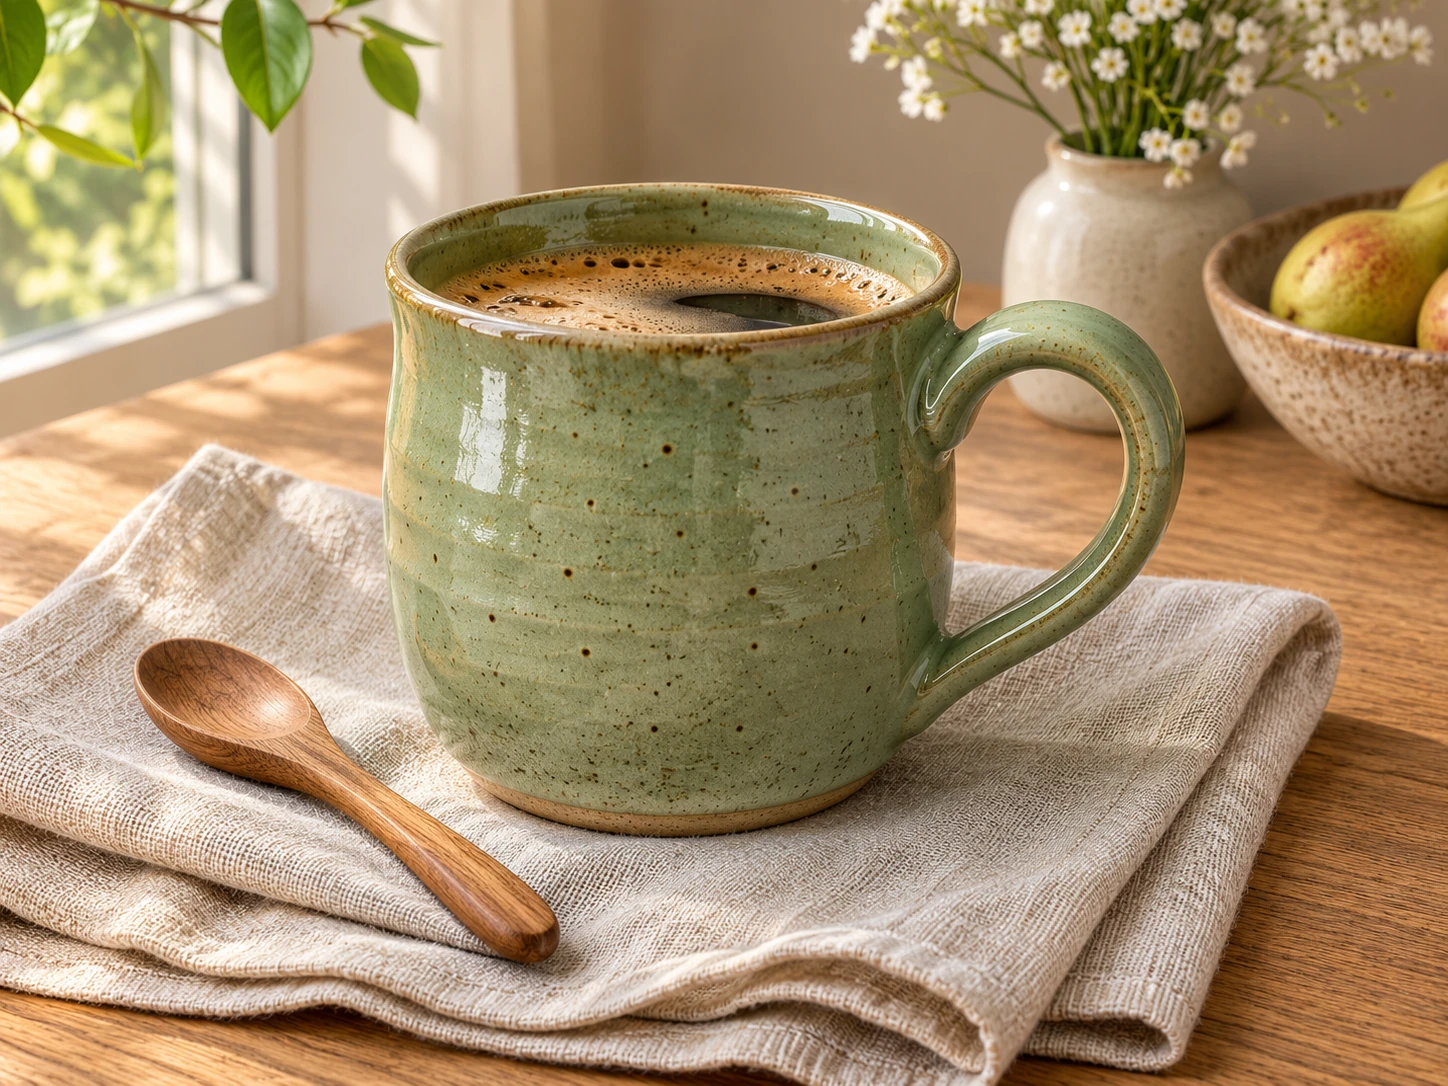
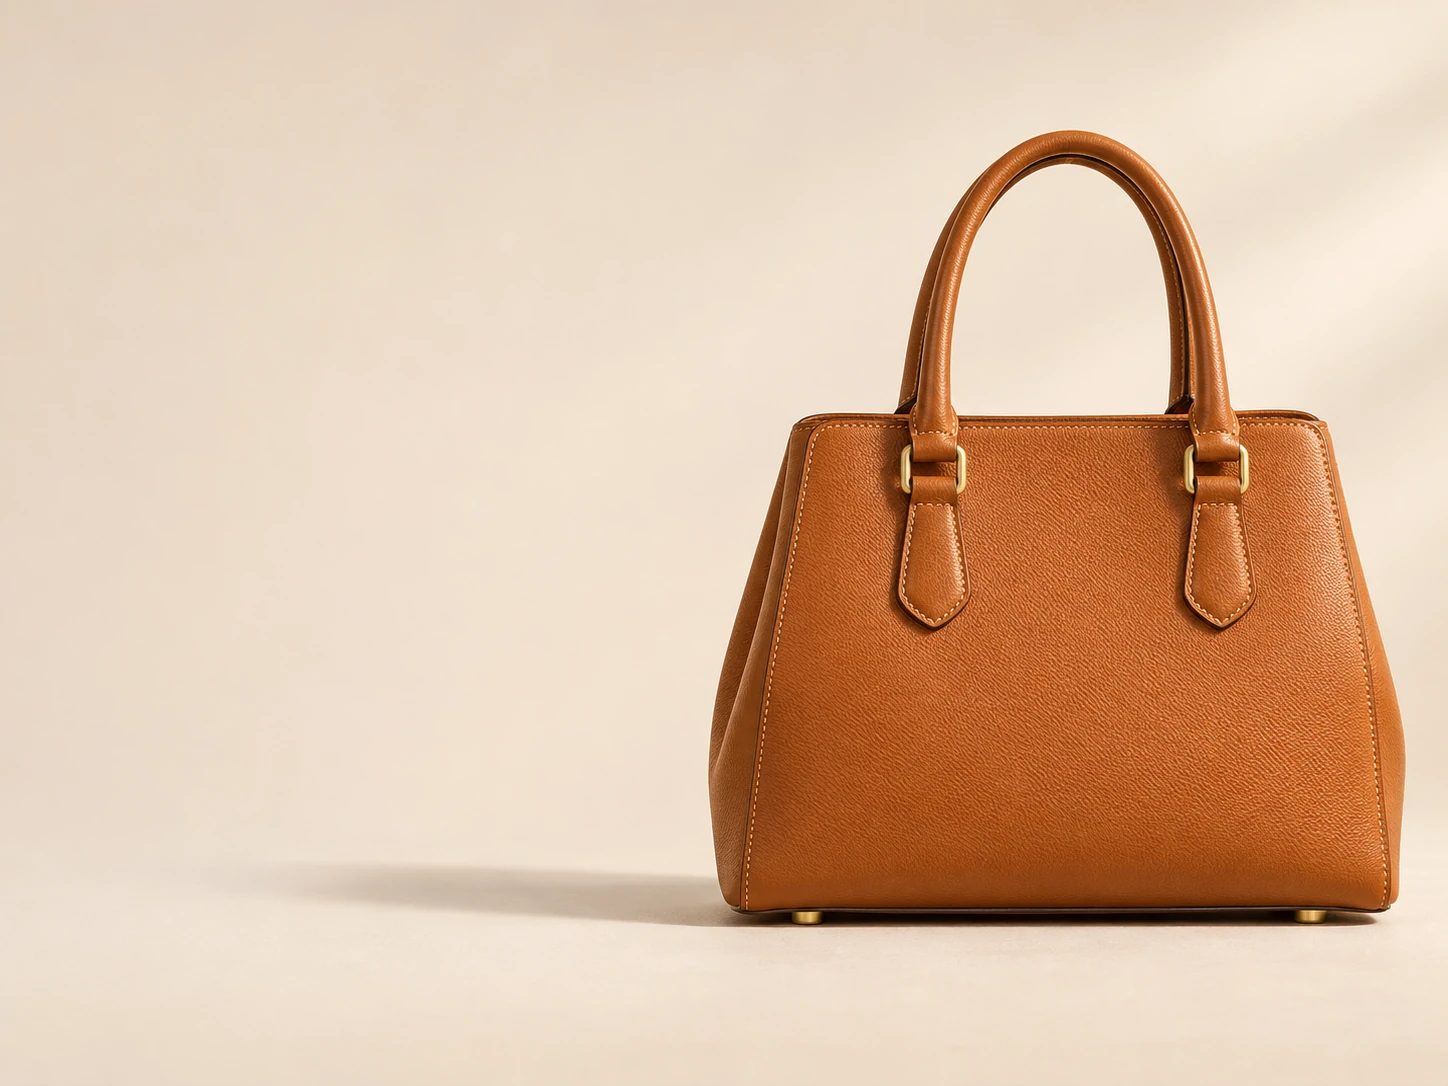
Explore product-image concepts from a reference photo or a description. Place one hero object in a clear setting, choose the light and surface, and explain which design details must remain visible. The preset helps direct a polished photographic look. It is useful for visual planning and creative presentation, but generated labels, dimensions and small product details still need careful checking against the real item.
Illustrative style preview. Generated results vary with your prompt and reference photos.
What you can create with the AI Product Photography Generator
Choose the subject, purpose and visual priorities before adding detail. These decisions give you a clearer brief to refine.
Keep the product as the hero
Describe the item’s shape, material and important details before adding decorative surroundings. A bottle, shoe or piece of jewelry needs enough space to show its full silhouette. If you use reference images, explain which design is authoritative rather than asking the model to combine conflicting product versions.
Glass needs controlled reflections, fabric benefits from readable texture and metal requires highlights that explain its form. Tell the model where the softbox or window light should appear and keep the background simple. Too many reflections can hide a product just as easily as too little light.
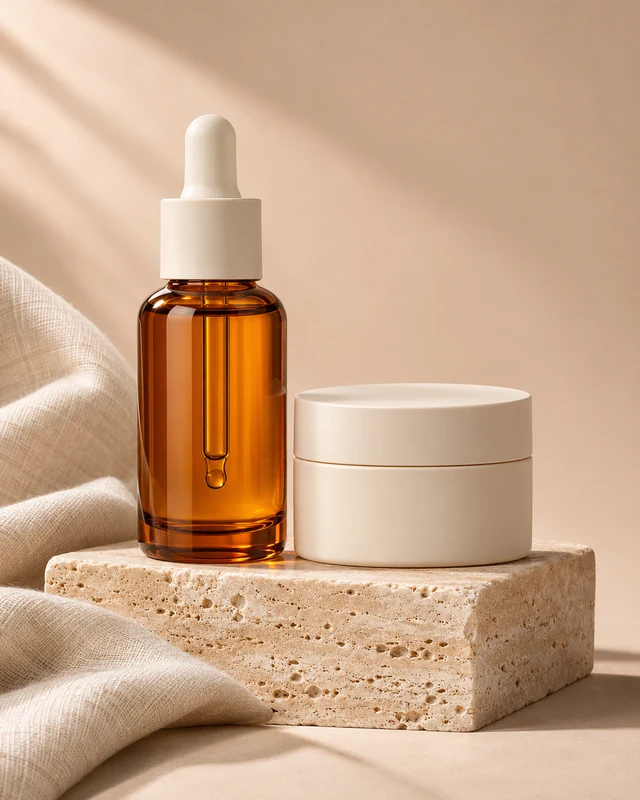
A surface, one small prop and a coherent color palette can communicate a use case without overwhelming the item. Try a ceramic cup on linen or a skincare bottle on a stone slab. Avoid adding ingredients, accessories or performance claims that do not belong to the real product.
A square image may suit a product card, while a wide composition can leave room for a separate headline. Decide where the product should sit before generating. Keep handles, lids and edges inside the frame, and review the result at the size where customers or viewers will encounter it.
Start from text or reference photos, then check the format and cost before generating.
Step 1
Choose your starting point
Sign in when you are ready to upload or generate. Describe a new subject, or add clear reference images. The editor accepts up to eight PNG, JPEG or WebP references. Upload references one at a time. If a file exceeds the upload limit, resize it and try again.
Product Photo
1:116:92K
Step 2
Add details and select the format
Keep the product photo preset selected and describe the scene, pose, lighting and important details in your own words. Choose an aspect ratio for the intended use and select 1K, 2K or 4K. The displayed credit estimate updates with the chosen resolution.
Step 3
Review, refine and download
Submit the request and follow the image status in the preview area. Download a successful result and inspect important details at full size. Reuse the prompt for another version, changing one important detail at a time. Generation time varies; follow any error instructions before submitting again.
Both use the same model. Presets supply a starting direction; custom prompts let you describe the complete treatment.
Decision
This style preset
Custom prompt
Visual direction
Begins with product photo instructions.
You describe the medium, light and finish.
Creative control
Add your subject, setting and specific details.
Define the full image direction from scratch.
Reference photos
Optional references guide appearance and composition.
The same reference-upload options are available.
Output settings
Choose the displayed ratio and resolution options.
Choose from the same output settings.
Review before use
Check the subject and the style interpretation.
Check the subject and every requested treatment.
Choose a use for your next image
Plan for the destination: avatars, illustrations and presentation images need different crops and background detail.
01
Product concept boards
Compare a few backgrounds or lighting directions before a real shoot. Keep the product description fixed so differences in surface, color and shadow are easier to assess.
Create a visually focused scene around a product. Review all represented features and add final promotional copy separately so the message matches what you actually offer.
Show how a proposed product might appear in a setting or collection. Clearly distinguish concept imagery from photographs of a finished, manufactured item when presenting it.
Try a warmer tabletop, a cooler backdrop or a small seasonal prop without changing the core object. Avoid scenery that suggests included extras or changes the perceived scale.
Adapt these prompts to your subject. Illustrations show a direction; they do not promise an identical generated result.
PROMPT EXAMPLE 1
Glass bottle studio scene
A clean studio product photograph of the clear glass bottle in the reference, preserving its cap, silhouette and proportions. Place it on a dark slate surface with a few natural water droplets. Large softbox reflection along one side, restrained cool-gray background, full bottle visible, no invented label text or extra products.
Check that droplets and reflections do not obscure the bottle shape.
PROMPT EXAMPLE 2
Ceramic cup lifestyle image
A product photograph of a handmade cream ceramic cup with a rounded handle, placed on folded oatmeal linen beside one small wooden spoon. Soft morning window light from the left, warm neutral palette, realistic ceramic glaze and a gentle contact shadow. Square composition with the entire handle visible.
Remove the spoon if it looks like an accessory included with the cup.
PROMPT EXAMPLE 3
Minimal sneaker concept
A studio product photo based on the reference sneaker, retaining its sole shape, panel layout and lace structure. Three-quarter side view on a pale concrete block, soft overhead lighting, neutral gray background and natural fabric detail. Keep both toe and heel inside the frame; do not add new branding or decorative hardware.
Compare the generated sole and seams with the actual item before using it publicly.
Small decisions that improve the brief
Explain what must stay, what may change and where the image will appear. Review against those priorities.
Use consistent reference angles
Choose clear photos of the same item and indicate the angle you want. Different products with similar packaging can confuse the intended design. If the label matters, use a reference where it is readable, but still expect to check or replace generated lettering separately.
Check factual product details
Inspect logos, caps, switches, seams, counts and included parts. AI may produce an attractive image while changing these details. For a sales listing, represent the real product accurately and avoid treating a generated concept as evidence of materials, functionality or packaging contents.
Keep revisions measurable
Change one variable such as background color, camera angle or light softness while keeping the object description stable. Review the silhouette and proportions after every change. A more elaborate setting is not automatically more useful if it makes the product harder to identify.
Questions before you create
What does the AI Product Photography Generator do?
It applies a product photo creative direction to Nano Banana Pro, combined with your description and any reference images. The preset is a starting brief, not a fixed filter. You can still specify the subject, background, colors and framing to fit a particular idea.
Can I start without a reference photo?
Yes. Describe the subject and the scene in text to create a new image. Add a reference when you want to guide a particular appearance, shape or composition. Uploading a photo does not guarantee an exact copy of a face, object or arrangement.
How should I choose reference images?
Choose clear, relevant photos and explain which details each should guide. Avoid contradictory appearances or product versions. Use images you are entitled to upload, within the file formats and limits described in the upload step.
How much detail can I put in the prompt?
The combined style instructions and your text must fit the image model’s 5,000-character limit. The available space shown in the editor accounts for the preset. Prioritize the subject, pose, setting, light and must-keep details; conflicting requests are less useful than a focused description.
What does a generation cost?
Generating uses credits from your signed-in account. The estimate beside Generate changes with the chosen resolution. Available image sizes are 1K, 2K and 4K. Each new image or video request has its own credit cost; choosing a larger size does not guarantee a better creative interpretation.
Can I revise the image or turn it into a video?
You can reuse the prompt, change the brief and submit another image request. Download a successful result or send it to the video generator as a starting image. A video is a separate generation with its own settings and credit cost; it is not included in the image request.
Start with one clear idea
Add a reference or describe your subject. Choose the format, check the credit estimate and create a first version to refine.