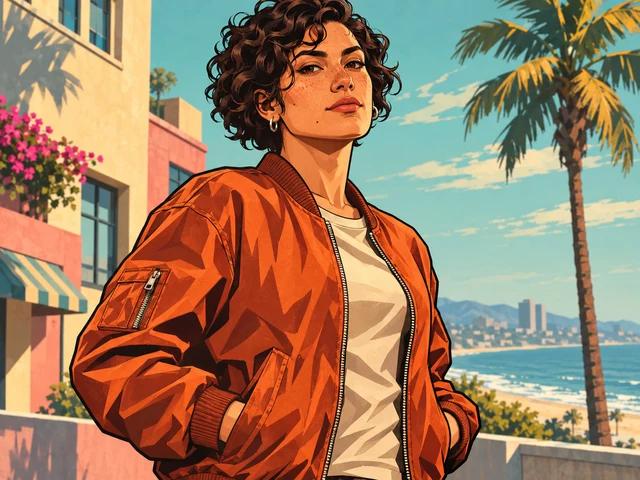
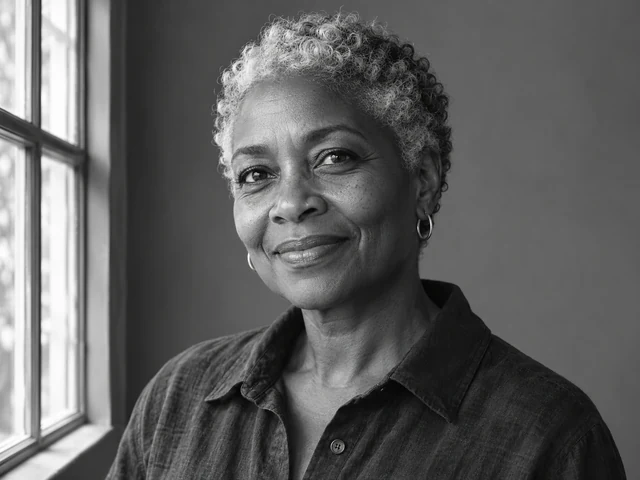
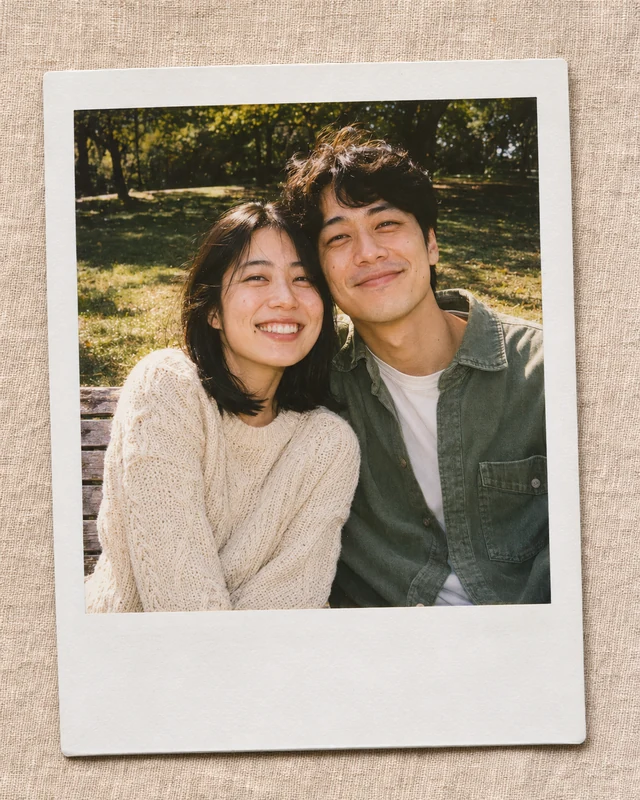
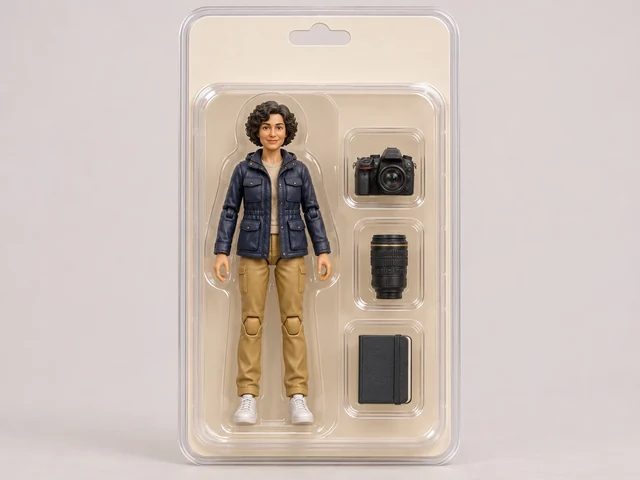
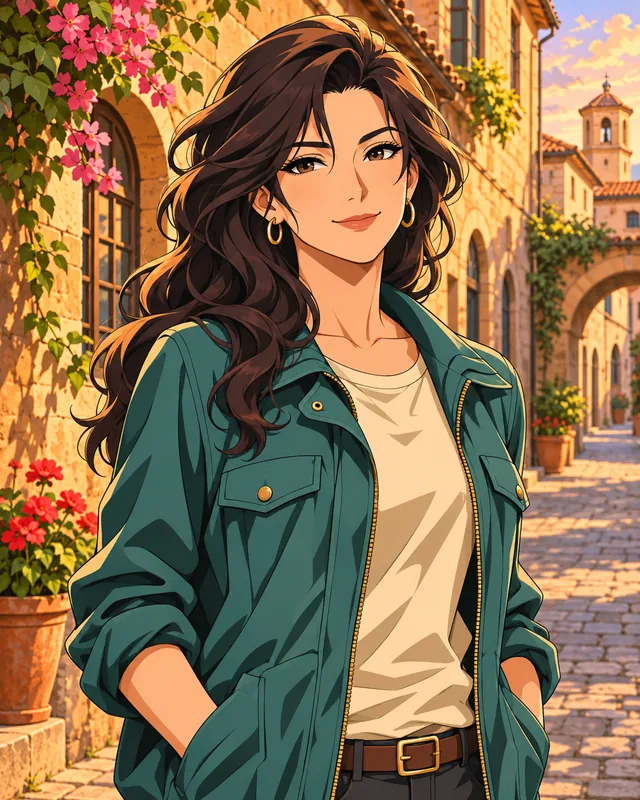
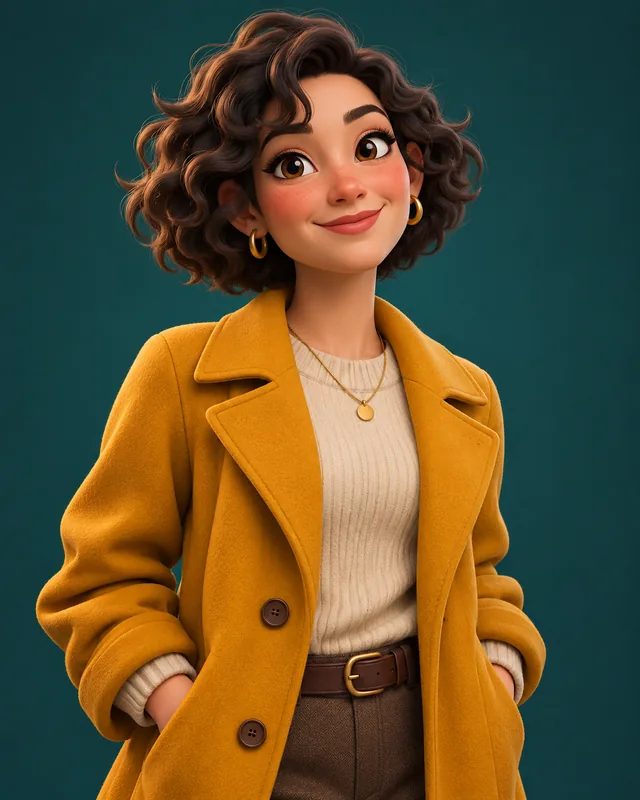
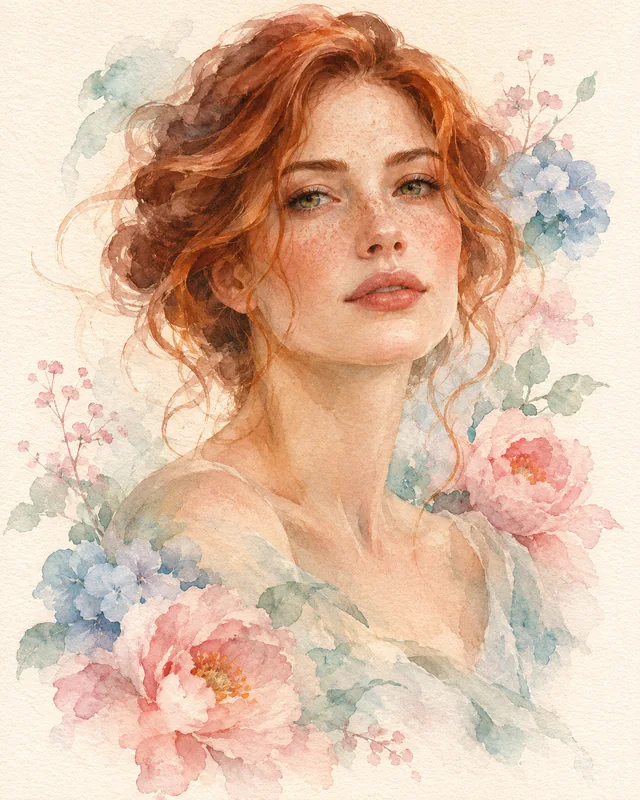
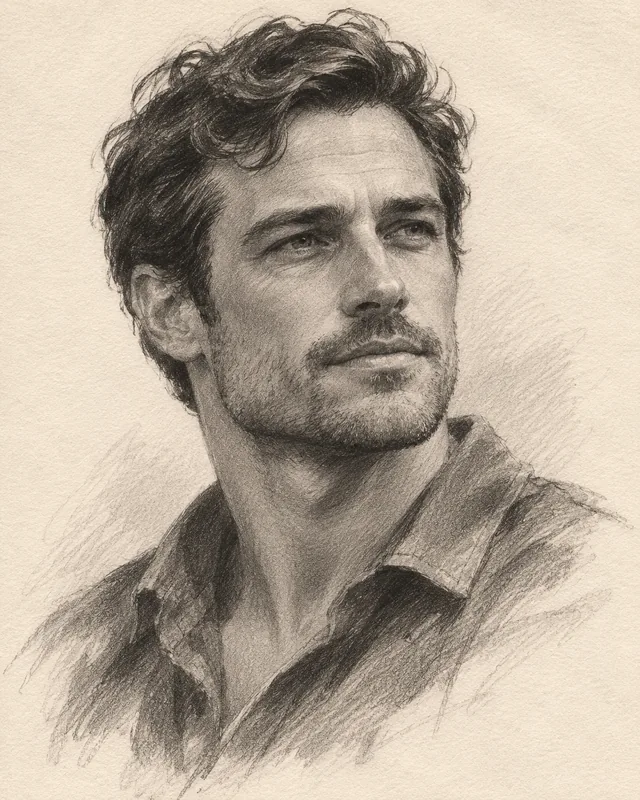
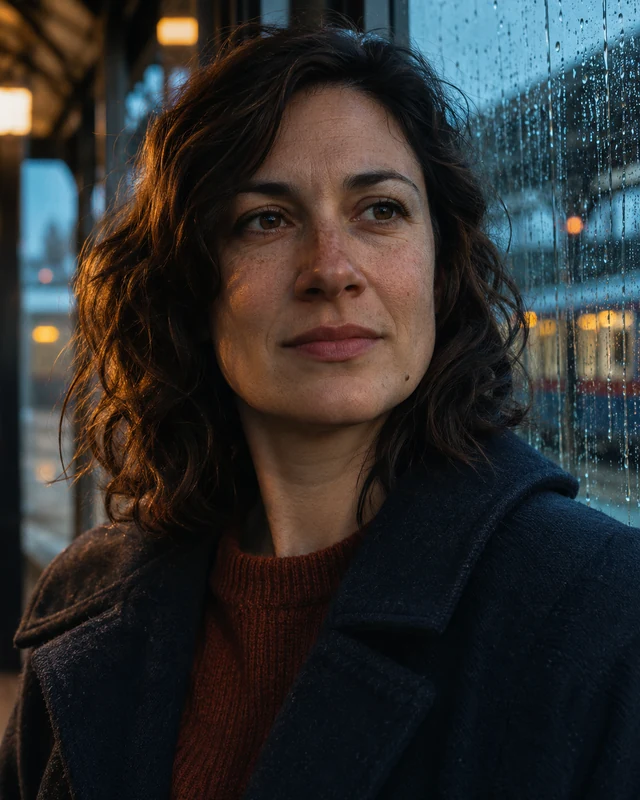
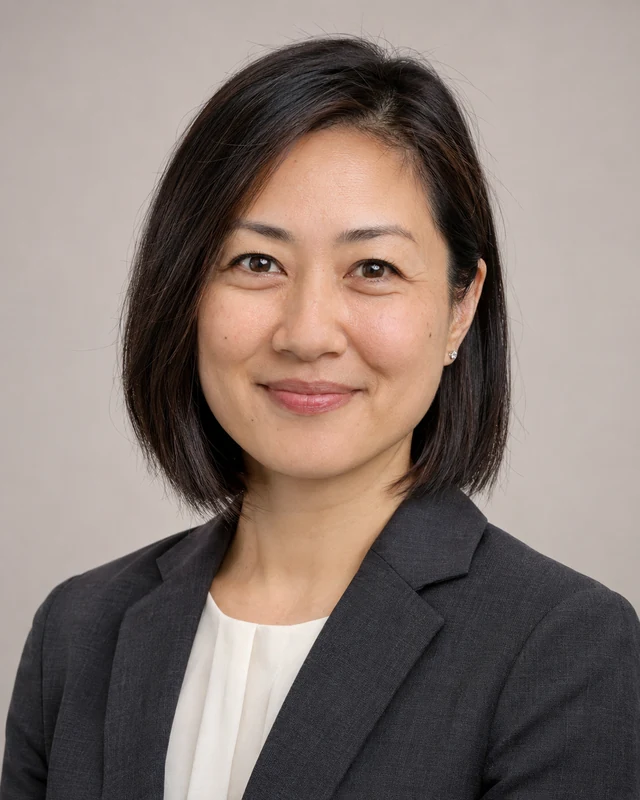
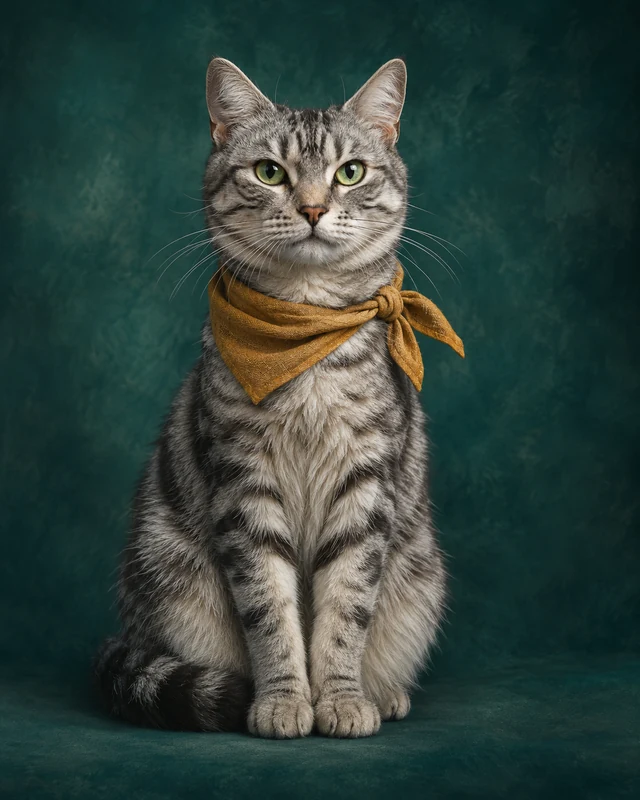
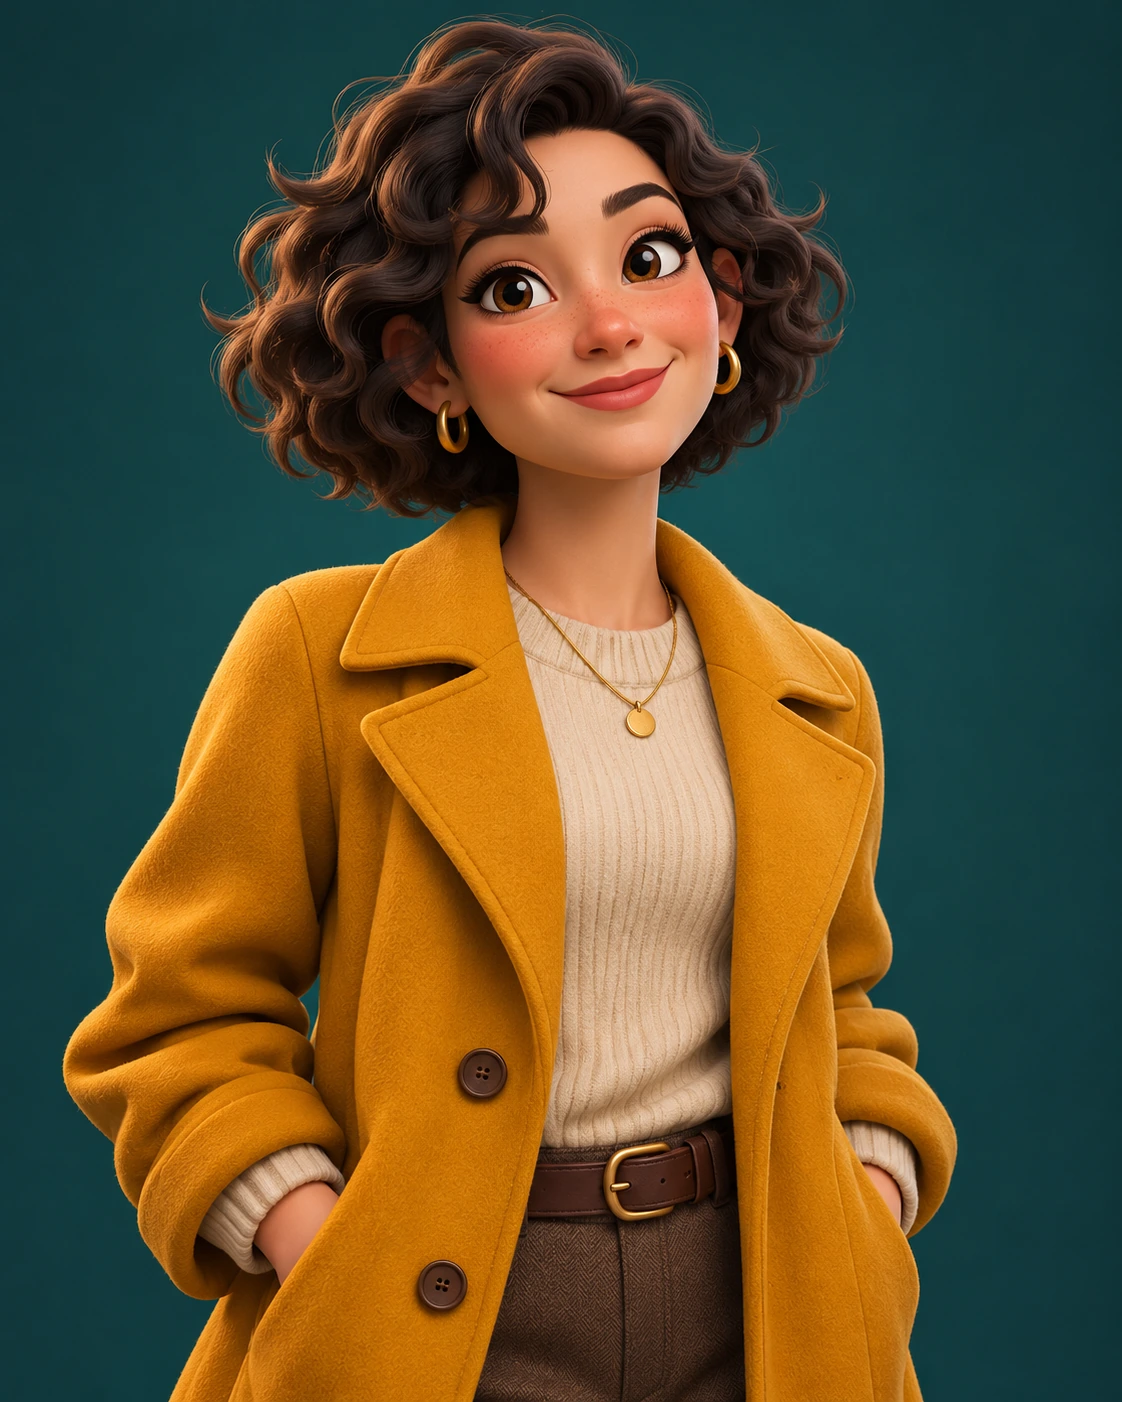
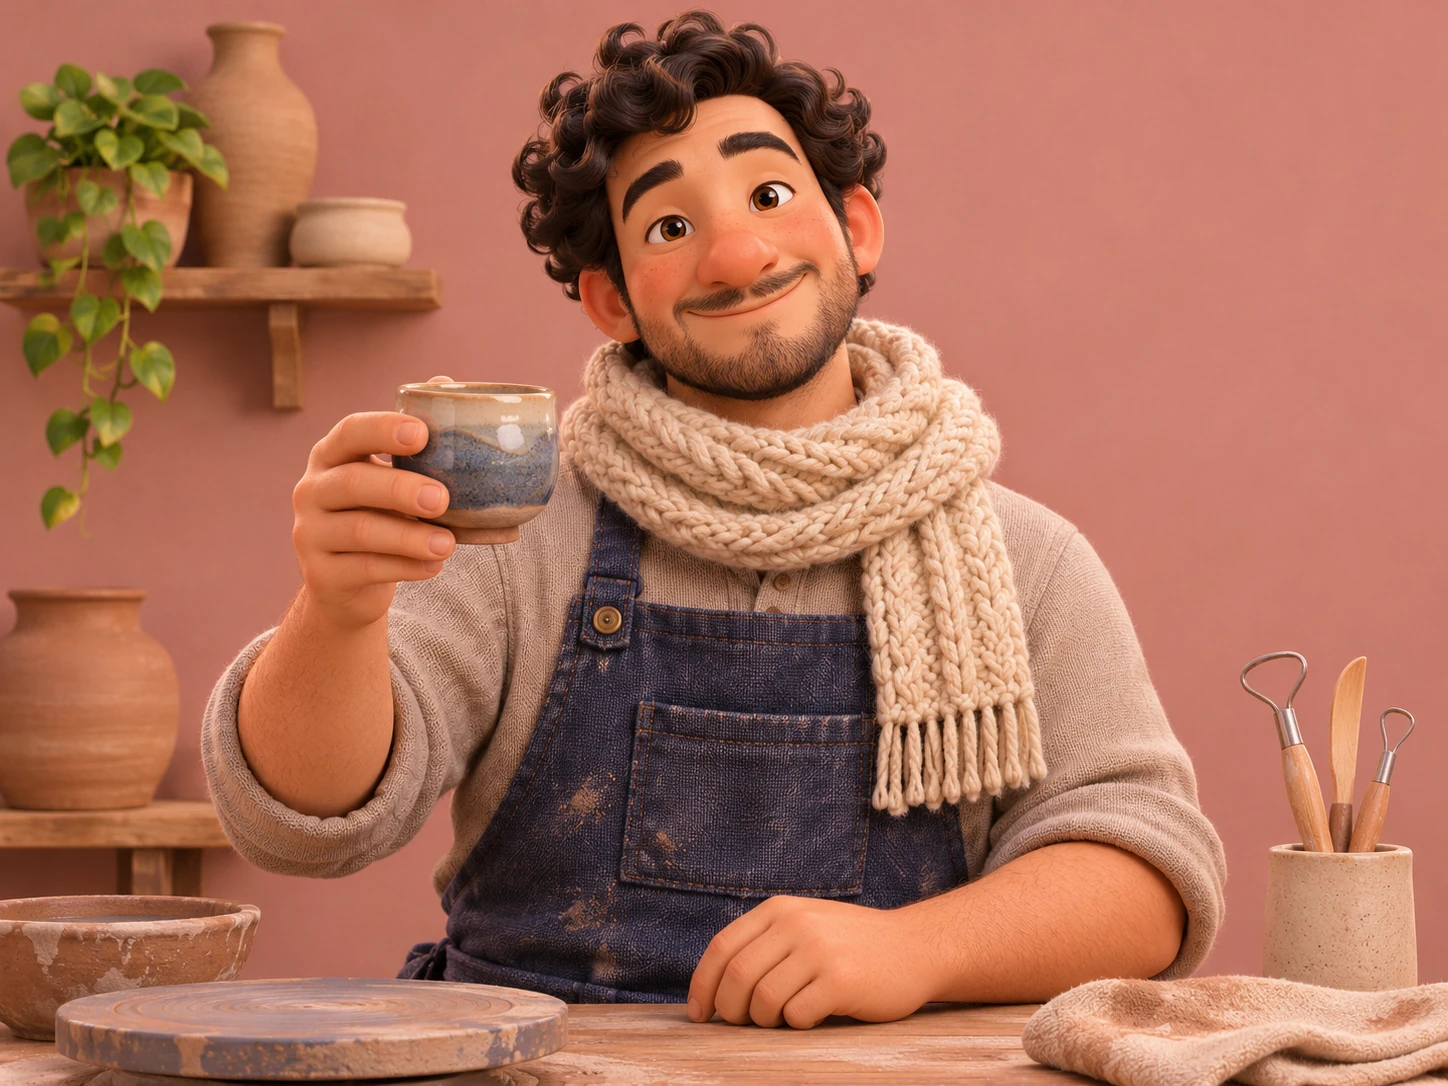
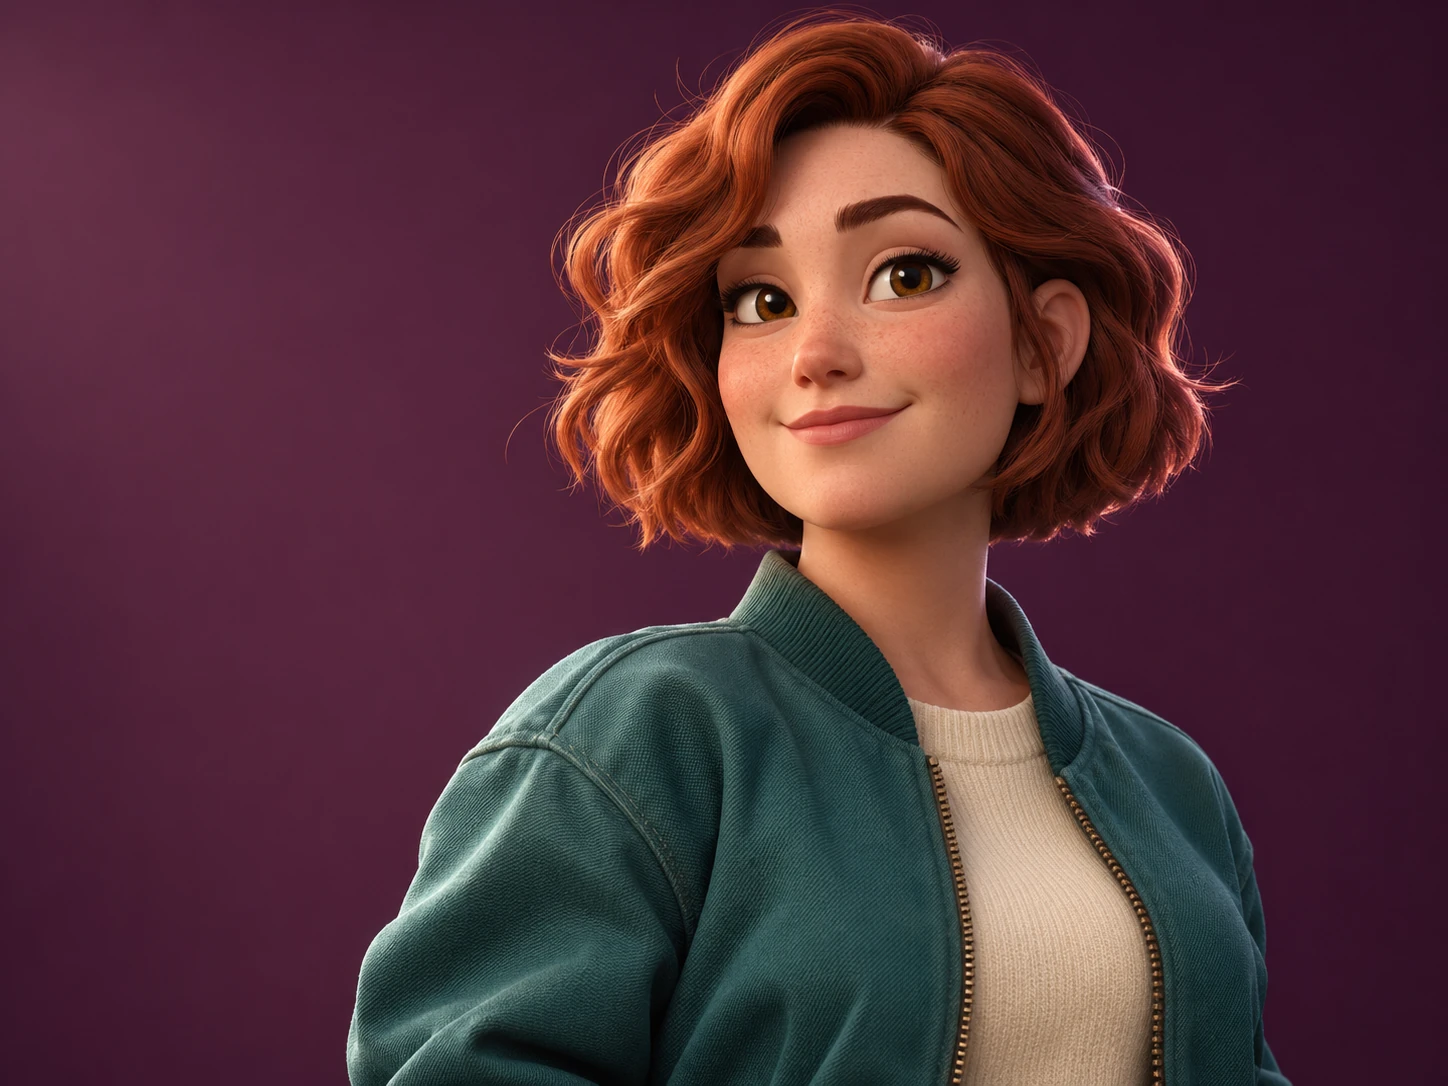
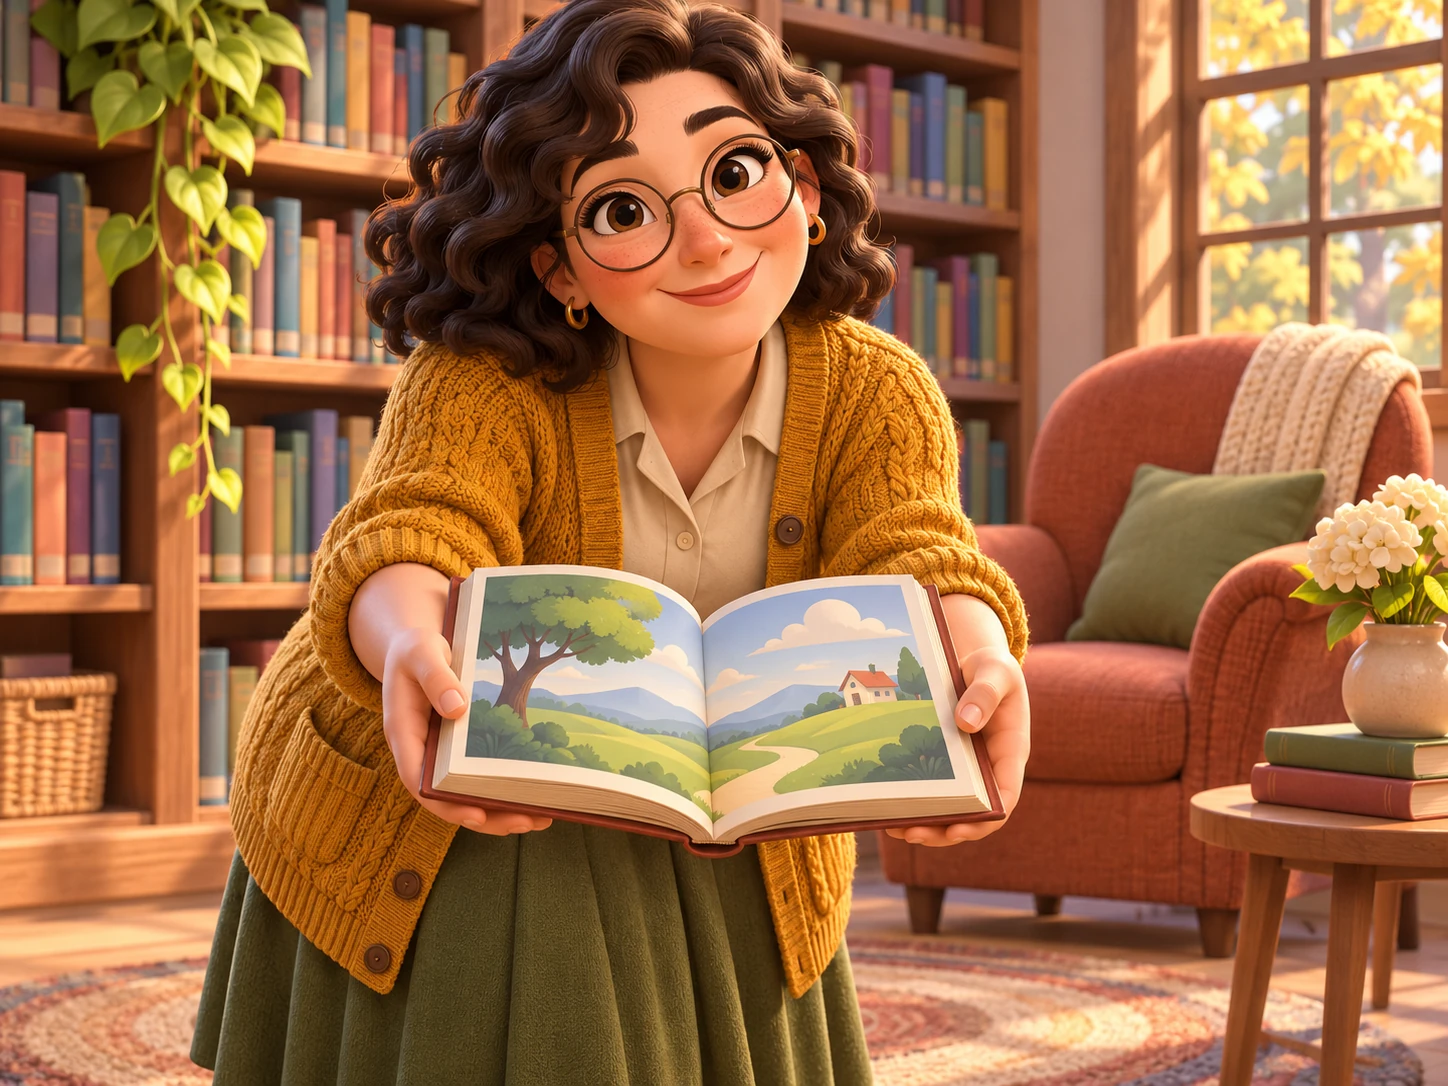
Give a person, pet or imagined character a sculpted cartoon appearance. Rounded shapes, expressive features and soft light make the subject feel dimensional, while your description controls the personality. Choose a simple pose and a clear setting, then refine materials and proportions. This tool creates a still image of a 3D-style character; it does not export a rigged model or animation file.
Illustrative style preview. Generated results vary with your prompt and reference photos.
What you can create with the AI 3D Cartoon Generator
Choose the subject, purpose and visual priorities before adding detail. These decisions give you a clearer brief to refine.
Shape a readable character
Start with a simple silhouette and two or three memorable traits. A wide hat, round glasses or a bright jacket can carry the character without dozens of accessories. Describe whether the proportions should stay close to the reference or become more playful, such as a slightly larger head and shorter limbs.
Use material words to separate fabric, hair and props. A knitted scarf should look different from a smooth ceramic cup or a rubber boot. Ask for gentle surface detail rather than excessive gloss, especially on skin, so the result feels like an intentional character design instead of a plastic filter.
A large soft light gives rounded cheeks and clothing readable depth. Side light reveals shape, while a gentle rim can separate dark hair from the background. Describe a single lighting setup and keep the scene simple before asking for complex environments, reflective floors or multiple colored light sources.
A character offering a cup, holding a book or looking toward a doorway suggests a story immediately. Keep hand gestures simple and describe the expression explicitly. If the subject is small in the scene, exaggerate the posture slightly so the intended emotion remains visible at thumbnail size.
Start from text or reference photos, then check the format and cost before generating.
Step 1
Choose your starting point
Sign in when you are ready to upload or generate. Describe a new subject, or add clear reference images. The editor accepts up to eight PNG, JPEG or WebP references. Upload references one at a time. If a file exceeds the upload limit, resize it and try again.
3D Cartoon
1:116:92K
Step 2
Add details and select the format
Keep the 3d cartoon preset selected and describe the scene, pose, lighting and important details in your own words. Choose an aspect ratio for the intended use and select 1K, 2K or 4K. The displayed credit estimate updates with the chosen resolution.
Step 3
Review, refine and download
Submit the request and follow the image status in the preview area. Download a successful result and inspect important details at full size. Reuse the prompt for another version, changing one important detail at a time. Generation time varies; follow any error instructions before submitting again.
Both use the same model. Presets supply a starting direction; custom prompts let you describe the complete treatment.
Decision
This style preset
Custom prompt
Visual direction
Begins with 3d cartoon instructions.
You describe the medium, light and finish.
Creative control
Add your subject, setting and specific details.
Define the full image direction from scratch.
Reference photos
Optional references guide appearance and composition.
The same reference-upload options are available.
Output settings
Choose the displayed ratio and resolution options.
Choose from the same output settings.
Review before use
Check the subject and the style interpretation.
Check the subject and every requested treatment.
Choose a use for your next image
Plan for the destination: avatars, illustrations and presentation images need different crops and background detail.
01
Friendly profile images
Make a recognizable cartoon portrait for a personal profile. Use a plain backdrop and a relaxed expression, then inspect the image at the small size where it will appear.
Explore an original character for a project or community. Define its color palette, materials and personality before choosing accessories that support the idea.
Place a character in a small readable scene such as a kitchen, garden or workshop. Keep the action focused so the picture communicates without relying on text.
Use a character to illustrate a theme such as curiosity, teamwork or learning. Leave space for your own slide title and add any required text in your presentation software.
Adapt these prompts to your subject. Illustrations show a direction; they do not promise an identical generated result.
PROMPT EXAMPLE 1
Curious young explorer
An original 3D cartoon explorer with a large yellow rain hat, a teal coat and a small canvas backpack, kneeling beside a tiny sprout. Rounded friendly proportions, expressive curious eyes, woven fabric detail and soft morning light. Simple garden background, full body visible, no words or logos.
A full-body composition needs extra space around the hat and boots.
PROMPT EXAMPLE 2
Cartoon pet chef
A stylized 3D cartoon corgi based on the reference photo, keeping the tan-and-white markings and upright ears, wearing a simple blue apron in a cozy kitchen. One paw beside a mixing bowl, cheerful expression, soft fur clumps, ceramic and wood textures, warm window light, no lettering.
Mention the coat markings individually if the first version changes them.
PROMPT EXAMPLE 3
Desk companion portrait
A waist-up 3D cartoon portrait of a fictional designer with curly dark hair and round glasses, holding a closed sketchbook. Sage-green sweater with knitted texture, softly sculpted face, warm studio key light and a muted peach background. Friendly confident expression, clean uncluttered composition.
Keep the book closed when detailed page text is unnecessary.
Small decisions that improve the brief
Explain what must stay, what may change and where the image will appear. Review against those priorities.
Describe volume, not software
Useful instructions explain rounded forms, soft shadows, fabric texture and camera distance. Naming a rendering program is less informative than describing the visible result. Choose how realistic or exaggerated the character should feel and keep that choice consistent across the prompt.
Inspect hands and accessories
Review fingers, paws, glasses and the places where objects touch the body. A small error may be hidden in a thumbnail. If the pose is difficult, simplify it to one held object and a neutral stance before adding extra action or scenery.
Keep the deliverable in mind
The result is a flat image with a three-dimensional appearance. It cannot be rotated like a model or edited as a rig. If you need another view, describe that camera angle in a new generation and review continuity rather than assuming exact geometry is preserved.
Questions before you create
What does the AI 3D Cartoon Generator do?
It applies a 3d cartoon creative direction to Nano Banana Pro, combined with your description and any reference images. The preset is a starting brief, not a fixed filter. You can still specify the subject, background, colors and framing to fit a particular idea.
Can I start without a reference photo?
Yes. Describe the subject and the scene in text to create a new image. Add a reference when you want to guide a particular appearance, shape or composition. Uploading a photo does not guarantee an exact copy of a face, object or arrangement.
How should I choose reference images?
Choose clear, relevant photos and explain which details each should guide. Avoid contradictory appearances or product versions. Use images you are entitled to upload, within the file formats and limits described in the upload step.
How much detail can I put in the prompt?
The combined style instructions and your text must fit the image model’s 5,000-character limit. The available space shown in the editor accounts for the preset. Prioritize the subject, pose, setting, light and must-keep details; conflicting requests are less useful than a focused description.
What does a generation cost?
Generating uses credits from your signed-in account. The estimate beside Generate changes with the chosen resolution. Available image sizes are 1K, 2K and 4K. Each new image or video request has its own credit cost; choosing a larger size does not guarantee a better creative interpretation.
Can I revise the image or turn it into a video?
You can reuse the prompt, change the brief and submit another image request. Download a successful result or send it to the video generator as a starting image. A video is a separate generation with its own settings and credit cost; it is not included in the image request.
Start with one clear idea
Add a reference or describe your subject. Choose the format, check the credit estimate and create a first version to refine.