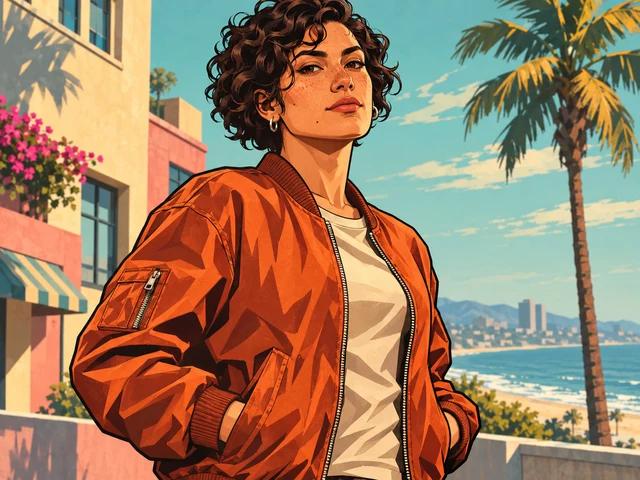
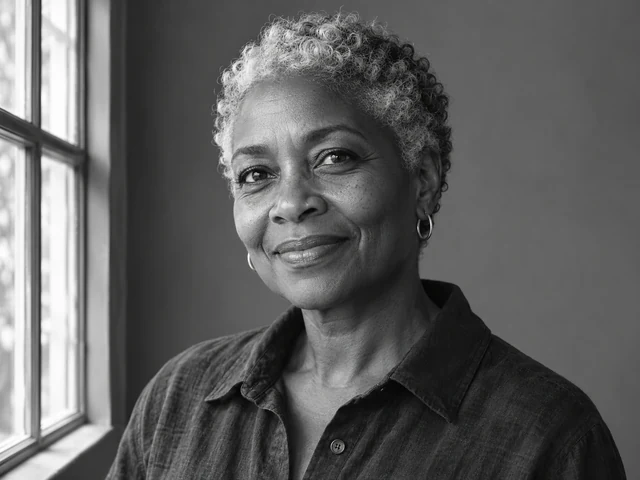
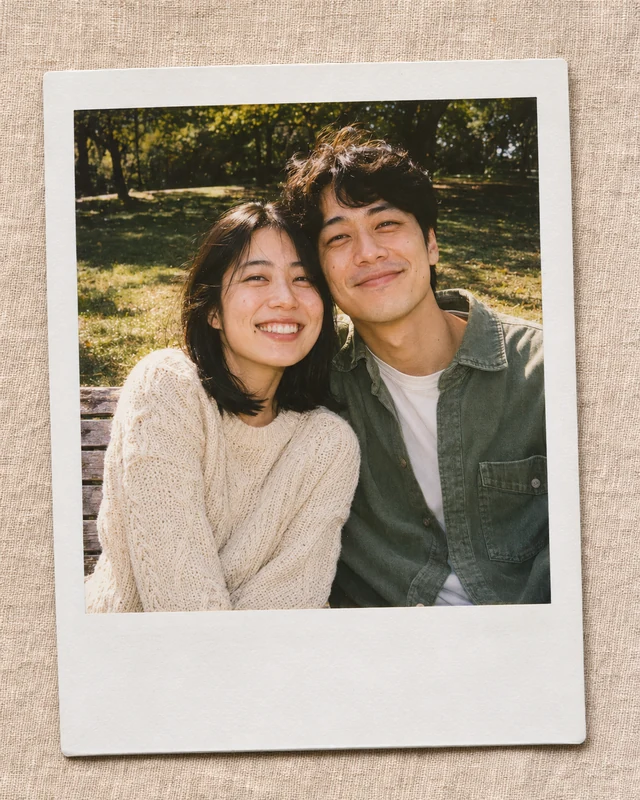
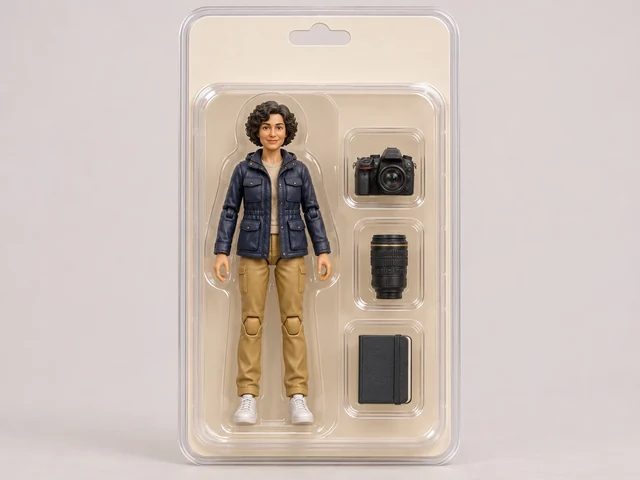
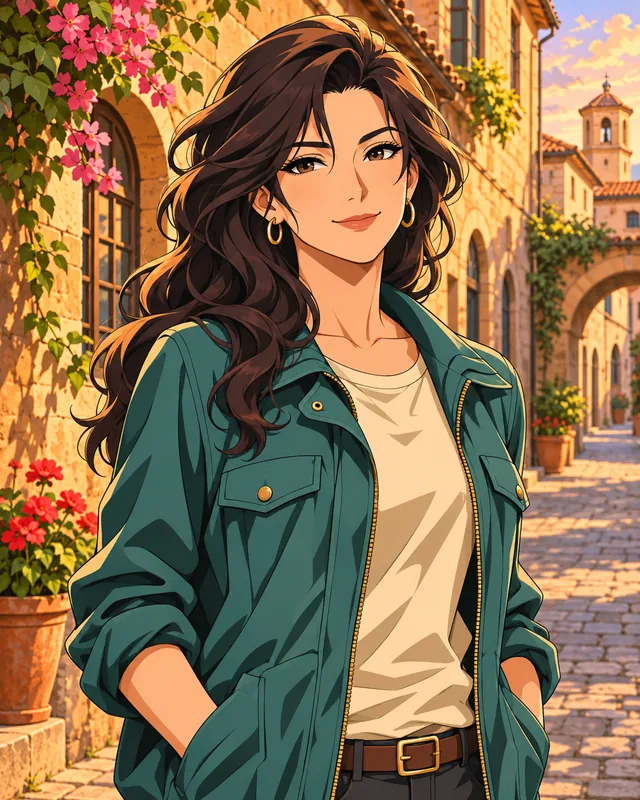
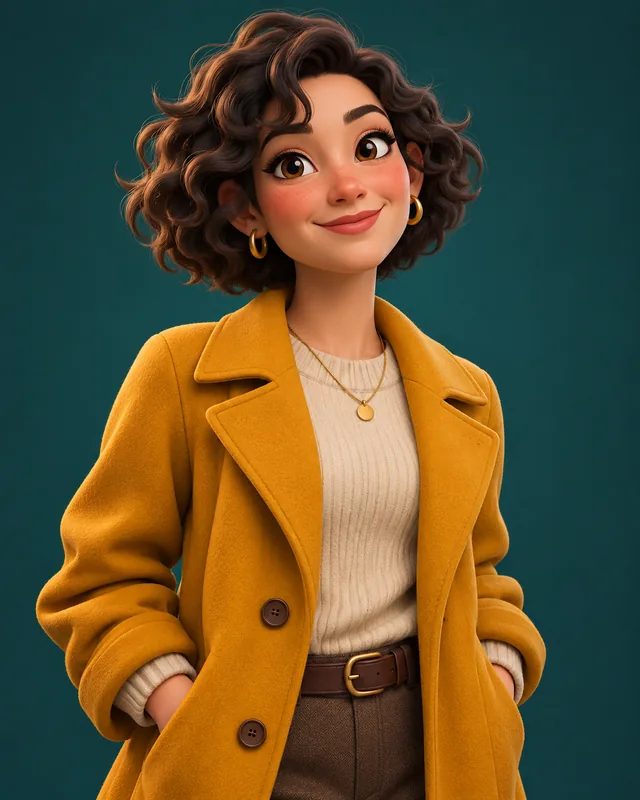
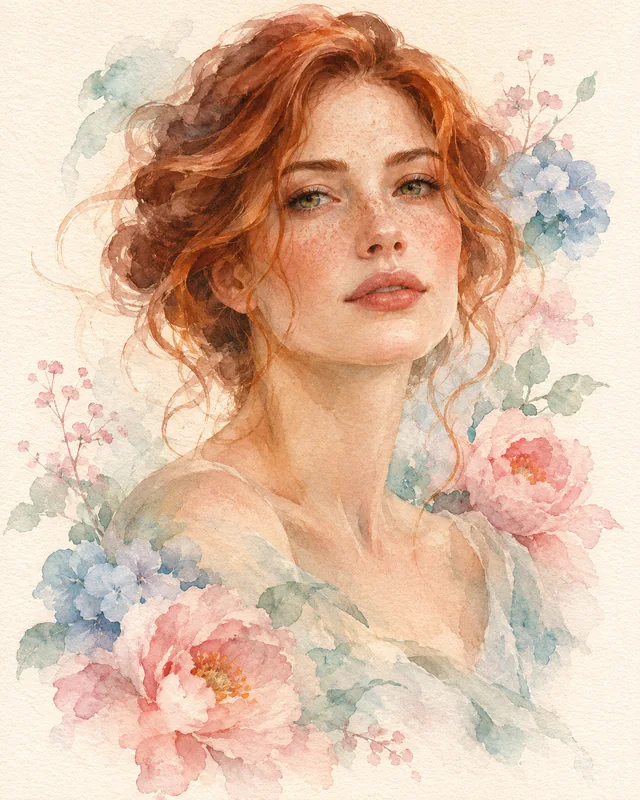
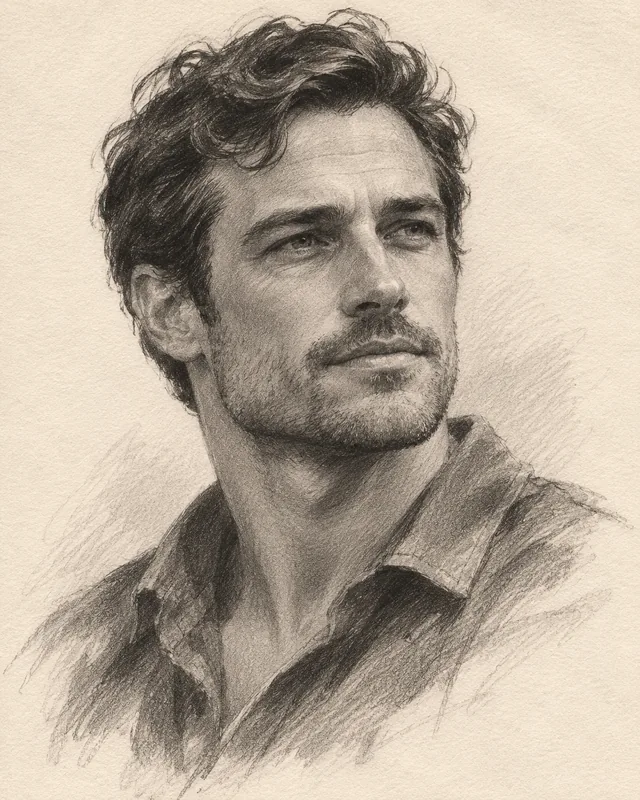
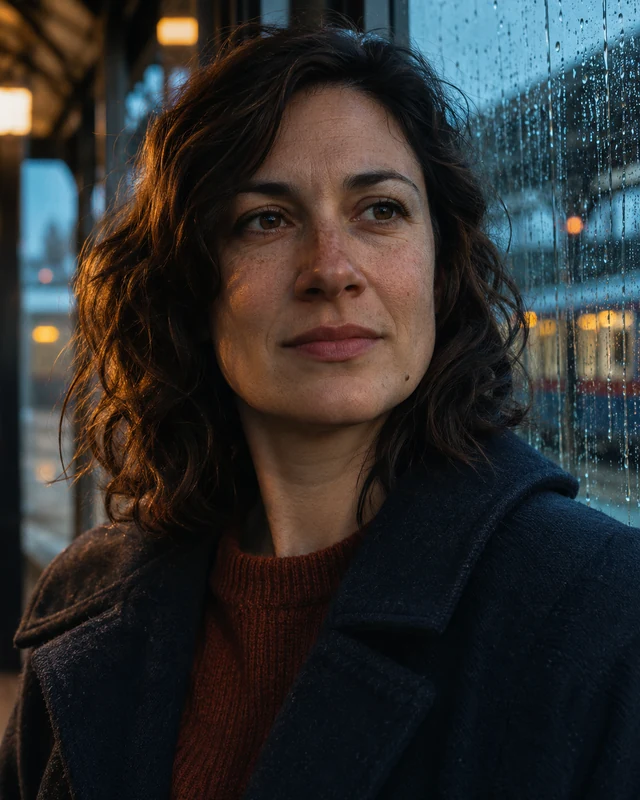
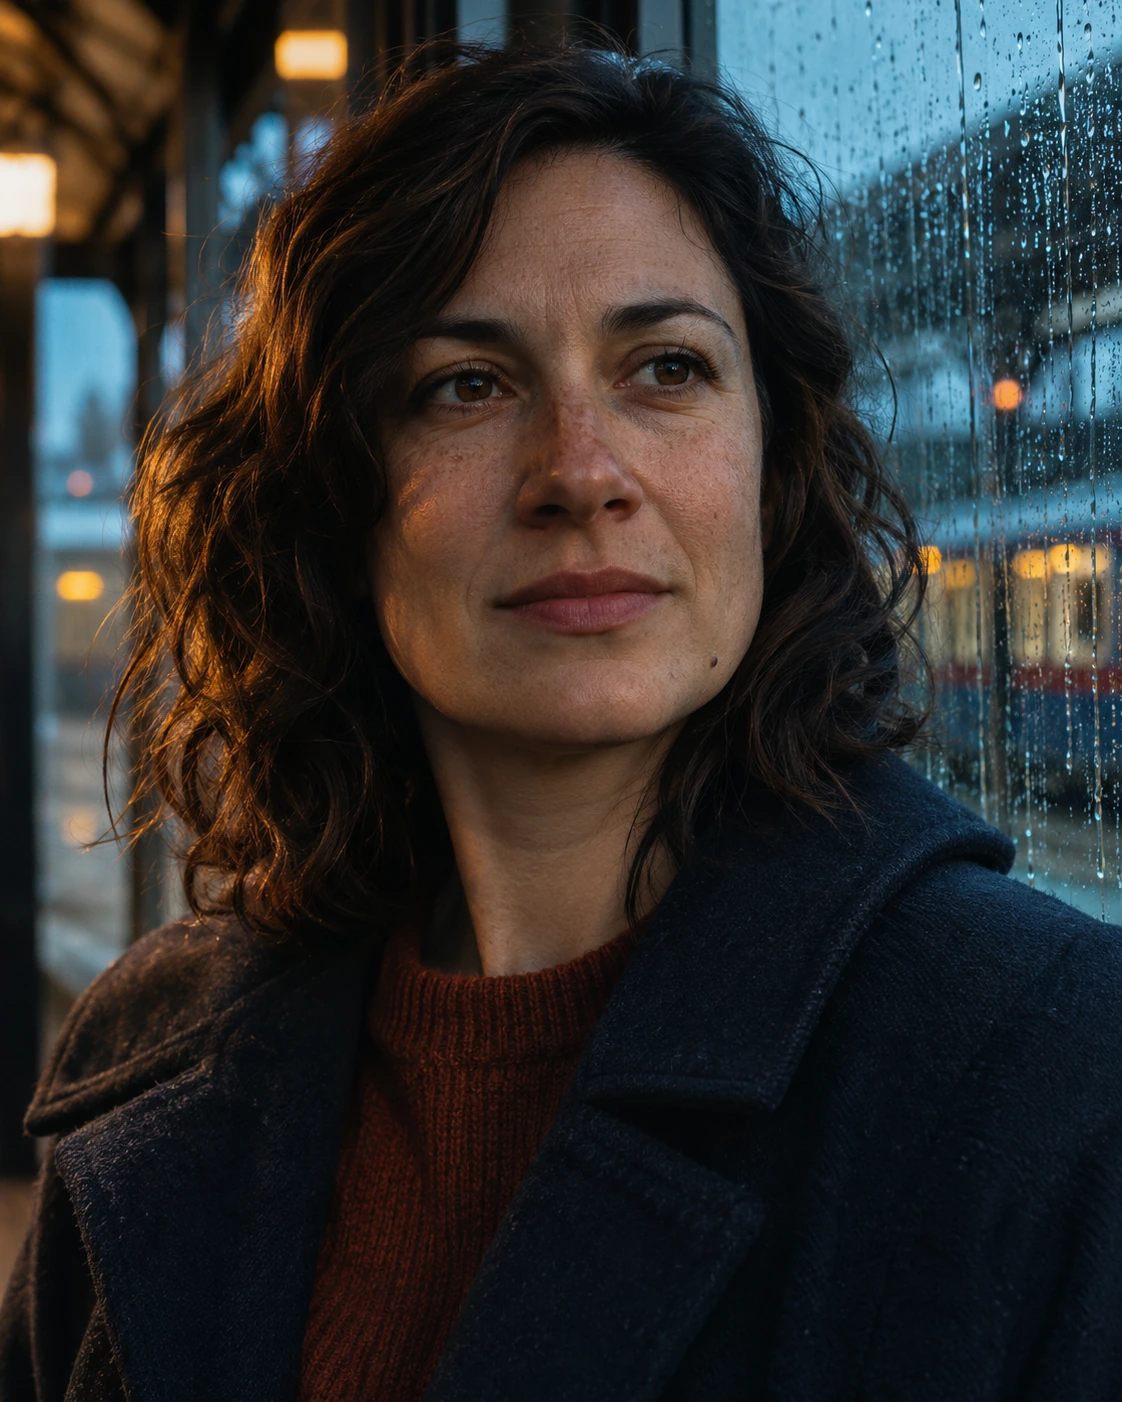
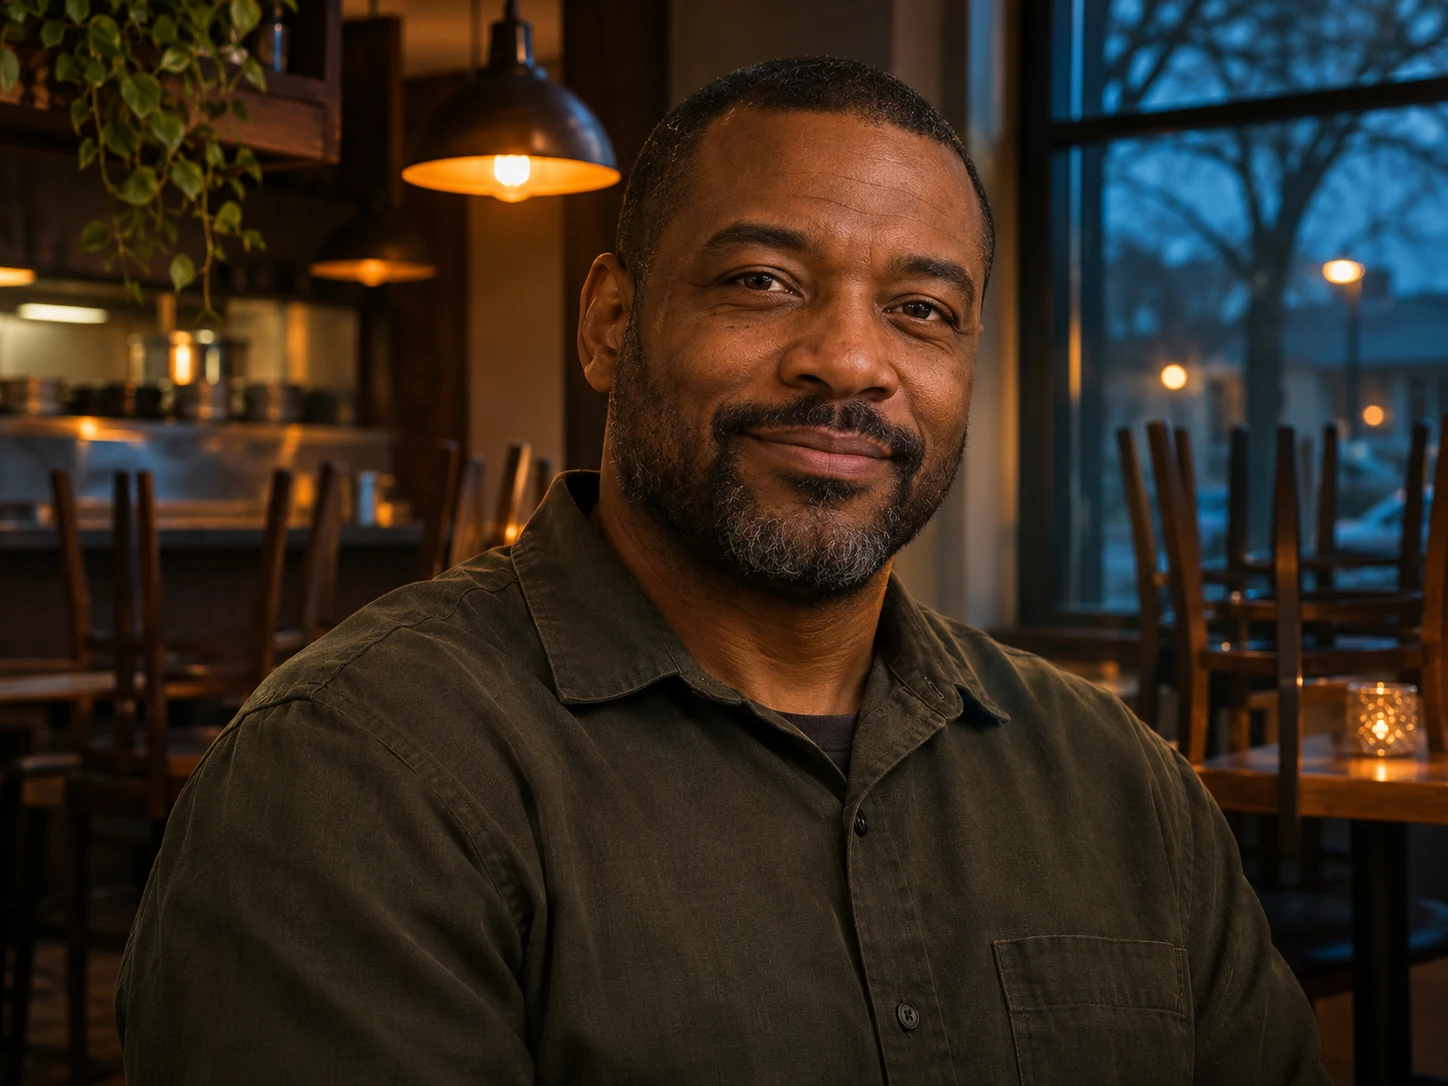
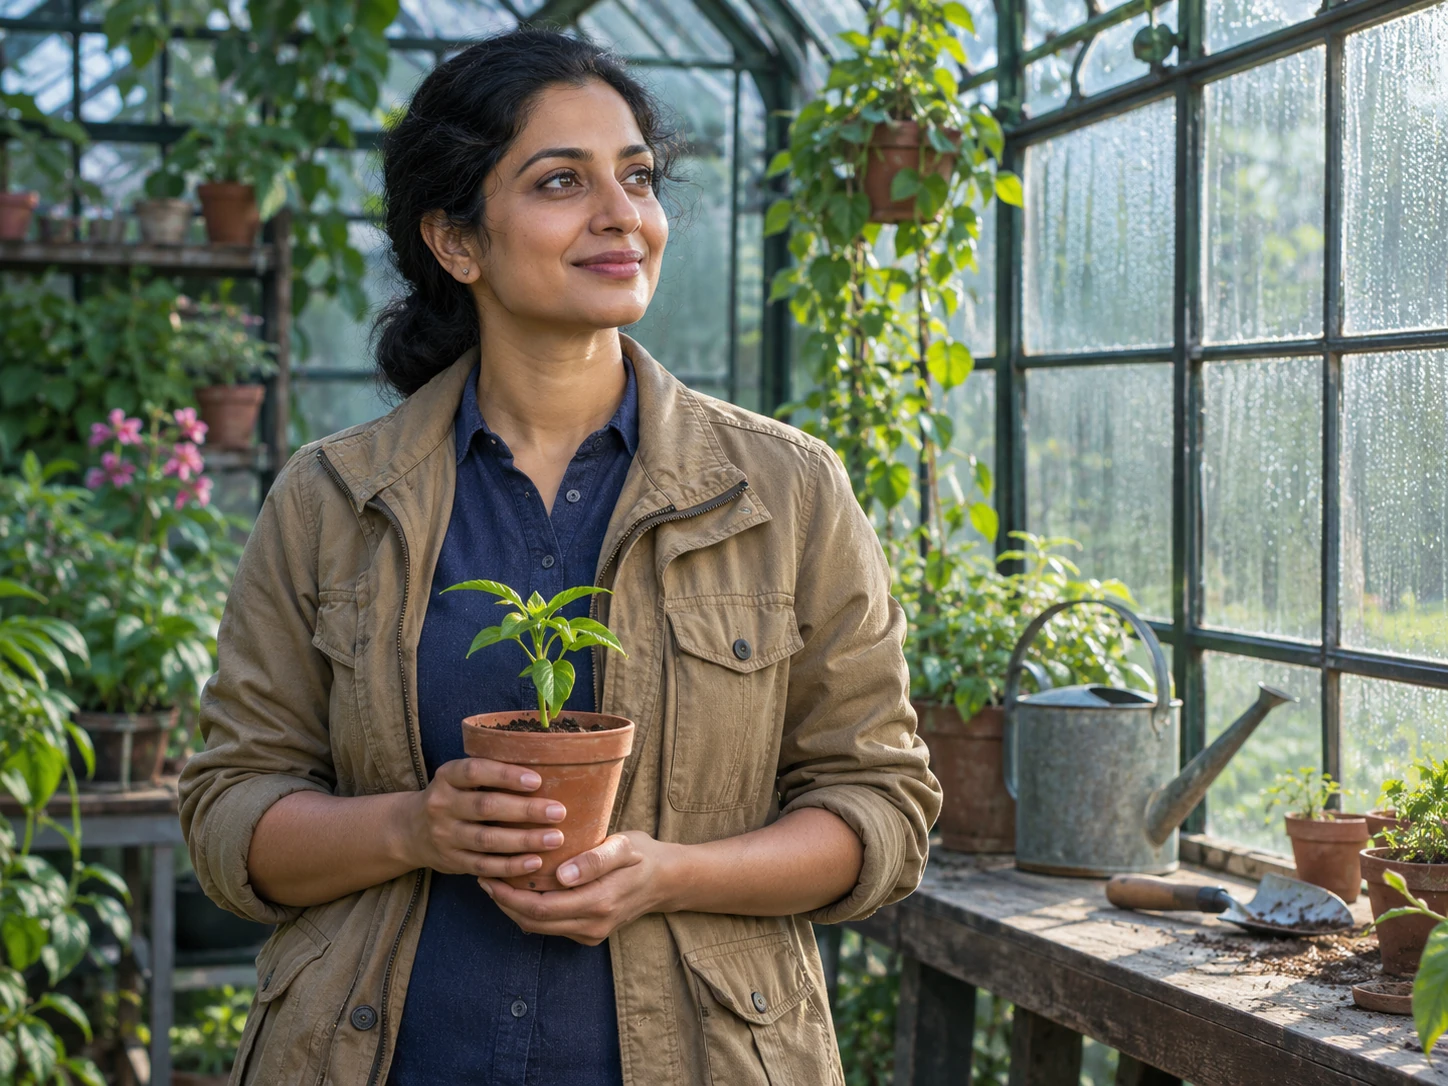
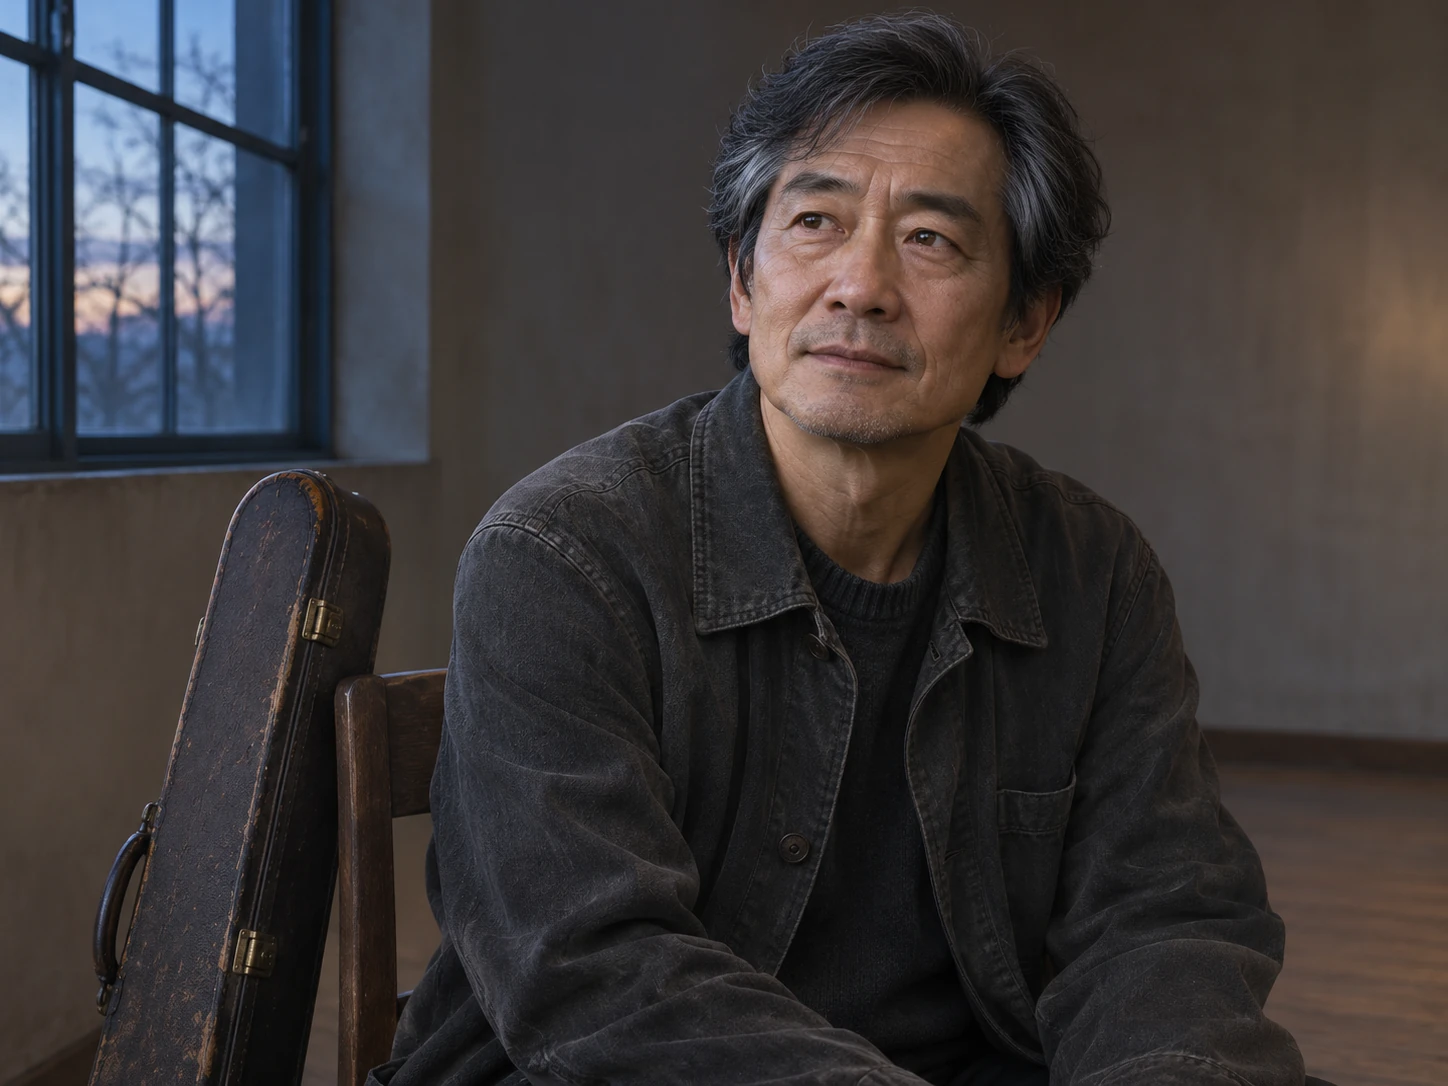
Give a portrait the mood of a carefully composed film still. Choose a believable setting, one clear light source and a color direction that supports the person in the frame. The preset adds a cinematic treatment, while your description decides the story: a quiet evening at a window, a neon street after rain or a warm backstage moment before a performance.
Illustrative style preview. Generated results vary with your prompt and reference photos.
What you can create with the AI Cinematic Portrait Generator
Choose the subject, purpose and visual priorities before adding detail. These decisions give you a clearer brief to refine.
Build the portrait around light
Explain where the main light comes from and what it illuminates. A window, a doorway or a single streetlamp gives a more coherent result than several conflicting lighting instructions. Keep enough detail in the face to read the expression, even when the background is deliberately dark or atmospheric.
Choose a small set of colors that belong to the scene. Warm interior light against a cool evening window, or soft amber skin tones against muted blue surroundings, can create separation without excessive saturation. Ask for natural skin detail so the color treatment does not overwhelm the person.
A close-up emphasizes emotion, while a waist-up frame can show a meaningful gesture or prop. Environmental portraits place the person within a larger setting. Describe the crop directly and leave space on the side the subject faces, rather than relying only on lens terminology to communicate composition.
A jacket over a chair, a rain-covered window or a closed instrument case can provide context without filling the frame. Pick one detail that explains the moment and keep the rest quiet. This lets expression, posture and lighting carry the image rather than turning the portrait into a collection of props.
Start from text or reference photos, then check the format and cost before generating.
Step 1
Choose your starting point
Sign in when you are ready to upload or generate. Describe a new subject, or add clear reference images. The editor accepts up to eight PNG, JPEG or WebP references. Upload references one at a time. If a file exceeds the upload limit, resize it and try again.
Cinematic
1:116:92K
Step 2
Add details and select the format
Keep the cinematic preset selected and describe the scene, pose, lighting and important details in your own words. Choose an aspect ratio for the intended use and select 1K, 2K or 4K. The displayed credit estimate updates with the chosen resolution.
Step 3
Review, refine and download
Submit the request and follow the image status in the preview area. Download a successful result and inspect important details at full size. Reuse the prompt for another version, changing one important detail at a time. Generation time varies; follow any error instructions before submitting again.
Both use the same model. Presets supply a starting direction; custom prompts let you describe the complete treatment.
Decision
This style preset
Custom prompt
Visual direction
Begins with cinematic instructions.
You describe the medium, light and finish.
Creative control
Add your subject, setting and specific details.
Define the full image direction from scratch.
Reference photos
Optional references guide appearance and composition.
The same reference-upload options are available.
Output settings
Choose the displayed ratio and resolution options.
Choose from the same output settings.
Review before use
Check the subject and the style interpretation.
Check the subject and every requested treatment.
Choose a use for your next image
Plan for the destination: avatars, illustrations and presentation images need different crops and background detail.
01
Creator portraits
Present an individual in a setting connected to their work. Keep the face visible and use a single prop, such as a camera or notebook, to establish context.
Explore a portrait mood for a music project without adding album typography inside the generated image. Compare warm, cool and neutral directions before final layout work.
Develop the lighting, wardrobe and setting for an original fictional character. Keep a written description of key traits so later variations start from the same direction.
Make a portrait with enough negative space for a headline added later. Test the final crop on the intended platform so the subject is not hidden by interface elements.
Adapt these prompts to your subject. Illustrations show a direction; they do not promise an identical generated result.
PROMPT EXAMPLE 1
Window at blue hour
A cinematic waist-up portrait of the person in the reference, wearing a dark wool coat beside a tall apartment window at blue hour. Soft amber lamp light on one side of the face, cool city light behind, natural skin texture and a quiet thoughtful expression. Keep the background subdued and the eyes in focus.
Use one warm source and one ambient cool background rather than many colored lights.
PROMPT EXAMPLE 2
Rainy street close-up
A close-up cinematic portrait of an original character with short dark hair and a burgundy jacket, standing under the awning of a quiet shop after rain. Gentle reflected street light, damp pavement in soft focus, muted teal and amber palette, subtle film grain and a composed expression. No visible branding.
A close crop works best when the background supports rather than explains the whole story.
PROMPT EXAMPLE 3
Backstage anticipation
An environmental cinematic portrait of a fictional violinist seated backstage, holding a closed instrument case beside a worn wooden chair. Warm practical bulbs, deep but readable shadows, dark green clothing and a restrained color grade. Frame from the knees up, with a natural posture and a hint of anticipation.
Keeping the case closed avoids an unnecessarily complex hand-and-instrument pose.
Small decisions that improve the brief
Explain what must stay, what may change and where the image will appear. Review against those priorities.
Prioritize expression over effects
Film grain, haze and color grading should support the portrait. If you stack too many effects, the face can become harder to read. Begin with the subject, expression and light, then add one atmospheric treatment when the basic composition feels right.
Avoid vague cinematic requests
Describe a place, time of day, camera distance and primary light source. These details give a useful visual plan. A neon alley, a soft morning kitchen and a sunlit train compartment require different lighting even if all three could feel cinematic.
Review the face at full size
Dramatic lighting can conceal facial changes or odd reflections in the eyes. Inspect the result without the surrounding page and compare important reference features. If shadows hide too much, ask for softer contrast or a small amount of fill light in the next attempt.
Questions before you create
What does the AI Cinematic Portrait Generator do?
It applies a cinematic creative direction to Nano Banana Pro, combined with your description and any reference images. The preset is a starting brief, not a fixed filter. You can still specify the subject, background, colors and framing to fit a particular idea.
Can I start without a reference photo?
Yes. Describe the subject and the scene in text to create a new image. Add a reference when you want to guide a particular appearance, shape or composition. Uploading a photo does not guarantee an exact copy of a face, object or arrangement.
How should I choose reference images?
Choose clear, relevant photos and explain which details each should guide. Avoid contradictory appearances or product versions. Use images you are entitled to upload, within the file formats and limits described in the upload step.
How much detail can I put in the prompt?
The combined style instructions and your text must fit the image model’s 5,000-character limit. The available space shown in the editor accounts for the preset. Prioritize the subject, pose, setting, light and must-keep details; conflicting requests are less useful than a focused description.
What does a generation cost?
Generating uses credits from your signed-in account. The estimate beside Generate changes with the chosen resolution. Available image sizes are 1K, 2K and 4K. Each new image or video request has its own credit cost; choosing a larger size does not guarantee a better creative interpretation.
Can I revise the image or turn it into a video?
You can reuse the prompt, change the brief and submit another image request. Download a successful result or send it to the video generator as a starting image. A video is a separate generation with its own settings and credit cost; it is not included in the image request.
Start with one clear idea
Add a reference or describe your subject. Choose the format, check the credit estimate and create a first version to refine.